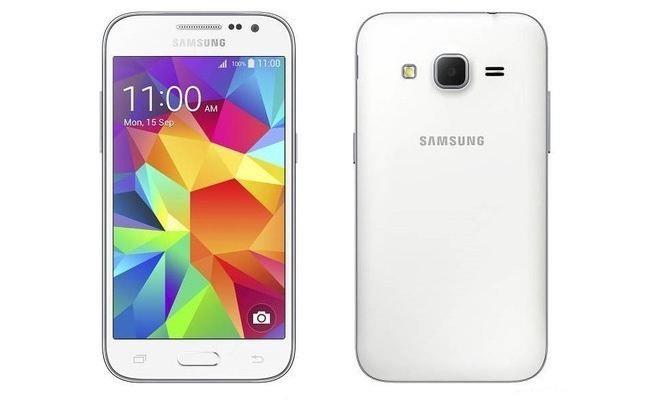
In this guide you will learn How to Safely root Samsung J1 SM-J100H on Android 4.4.4 KitKat.The Process is very simple and easy.Just Follow the simple step by step guide below.Here we will be using Odin Flash tool and a windows PC to Root Samsung J1 SM-J100H In 2min
Samsung J1 is an entry level android smartphone from Samsung J series.The J100H variant is easily rooted with the iRoot tool and Odin.Below we share a very easy step by step guide with download links on How to Safely root Samsung J1 SM-J100H on Android 4.4.4 KitKat.
→ Easy and very simple Guide to Root Samsung J1 SM-J100H
Related Posts:
How to Safely root Samsung J1 SM-J100H on Android 4.4.4 KitKat
Important:
This guide is only for Samsung J1 SM-J100H on Android 4.4.4 KitKat
*Make sure there is at least 80% battery left on your smartphone before begin rooting your device.
Warning:
rootmygalaxy.net will not be held responsible for any kind of damage occurred to your Samsung J1 SM-J100H while following this tutorial.Do it at your own risk.
Remember Before rooting:
How to Safely root Samsung J1 SM-J100H on Android 4.4.4 KitKat
- Rooting your phone can void your warranty
- After rooting you can tweak your phone
- You can unroot it if you want
- You can overclock or underclock your CPU to make your phone faster
- Make sure you have unlocked the bootloader
Safely root Samsung J1 SM-J100H on Android 4.4.4 KitKat
Setup before staring:
1.INSTALL SAMSUNG GALAXY DRIVERS
First you need to Setup ADB and Fastboot Drivers on windows PC. This will help you to sendbasic linux commands, and a variety Android specific commands from PC to connected Android devices.
2.SETUP ADB & FASTBOOT DRIVERS ON PC
Now you need to install the USB drivers to connect your device with the computer to follow this guide. Without these USB drivers you can’t connect your device to the PC, first download and install these drivers on your system.
3.DOWNLOAD ANDROID USB DRIVERS
4. ENABLE USB DEBUGGING MODE
Now you need to enable USB debugging mode. Without enabling USB debugging mode on your device you can’t start the root, Custom ROM or Unlock process.(Setting->About Phone->Build Number->Tap 7 times on build number->It will enable the developer mode in the main setting->Go to Developer->Enable the Debugging)
Downloads
Download and extract the root file from here
download the iRoot tool from here.
How to Safely root Samsung J1 SM-J100H on Android 4.4.4 KitKat In 2min
Step-By-Step Guide
- Download and extract the root file from the above link on the desktop of the Windows computer.
- Download Odin to the computer and extract the file. Run the Odin program and leave it open.
- Completely switch off the device and boot it back up in Download Mode.
- Hold the Power, Volume Down and Home buttons down at the same time to get in Download Mode. You should see a yellow warning symbol with other yellow text on the display. Press Volume Up at this time.
- Connect the Samsung J1 to the computer and you should see Odin detect your device. If not, you might need to download the USB Drivers.
- Click the PDA button and upload the J100H tar file you extracted from the root file in step one.
- Click the Start button and Odin should flash that file to your device.
- Now download the iRoot tool from the above given link.
- Disconnect the J1 from the computer.
- Run the iRoot program and tick the box on the main screen that says “launch”.
- Continue to launch the iRooting tool.
- Connect the J1 to the computer once again and the iRoot tool will detect your smartphone.
- Click the Root button and wait until the tool successfully roots your device.
- To verify the root status install Root Checker.
Video Guide:(Source:Milan Tarami)
DONE!!! Your Samsung J1 is now rooted.
Source Click here
Liked this post? Let us know on X (formerly Twitter) - we love your feedback! You can also follow us on Google News, and Telegram for more updates.

Hi dibyajyoti, after finishing installing from Odin the phone doesn’t start.. It is stuck in boot with exclamation sign on top left corner…
Still I try to root with iroot tool and it says rooted your phone… in iroot. ..
What’s the problem…?
Plz reply…
Bro check out the video :- https://www.youtube.com/watch?v=PnmftTcngK4
i have a solution for that. Please mail me [email protected]
this is not working.i perfectly done all by your guide but it becomes bricked whih means there is a exlamatry symbol on top right corner.it does’nt even start.why?
If this is not working try to flash a pre-rooted ROM.
Link > http://forum.xda-developers.com/android/development/rom-gennxt-prerooted-stock-t3126368/post61141701#post61141701
If this is not working try to flash a pre-rooted ROM.
Link > http://forum.xda-developers.com/android/development/rom-gennxt-prerooted-stock-t3126368/post61141701#post61141701
http://forum.xda-developers.co…
corrupted file hai yaar…. ye v waste of time hai
sir help me. i done all processes but debugging mode forgotten by mistake & my phone not connect to the pc & also not start completely only shows exclamation mark (!) on the top of left corner. what can i do.. please help me as soon as…