Follow the guide to Take Screenshot On Huawei Mate 10 and Mate 10 Pro: The only Time you would see someone using his Android Device with Two Hand is when the Device is Too Big or the Person in front Trying to Take a Screenshot. Taking Screenshot could be a nightmare for some guys out there as it requires to hold two awkwardly placed Button Simultaneously, which can Often lead to Falling of Your phone which could be a nightmare.
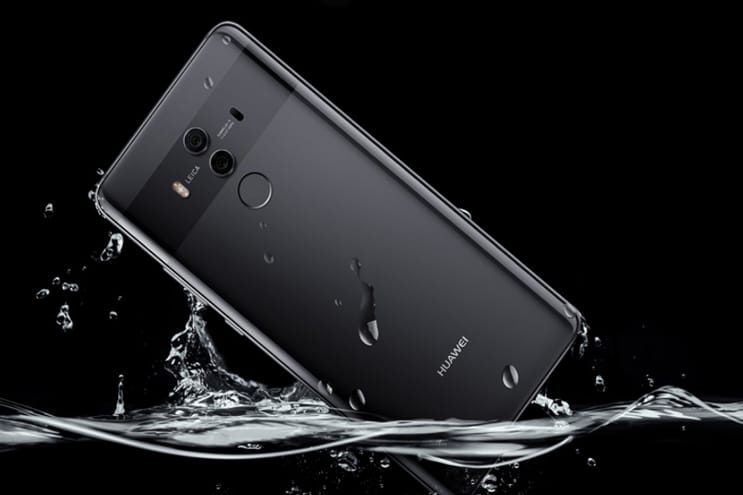
Huawei Mate 10 Pro is packed with some Pretty Decent Specification out 6.0 inch AMOLED Display, Hisilicon Kirin 970 Chipset, Octa-core CPU (4×2.4 GHz Cortex-A73 & 4×1.8 GHz Cortex-A53), Mali-G72 MP12 GPU, 6/4 Gigs of RAM and a Large 4000mAh Battery.
And Same as Impressive as its Younger Brother The Huawei Mate 10 is.But Taking a Screenshot is on Both the Device is like Holding down the Power and Volume Down Buttons Together for a while.But Rather Looking Socially Awkward at a Party Here come a Feature called Knuckle Screenshot By Huawei. With Some of the Cool Gesture, You can take those Simple Screenshots.
How To Take Screenshot On Huawei Mate 10 and Mate 10 Pro
A. Using Knuckle Screenshot:
1. Open “Settings” and select “Smart assistance”.
2. Touch “Motion control > Smart screenshot” and turn on the “Smart screenshot” switch.
● Full screenshot: Knock the screen firmly with your knuckle twice to capture the current screen in full.
● Partial screenshot: Knock the screen firmly with your knuckle. Drag your knuckle around the area you want to capture, and then return to the starting point. Your selection is displayed on the screen; the area inside the blue line will be captured. You can also select the screenshot box at the top of the screen for different screenshot shapes. Touch the Floppy Icon to save a screenshot.
B. Using Google Assistant:
If Knuckle Screenshot is not Your way of doing the “Screenshot” Thing then Here comes in Play our Long Awaited Friend the Google Assistant, The Screenshot thing can also be as simple as saying to the Google Assistant: “Okay Google, Take a Screenshot“.
But Remember Screenshot Taken Via this method (Google Assistant) Are not saved they are just one time available for Share. Sorry for those Guys Who have an Interest in Blackmailing Their Friends Through some Screenshot but You Guys can try the Other ways.
Liked this post? Let us know on X (formerly Twitter) - we love your feedback! You can also follow us on Google News, and Telegram for more updates.
