Google has released Android O 8.0 Developer Preview 3 for Google devices and it sounds great. The developers will be more benefited from this Android O 8.0 Developer Preview 3 as final Android O APIs and an official SDK are available to start building their apps.
There will be more stability to third party app testing in this update. As Google already mentioned before developers can start building their apps based on Android O 8.0 and Publish it in play store. Obviously, Android O 8.0 developer preview is only available for Google Devices for now. So, if you own any one of the Google devices then you can taste the Android O 8.0.
If you have already enrolled in Android O Beta Program then you will receive update notification to download and install Android O 8.0 Developer Preview 3 onto your device. If you didn’t get any notification then go check in settings –> about device –> Software update. If there is no update, then you have to wait for the update to come to your region. It may take few weeks to reach all corners of the world. But if you can’t wait for the official OTA Update then you can manually update your device to Android O 8.0 Developer Preview 3.
RootMyGalaxy.net is not responsible for any damage happened to your device(s) while following this guide, Proceed at your own risk.
PRE-REQUISITES
- This Update is only for Nexus Player device.
- Make sure that the USB drivers for your device are installed on the PC.
- We recommend to take complete backup and proceed.
- Maintain 50-60% battery to prevent sudden shutdown between the process.
DOWNLOADS
Android O 8.0 Developer Preview 3 for Nexus player
Steps to Install Android O 8.0 Developer Preview 3 on Nexus Player
- Download and install adb drivers on your PC.
- Download Android O 8.0 Developer Preview 3 ZIP file from above links.
- Save the downloaded ZIP file to ADB folder. (C:adb)
- Enable ‘USB Debugging’.
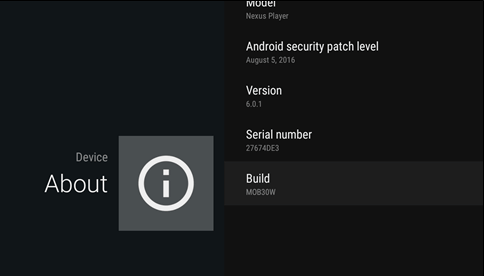
- Go to Settings –> About phone –> click 7 times on the Build Number. This will enable the Developer Options menu.
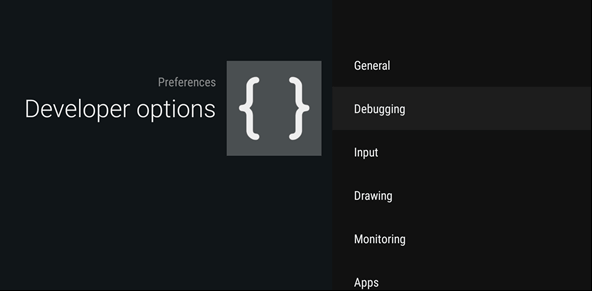
- Go back to main Settings –> Developer options –> Enable USB Debugging.
- Now, Plug USB cable into Player’s microUSB port, computer, TV (Better use laptop)
- A warning will show up to grant debugging access to this computer, accept it.
- Extract the saved ZIP file in ADB folder.
- In ADB folder, press “Shift + Right mouse click” and choose on “Open command window here.”
- To make sure that your device is connected properly, execute the below command.
adb devices
- Execute the below command to reboot into the bootloader.
adb reboot bootloader
- Within few minutes Nexus Player will reboot into bootloader. Now you need to unlock the bootloader (skip this step if you have already unlocked bootloader).
fastboot oem unlock
It will fail for the first time, to confirm you have to give the command one more time. This step will wipe the device.
- Execute the below command to flash the firmware.
flash-all.bat
- After successful, installation your device will automatically reboot to latest Android O 8.0 Developer Preview 3.
- Done!!!
