Here in this guide, you will learn the easiest way to Clear / Wipe Cache Partition On OnePlus 7. This is a very important thing which all android users should know. If your Android device crashes most of the time, then you should clear the cache partition before doing the full factory reset as most of the time some incompatible apps cause this kind of issues and clearing the cache partition fixes the issue.
In Android, with time system cache partition keeps collecting temporary system data. Thanks to this, system access apps more quickly and efficiently which results in better user experience. But some times due to loads of outdated data, it slows down the device, so a periodic cache clearing can help make the Android device run more smoothly
The OnePlus 7 was launched alongside with the OnePlus 7 Pro. The device has all the same internal (majority) as the OnePlus 7 Pro. It only lacks the pup up a camera and 90Hz 2k AMOLED Screen. Instead of that, it has the same a water drop notch at the top of the display just like the OnePlus 6T. The OnePlus 7 is way cheaper than the OnePlus 7 which makes it one the best smartphones of 2019.
The device runs Android v9.0 (Pie) at the top of OxygenOS 9.5.4 out of the box. It has a 6.41 inches (16.28 cm) bezel-less Optic AMOLED capacitive touchscreen display with a waterdrop notch. The native resolution is 1080 x 2340 pixels. It is well protected by Gorilla Glass 5 Protection. The device is powered by Qualcomm Snapdragon 855 Octa-core Processor coupled with 6/8GB of RAM and 128GB/256GB of onboard storage option.

The device sports a 48 + 5 MP Dual Rear Cameras and a 16 MP, f/2.0, 25mm (wide) front-facing camera. The main rear camera can shoot 2160p@30/60fps, 1080p@30/60/240fps, 720p@480fps, Auto HDR videos. The OnePlus 7 houses a 3700 mAh battery with Dash Charging (20W). It has an On-screen Fingerprint Sensor.
Steps To Wipe Cache Partition On OnePlus 7
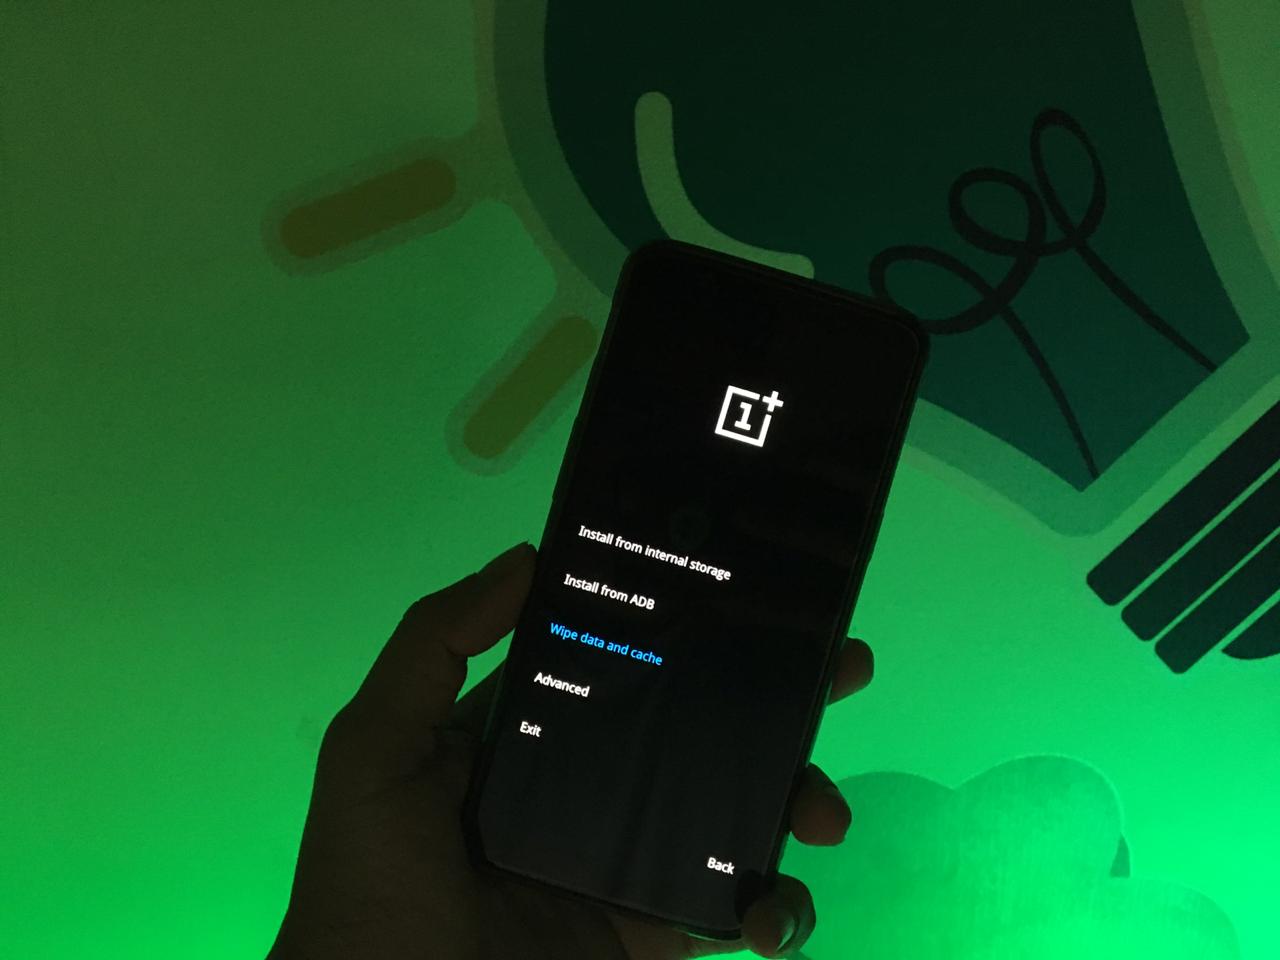
- First, boot your device into stock recovery mode
- Now from all the option select ” Wipe Data and cache ” (Use Volume buttons to navigate and power button to select)
- Once the process is done, just reboot your device
If you liked this guide, then share it. If you have any quarries regarding this guide, feel free to leave that in the comment section down below.
