If you’re a Windows user, you’ll be able to use Windows 11 stickers on your desktop wallpaper. The new Windows 11 stickers feature comes as a part of the Windows 11 22H2 update but it isn’t enabled by default. As long as you’re on the Windows 11 22H2 build 22621 or newer, you’ll be able to enable the Windows 11 stickers feature with a simple registry hack. In this article, you’ll get to know how you can enable and use Windows 11 stickers on your desktop.
How to enable Windows 11 stickers to feature on your PC
The Window 11 stickers feature comes disabled by default. However, there’s an easy way you can enable Windows desktop stickers on your Windows 11 PC/laptop.
- Click the Start or Search button present on the taskbar and then type “regedit”

- After that, open Registry Editor
- Navigate to this location in the Registry Editor (copy and paste the location in the address bar) –
HKEY_LOCAL_MACHINESOFTWAREMicrosoftPolicyManagercurrentdevice
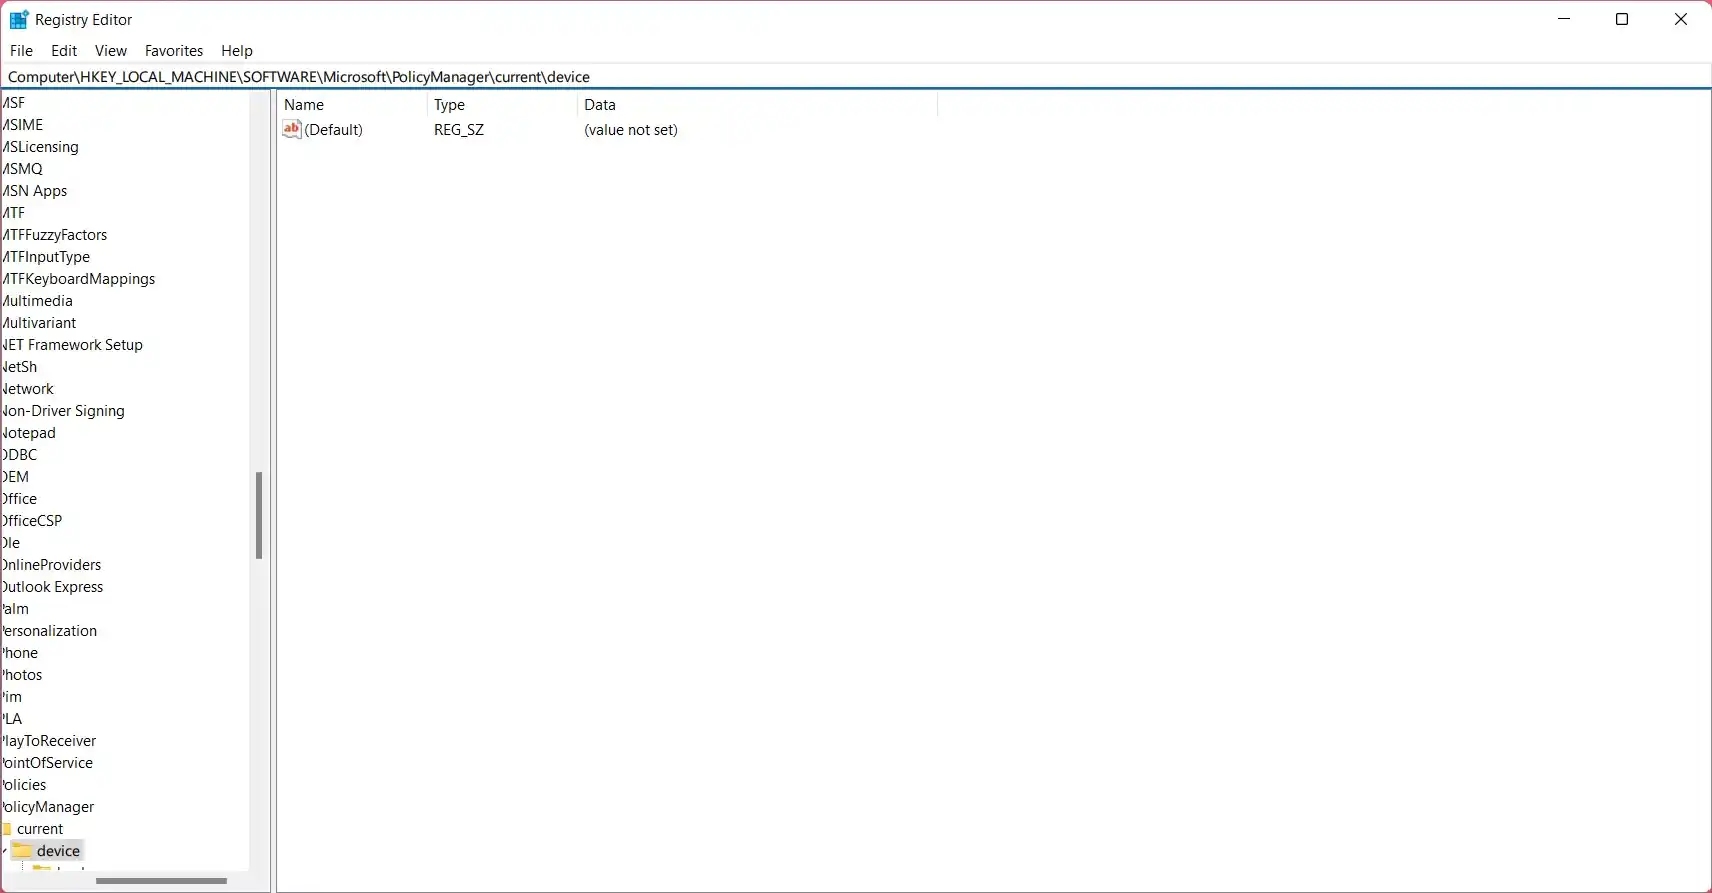
- Right-click on the device directory located in the left navigation column
- Then, select New -> Key and name the key stickers
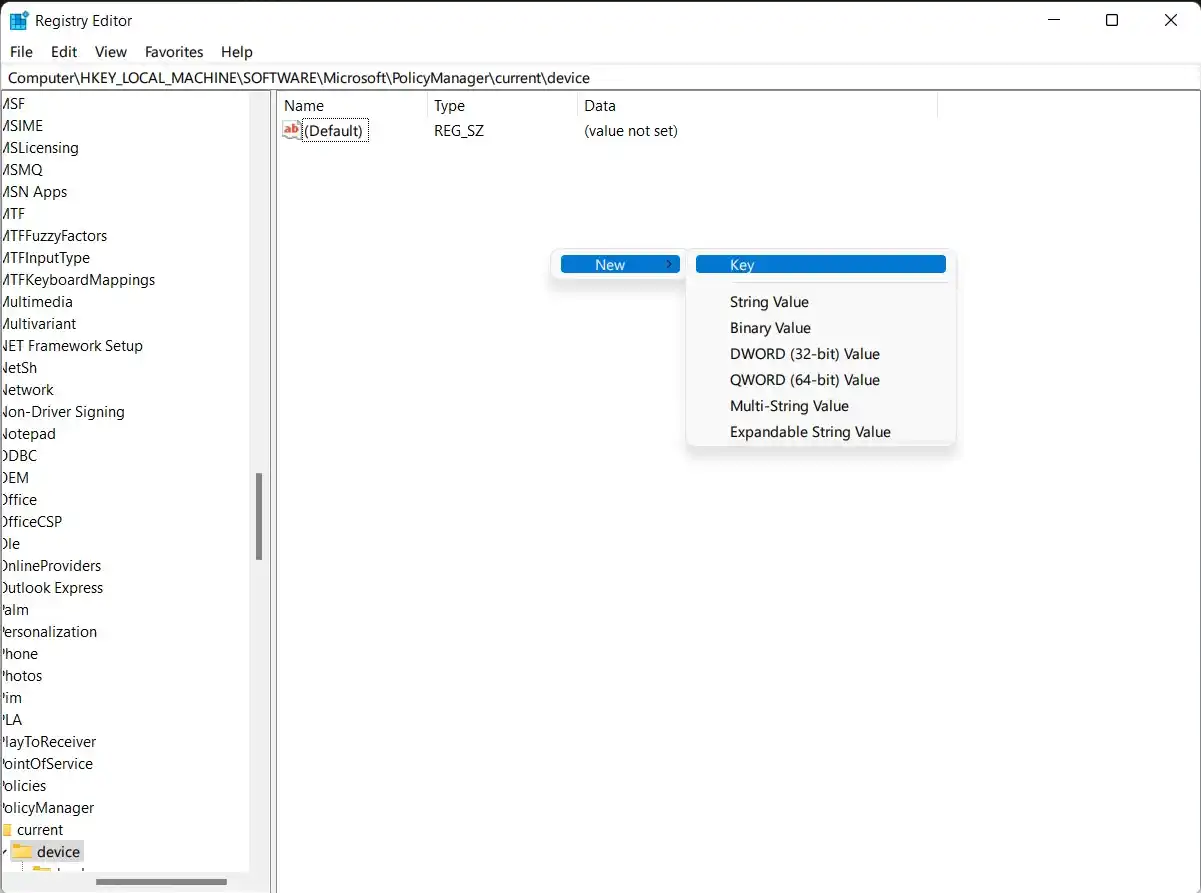
- Once the stickers are selected, right-click the empty space present on the right
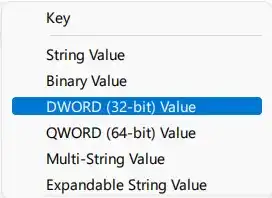
- After that, select New ->D WORD (32-bit) Value
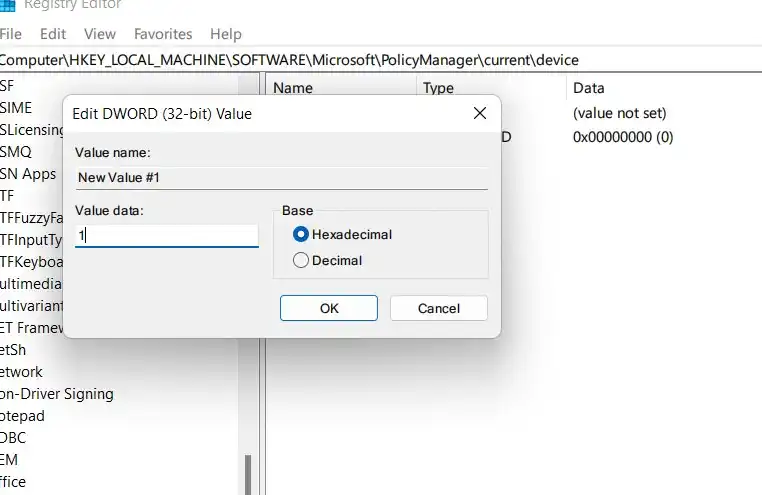
- Now, name it “EnableStickers”
- Double-click the newly created DWORD Value and change the value to “1” before clicking OK
After closing the registry editor on your computer, restart it to apply the new settings. Once you log in after restarting, you’ll be able to start using the stickers on the desktop.
How to add and edit Windows 11 stickers on your desktop

Once you have enabled Windows desktop stickers and rebooted your computer, you’ll be able to add and edit the stickers on the desktop.
- Right-click anywhere in the empty space on your desktop
- Select “Add or edit stickers”
- Search or scroll down to browse for different stickers
- Select the stickers that you wish to place on the desktop
The stickers are placed at the top-left corner by default once you click on one. You can also add multiple stickers that way, but they will be stacked up on top of each other. You can then drag and move around the stickers.
For resizing or deleting a sticker, you can just click on it. Then, you can drag the borders for resizing them. Further, you can click on the “Delete” button if you want to remove the sticker. Once you’re done, you can click on the cross “X” icon at the top.
Read More:
