Google Pixel 7 and Pixel 7 Pro have become the latest additions to the Pixel lineup. The two devices come shipped with Android 13 out of the box and a lot of customization. Google devices have been among the most popular Android devices for custom developments. It can be installing custom ROMs, CPU overclocking, rooting to gain administrator privileges and more. In this guide, you’ll get to know how to unbrick by flashing stock ROM on your Google Pixel 7 and Pixel 7 Pro.
Steps to Flash stock ROM on your Google Pixel 7 and Pixel 7 Pro
Step 1: Backup your Pixel device
To avoid data loss, you should back up your Pixel smartphone. You should take a full backup on your device even when it is in a bricked or boot loop state. Boot your Pixel device to the TWRP recovery and then use the Backup option for taking the backup.
Step 2: Install Android SDK
To start off, install the Android SDK Platform Tools on your PC or computer. It’s the official ADB and Fastboot binary provided by Google. You should download it and extract it to a convenient location on your PC. Doing this will give you the necessary platform-tools folder.
Step 3: Download the required firmware file
To continue, get the Pixel 7/7 Pro OTA image (and not the Factory Image). Transfer the firmware file to your computer’s platform-tools folder. Also, change the extension to.zip and the name to update. Simply making the file name shorter for use in the Command Prompt is the only reason for the rename.
Step 4: Enable USB Debugging
The next step is to turn on USB Debugging so that the computer can see the device when it is in ADB mode. When you do this, your device will enter Recovery Mode the next time it boots. You should then navigate to your device’s Settings > About Phone > Click the Build Number 7 Times > Get back into Settings > System > Advanced > Developer Options > Enable USB Debugging.

Step 5: Boot your Google Pixel 7/Pixel 7 Pro to Stock Recovery
- Connect your smartphone to the PC using a USB cable and ensure that USB debugging is enabled
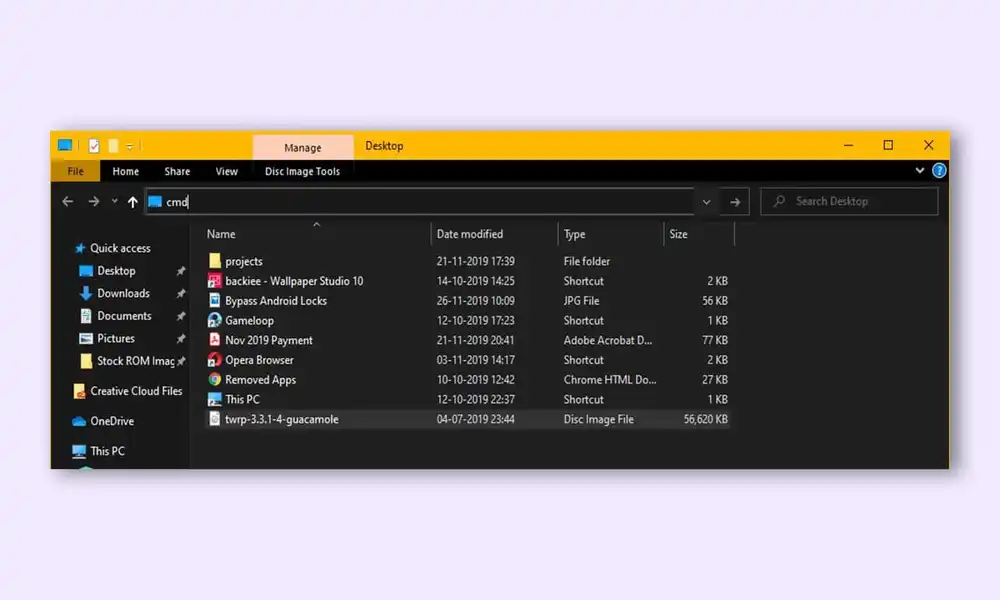
- Go to the platform-tools folder, type in CMD in the address bar, and then hit Enter to launch the Command Prompt
- Type the following command in the CMD window for booting your device to Fastboot Mode –
adb reboot recovery
Steps 6: Install Firmware on Pixel 7/7 Pro Via ADB Sideload
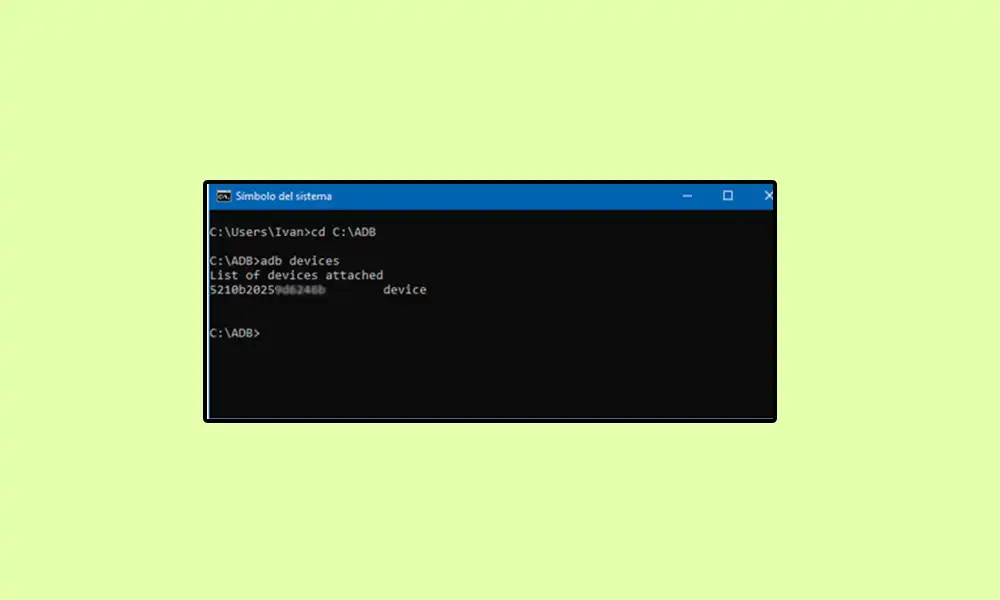
To confirm “Apply Update via ADB,” hit the Power button after using the Volume keys to choose the option. Go ahead and open the command prompt by typing CMD into the address bar and clicking the Enter key. The command prompt will open up. Enter the following command in the CMD window to verify the ADB Sideload connection:
adb devices
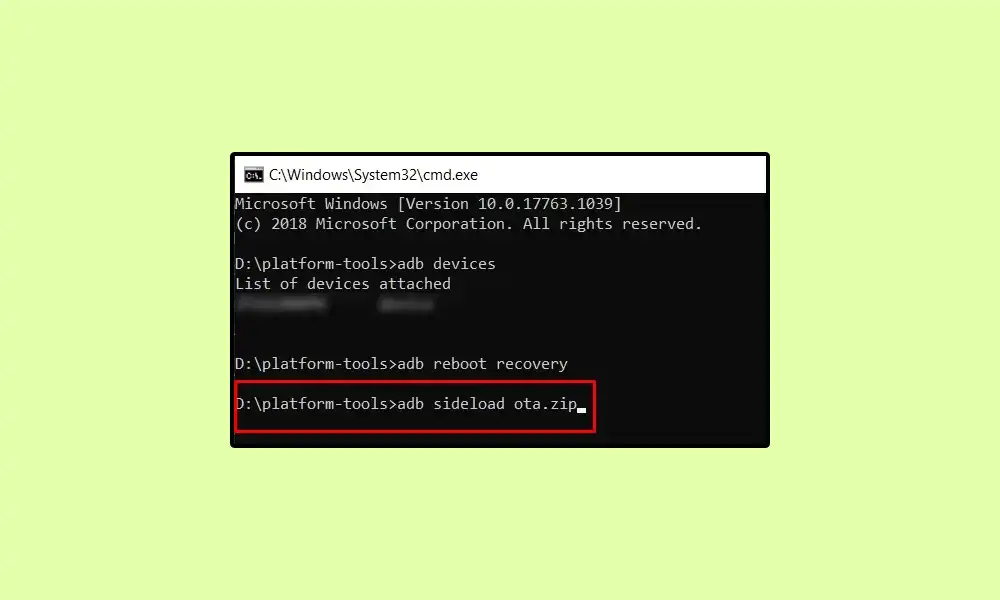
If the connect is good it will show up in the command window. To install the OTA file, use the following command in the CMD window (inside platform-tools).
adb sideload update.zip
It may take a few minutes for the installation to finish. Once completed , use the Volume controls to choose the Reboot System Now menu item, and then hit the Power button to confirm your selection.
And that’s the whole thing! Here you have the steps on how to use ADB Sideload on your Pixel 7/Pro to install the official firmware. Leave a comment below if you have any queries about this guide.
Liked this post? Let us know on X (formerly Twitter) - we love your feedback! You can also follow us on Google News, and Telegram for more updates.
