Guide To Install TWRP Recovery and Root Sony Xperia XZ1: Sony Xperia XZ1 was released in August and after nearly 4 months, someone has figured out how to root the device safely. XDA senior members N1ghtr08d and modpunk have worked hard to install TWRP recovery and root Sony Xperia XZ1. You will need a modified TWRP recovery, Magisk, and a custom kernel port. You have to unlock the bootloader before rooting the device. But unlocking the device means you cannot use first-party features like Track ID and X-reality.
In-order to root any android device, users have to unlock the bootloader on the device first.Then a user can install custom recoveries like TWRP, Philz Recovery or CWM.Once the custom recovery is installed, just flash the supersu or magisk root file to gain root access on android device.This process is very simple but users have to follow all the steps carefully to avoid bricked device situation.
There are some custom ROMs available for Sony Xperia XZ1 note that are based on Android 8.0 and 8.1 Oreo. All you have to do to install a custom ROM is unlock the bootloader, install a custom recovery like TWRP and root the device though it is optional at times. The following is a complete guide on how to perform all the three tasks required to install custom ROM.
Rooting Sony Xperia XZ1 Note gives you additional benefits like you can install special apps, flash custom ROMs, you can streamline your phone performance and many extra features. The real performance of an Android smartphone can only be unlocked once it is rooted. Rooting your Sony Xperia XZ1 Note, lets the user flash different Custom MODs, ROMs, and such stuff onto the device.
Now here we come with a full working guide on how to install TWRP Recovery and Root Sony Xperia XZ1 Note. While rooting you have to be very careful and proceed with great caution, anything wrongs you may get your device bricked.
If you want to root your device without PC or Laptop using one click root tools, then you can follow our guide linked below
How To Root Any Android Mobile Without PC or LaptopIf you are new to TWRP recovery and rooting then here we first share some facts about Android rooting.
What is Rooting An Android Device Mean?
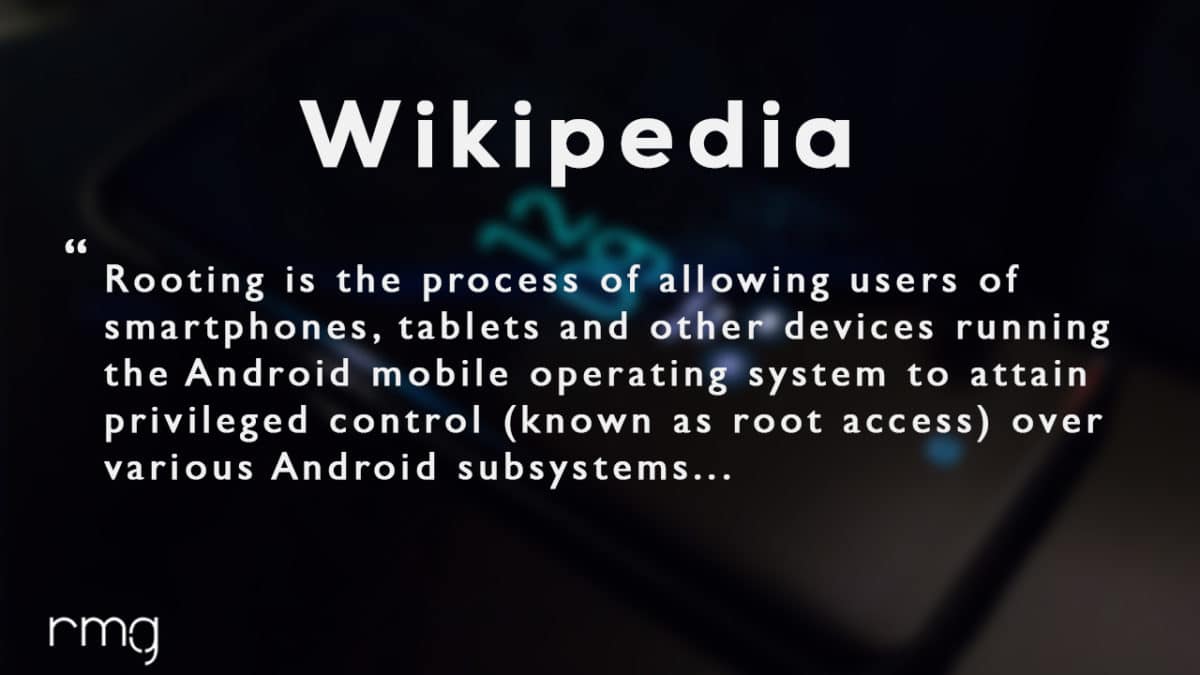
Rooting is the process of gaining full admin control of the Android device.You can use the device to its full potential,‘Rooting’ means giving yourself special privilege or “root permissions” on your phone. It’s similar to running programs as administrators in Windows.
After rooting your device you can install different MODs, kernel, ROMs on your device.You can install latest Android updates (like the Android 6.0.1 Marshmallow) On old device by installing third party ROMs like CyanogenMod 13.You can overclock the CPU and GPU of your device to get the best performance.You can hibernate any app you want.You can underclock the CPU to get better battery life.
For more information about Android rooting, check out our detailed post here > What Is Rooting Android Phone? Advantages And Disadvantages
What Is TWRP Recovery and Some of its benefits?
TWRP is a custom recovery for Android.It is the most popular Android custom recovery.It replaces the stock recovery On Android devices.It comes with many extra features compared to the stock recovery.It needs the bootloader to be unlocked.If your bootloader is locked then check out the guide here > How To Unlock Bootloader Of Any Android Using Fastboot.Some devices like Xiaomi and Huawei phones need a unlock code.
[su_heading size=”18″ align=”left” class=”Bold”]Some Of the benefits Of Having TWRP Recovery[/su_heading]
- Users Can Install Custom ROMs, MODs, Kernel via TWRP recovery
- Users can flash system image (.img) file via TWRP recovery.
- You can flash modding zip files
- It is being used to install Xposed Modules
- Easy to Root and Unroot using TWRP Recovery flashable zip SuperSU
- Users can root by flashing magisk via TWRP recovery
- You can create nandroid backup via TWRP
- Can remove all bloatware using TWRP Recovery.
- You can flash Custom Kernel To underclock and overclock.
- You can clean Wipe, Cache, and Data via TWRP recovery.
WARNING
rootmygalaxy.net will not be held responsible for any kind of damage occurred to your device while following this tutorial. Do it at your own risk.
PRE-REQUIREMENTS
- Make sure battery percentage is more than 60%
- Make sure you have installed USB Drives on your PC.
- Install ADB & Fastboot drivers on your computer.Guide Quickest Way To Install Android ADB and Fastboot (with drivers) on Windows or How to Install ADB and Fastboot on Mac or Linux
- Now Enable Developer option.Guide How to Enable Developer Options & USB Debugging on Android
- Create a nandroid backup on your device How To Create & Restore Nandroid Backup On Android Devices
→ Full Guide to safely root Sony Xperia XZ1 and Install TWRP Recovery
DOWNLOADS
- Download TWRP For Xperia XZ1 by modpunk || download latest version uploaded by the uploader (Rename the downloaded file to twrp.img)
- Download Kernel Port For Xperia XZ1 by aleddom.
- Download latest Magisk 14.5
Steps To Install TWRP On Sony Xperia XZ1
Step 1. Move TWRP image file (renamed to twrp.img) and the kernel image (boot.img) to ADB installation folder on your computer.
Step 2. Launch ADB interface from the ADB installation folder by pressing Shift and right-clicking on the empty space and selecting Open Command Window Here option from the drop-down menu.
Step 3. Connect your smartphone to your computer via USB cable. Make sure USB Debugging is enabled from Developer Options. Type the following command on ADB interface.
adb devices
This is to test whether ADB has detected your smartphone or not.
Step 4. Reboot Xperia XZ 1 in the fastboot mode using the following command on ADB interface.
adb reboot bootloader
Step 5. Once it boots in fastboot mode, type the following commands one by one.
fastboot flash recovery twrp.img

fastboot flash boot boot.img

fastboot flash FOTAKernel boot.img
Each command will take a few seconds to execute.
Step 6. Finally, type the following command to reboot your device.
fastboot reboot
Steps To Root Sony Xperia XZ1
Step 1. Shut down your device. Boot it into recovery mode by pressing Power and Volume down button together until you see TWRP screen.
Step 2. You will be prompted to enter a password. If you use a lockscreen password, use that. Else, type default_password in the password field.
Step 3. Now, connect your smartphone to your computer and transfer the downloaded Magisk zip file to your device from PC.
Step 4. On the TWRP menu on your smartphone, select install and select the Magisk zip file transferred and swipe at the bottom to flash Magisk.
Finally, tap on Reboot System option and you have successfully root your Sony Xperia XZ1.
Source: xda
