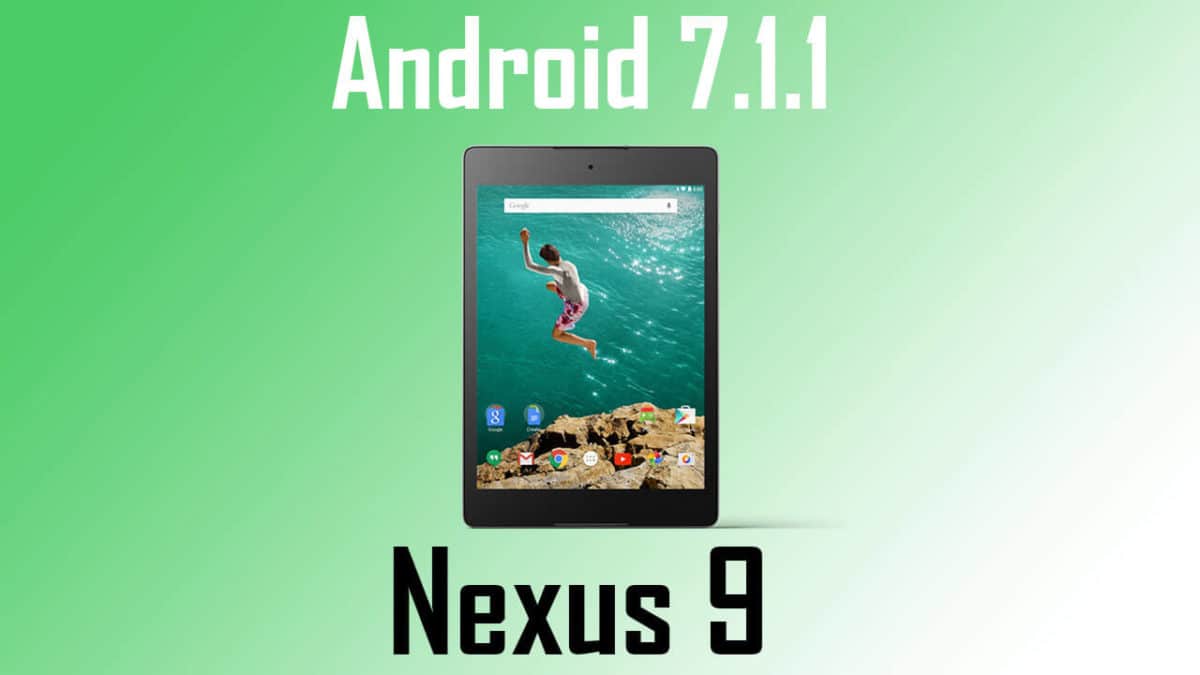
In this guide, you will be able to learn how to Manually Update Google Nexus 9 to NMF26F (Android 7.1.1). The HTC Nexus 9 has received its Android 7.0 Nougat back in 2016, but it has gotten the Android 7.1.1 update as well back in December, 2016.
If your Nexus 9 is not rooted or its bootloader is locked then you can get the update notification.To update Via OTA, Go To Settings–>>About Phone–>>System Update.If there is no update, wait for few more days as the OTA will be coming soon to your region.If your HTC Nexus 9 hasn’t received the Android Nougat 7.1.1 update, yet, then follow this guide to Manually Update Google Nexus 9 to NMF26F (Android 7.1.1).
Warning:
rootmygalaxy.net will not be held responsible for any kind of damage occurred to your Nexus 9 while following this tutorial.Do it at your own risk.
Pre-Requisites
- Make sure there is at least 80% battery left on your smartphone before begin started this process
- Install USB Driver for Nexus On your PC->Usb Drivers
- This guide is only For Nexus 9 with an Unlocked bootloader.So don’t try on other devices
- Make sure you’ve ADB driver installed and properly working, it’s very important to have this.Guide [icon name=”hand-o-right” class=”” unprefixed_class=””] Quickest Way To Install Android ADB and Fastboot (with drivers) on Windows
Downloads
Download Android 7.1.1 Image for Nexus 9 (WiFi).
Download Android 7.1.1 Image for Nexus 9 (LTE).
(download the right factory image / firmware, according to your device) e.g LTE or WiFi
How To Manually Update Google Nexus 9 to NMF26F (Android 7.1.1)
*First of all, Read the Important Section above
Step 1. Download Android 7.1.1 Factory Image on the desktop of your PC for Nexus 9 from the above link
Step 2. Unlock bootloader of your Nexus device, if you haven’t done this already. Help is here. (same on every nexus)
Step 3 Connect your Nexus with PC using its USB cable.
Step 4. Extract the factory image file you downloaded In Step-1, using a free software like 7-zip on your PC. You should get flash-all.bat file. If not, then extract again.
Step 5. Disconnect your Nexus device from PC if it’s connected.
Step 6. Boot your Nexus device into bootloader/fastboot mode:
- Power off the device.
- Press and hold both Volume Down and Power button together until you see anything on the screen. Fastboot should be written at top.
Step 7. Connect your Nexus device to PC now using USB cable.
Step 8. Double click the flash-all.bat file on Windows — it’s in the folder where you extracted all contents of the downloaded file.
- If you’re in Linux or Mac, use this command in terminal: sh ./flash-all.sh
DONE!!!. Once all files installed, your Nexus 9 will have the NMF26F build running.
If you have any queries related to this post feel free to leave that in the comment section below.
