Poco X2 was recently launched and as promised the company has released a new software update for the device. The new update brings the latest January 2020 security patch update to the device.
The update comes with firmware build number 11.0.4.0.QGHINXM. It is an incremental update which addresses various bugs. The update has fixed the camera app crashing issue in the pro mode. It also brings optimization to image processing. All in all, it is a camera-related update.
The update is being rolled out as an OTA update (Over-the-air) in India. If you haven’t received the OTA update yet on your device, you can check for the OTA updates manually from your device. Go to the Software Updater tool and check for it. If not available then manually download and install the update file from below. Additionally, you can flash the Fastboot ROM as well if you’re on a developer ROM.
Poco X2 V11.0.4.0.QGHINXM Update Changelog
- System
- Updated Android Security Patch to January 2020. Increased system security.
- Camera
- Optimization: Image processing in several scenarios
- Fix: The app crashed in PRO mode
- Settings
- New: Device categories with Mi Link support
Disclaimer:
RootMyGalaxy.net is not responsible for any damage happened to your device(s) while following this guide so kindly proceed at your own risk.
Pre-Requirements:
- Make sure the battery is charged up to 60% or above.
- Install ADB & Fastboot drivers on your computer.
- Enable the Developer Options and OEM Unlock on your device.
- Create a backup on your device. Check out the guide.
- You will require a Windows/Mac PC or Laptop and a USB cable.
- Download all the required files such as firmware, tools, drivers from below. Then proceed to the installation part.
Download
- MIUI V11.0.4.0.QGHINXM : Recovery ROM || OTA ROM
How To Install Poco X2 January 2020 Security Patch Update (V11.0.4.0.QGHINXM)
Either you can ADB sideload the OTA or use the fastboot method for fastboot ROM or install the flashable zip (recovery file) file via TWRP recovery as well. Check out the full guide below.
Method 1: Update via Stock Recovery (Flashable ZIP)
Method 2: Using Fastboot (Fastboot ROM/Firmware File)
- First of all, enable the “USB debugging” option. Guide > How To Enable USB Debugging On Android Oreo and Pie 8.0/9.0
- Download and Install ADB and fastboot driver for windows or ADB and Fastboot for Mac
- Download Poco X2 Fastboot ROM from the above extract in a folder where adb is installed.
- Now, run
flash_all.bat(will not wipe data) orflash_all_clean.bat(will wipe data). - That’s it.
Method 3: Using TWRP (Only TWRP Flashable ROM)
- Download the TWRP flashable firmware zip file and save it to your device.
- Now, Boot your device into Recovery mode.
- In TWRP, create a Nandroid backup (Recommended) (so that you can flash the backup if anything goes wrong).
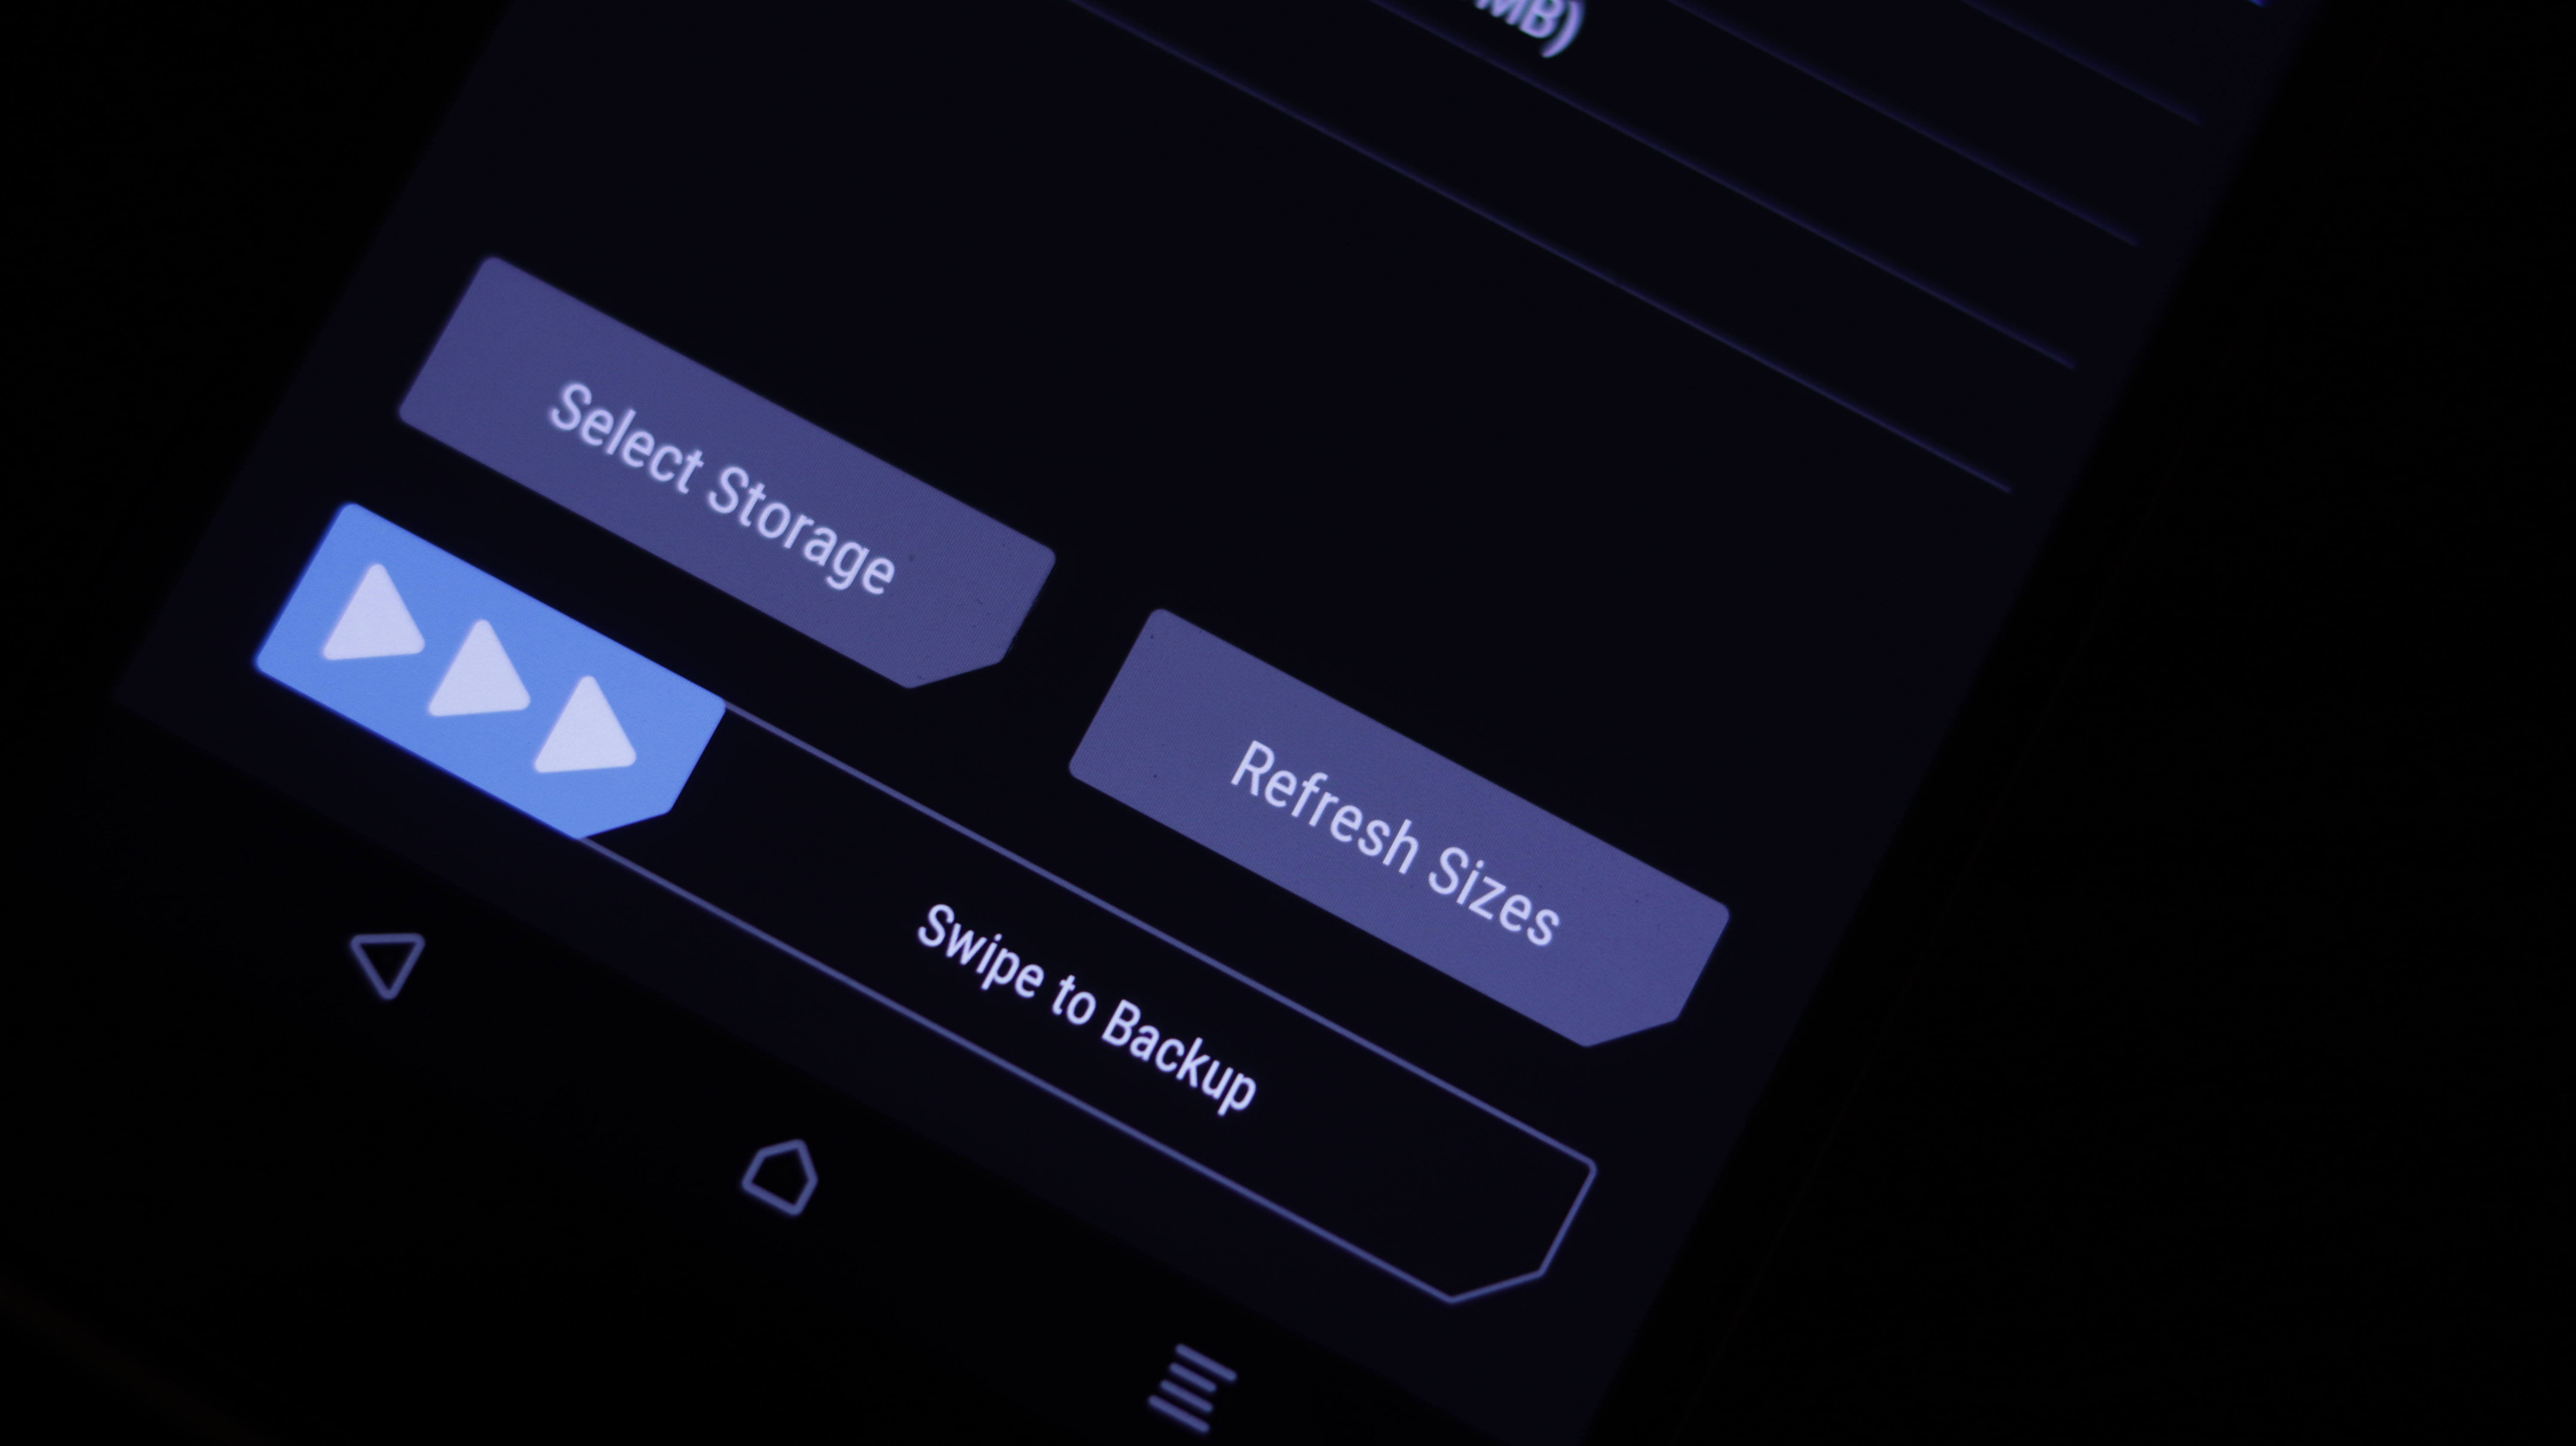
- Now, Go to the Install section on your TWRP menu.

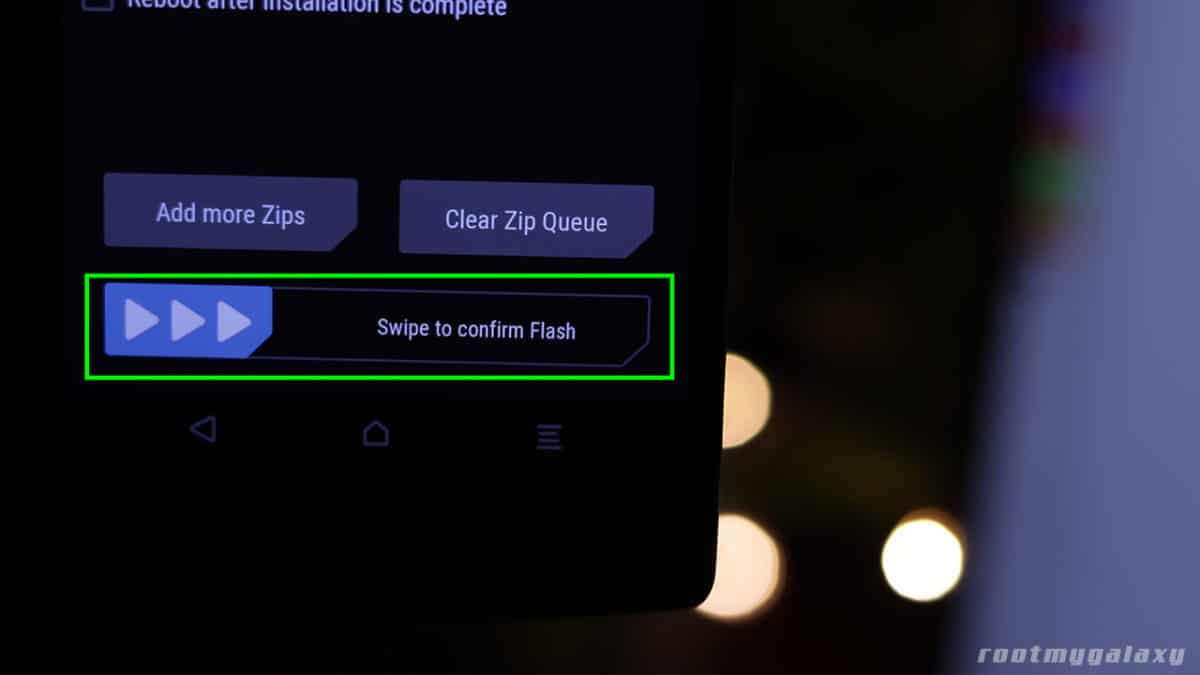
- Next, locate the flashable firmware and swipe to start flashing the zip file.
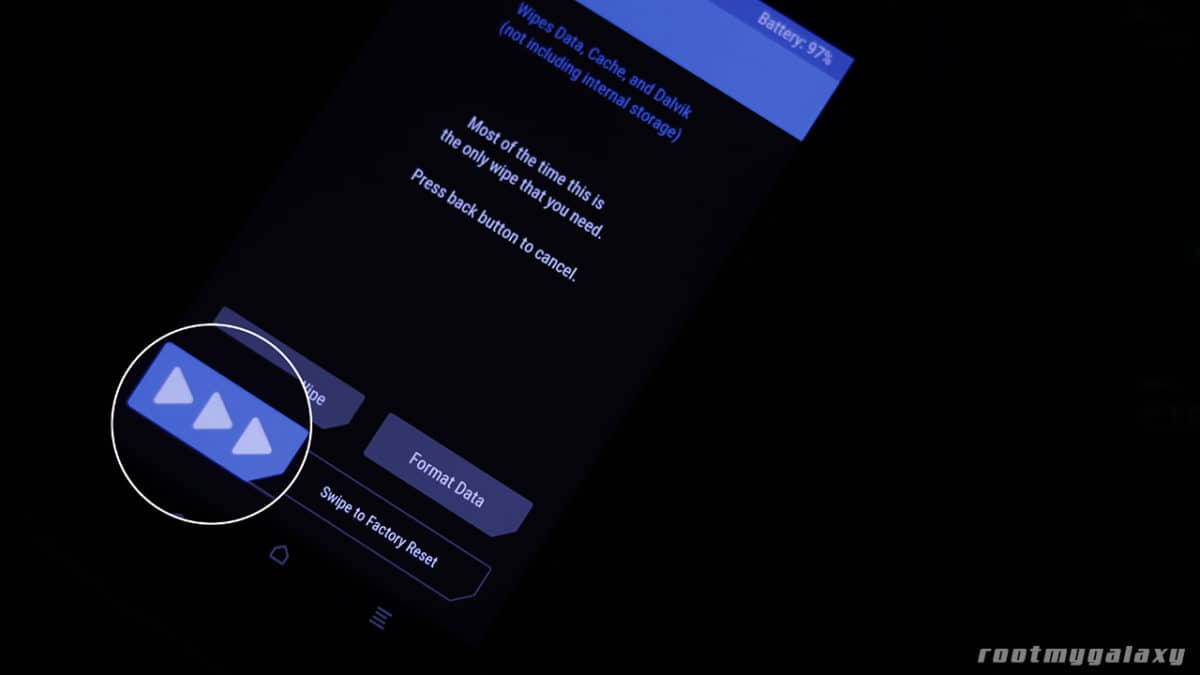
- Now, wipe cache & Dalvik cache again and Reboot your device.
If you have any questions or suggestions related to this post, feel free to leave that in the comment section down below. 🙂
