Motorola has seen many up and downs but for the last few years the company has shifted its focus towards the budget devices and it has seen good results as well. Moto G series devices are the prime example of that. With Moto G series devices Motorola offers great bang for the buck. Moto G8 replaced the Moto G7 and just like the previous generation this too targets the budget-oriented market.
If you are a Moto G8 user and want to Install TWRP Recovery and Root Moto G8 (a.k.a Moto G Fast), then we have got you covered in this guide. We will be sharing all the required steps to get Moto G8 rooted. This is a very simple and easy process to follow. Just make sure to go through all the steps properly.
The Moto G8 is the successor to the very popular Moto G7. The device comes equipped with a 6.4-inches display with a screen resolution of 720 x 1560 pixels. The device is powered by an octa-core Qualcomm SM6125 Snapdragon 665 chipset with Adreno 610 GPU coupled with 4GB of RAM. It has 64GB internal memory.
The Moto G8 sports a triple (16MP+8MP+2MP) rear cameras and 8MP front camera. It is a dual sim device. It has a rear-mounted fingerprint scanner which is really fast. The device comes with Android 10 out of the box. It houses a Non-removable Li-Ion 4000 mAh battery with support of Fast battery charging.
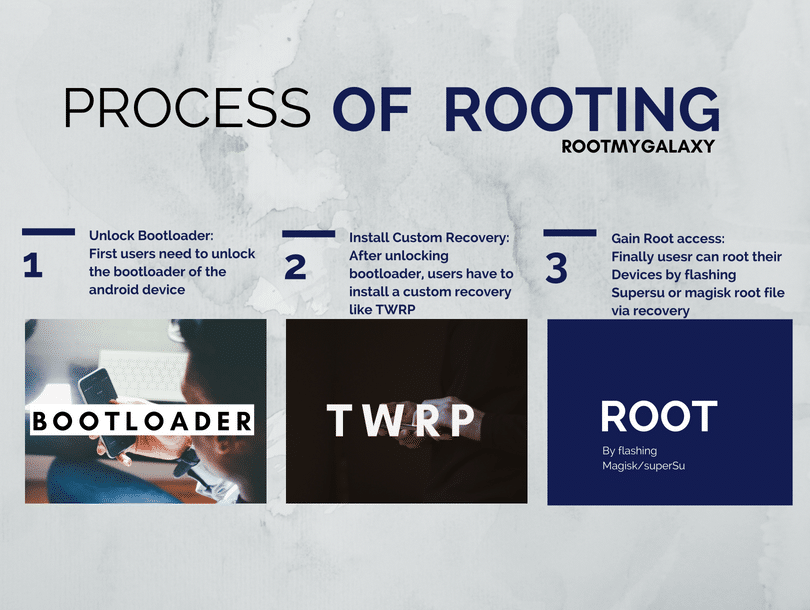
Process Of Rooting
If you are new to rooting, then you should know that Unlocking bootloader of an android device is the first and most important step in the Android rooting process. First users have to unlock the bootloader, then they can install TWRP recovery via Commands. Once TWRP is installed, root can be gained by flashing the supersu or magisk via TWRP.
Motorola devices are very popular among the developers. The Moto G6 and Moto G6 Plus have received a working TWRP recovery file, which means users can gain root access on their Moto G8 by flashing SuperSu or Magisk via TWRP recovery. This is really great news for power users like us. If you are interested, then follow the guide to Install TWRP and Root Moto G8.
If you want to root your device without PC or Laptop using one click root tools, then you can follow our guide linked below
How To Root Any Android Mobile Without PC or LaptopIf you are new to TWRP recovery and rooting then here we first share some facts about Android rooting.
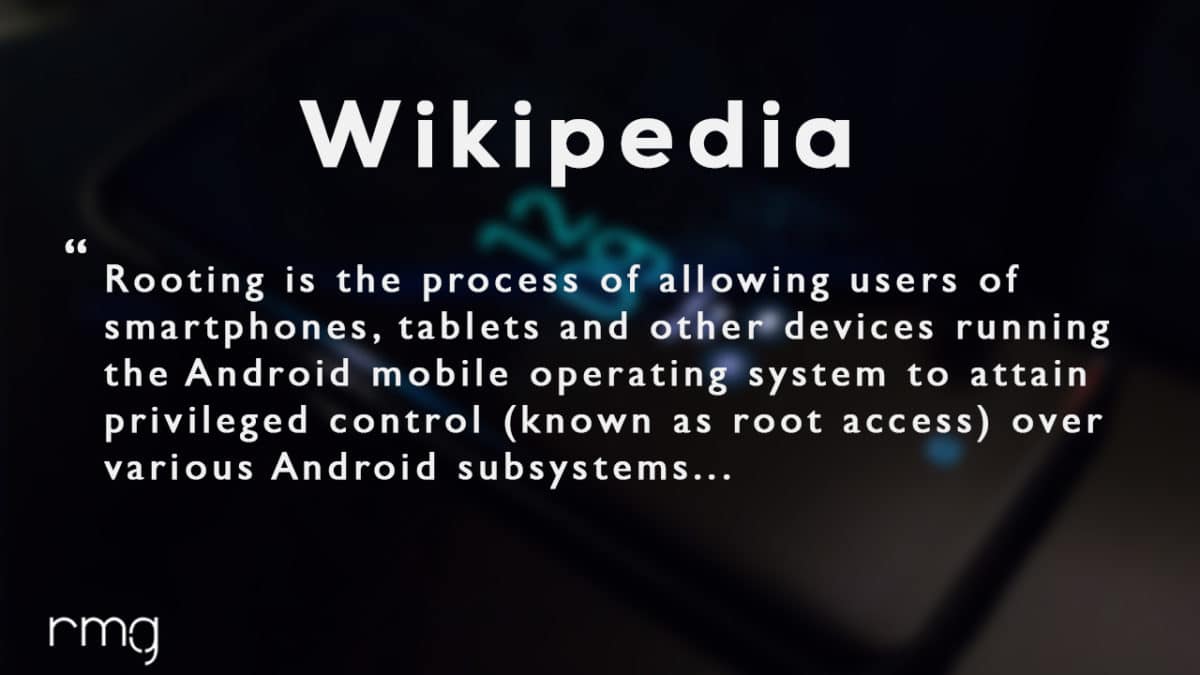
What is Rooting An Android Device Mean and its advantages?
Rooting is the process of gaining full admin control of the Android device. You can use the device to its full potential,‘Rooting’ means giving yourself special privilege or “root permissions” on your phone. It’s similar to running plus grams as administrators in Windows.
After rooting your device you can install different MODs, kernel, ROMs on your device. You can install latest Android updates (like the Android 6.0.1 Marshmallow) On old device by installing third-party ROMs like Lineage OS 17. You can overclock the CPU and GPU of your device to get the best performance. You can hibernate any app you want. You can underclock the CPU to get better battery life.
For more information about Android rooting, check out our detailed post here > What Is Rooting Android Phone? Advantages And Disadvantages
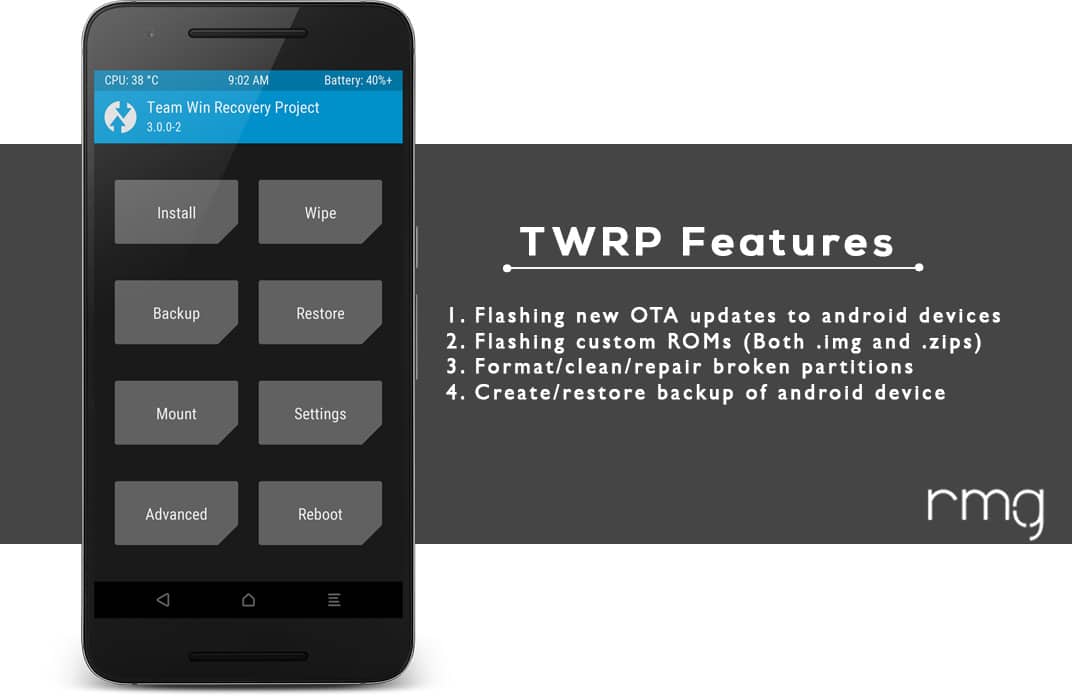
What Is TWRP Recovery and Some of its benefits?
TWRP is a custom recovery for Android. It is the most popular Android custom recovery. It replaces the stock recovery On Android devices. It comes with many extra features compared to the stock recovery. It needs the bootloader to be unlocked. If your bootloader is locked then you have to unlock it. The guide is given below.
- Download Moto AIO Tool: Flash Stock ROM, TWRP, Unlock/Relock Bootloader and Root Motorola Devices
- Download Mi Flash Unlock Tool: Unlock Bootloader Of Xiaomi Devices
- How To Unlock Bootloader On Huawei Devices
Some Of the benefits Of Having TWRP Recovery
- Users Can Install Custom ROMs, MODs, Kernel via TWRP recovery
- Users can flash system image (.img) file via TWRP
- You can flash modding zip files
- It is being used to install Xposed Modules
- Easy to Root and Unroot using TWRP Recovery flashable zip SuperSU
- Users can root by flashing magisk via TWRP recovery
- You can create nandroid backup via TWRP
- Can remove all bloatware using TWRP Recovery.
- You can flash Custom Kernel To underclock and overclock.
- You can clean Wipe, Cache, and Data via TWRP recovery.
How To Install TWRP and Root Moto G8 (Moto G Fast)
Warning
rootmygalaxy.net will not be held responsible for any kind of damage occurred to your device while following this tutorial. Do it at your own risk. This will void the warranty of your device.
Pre-Requirements
- Make sure battery percentage is more than 60%
- Make sure you have installed USB Drives on your PC.
- Install ADB & Fastboot drivers on your computer. Guide Quickest Way To Install Android ADB and Fastboot (with drivers) on Windows or How to Install ADB and Fastboot on Mac or Linux
- Now Enable Developer option. Guide How to Enable Developer Options & USB Debugging on Android
- Create a nandroid backup on your device How To Create & Restore Nandroid Backup On Android Devices
First of all, the user has to unlock the bootloader of the device. After that he/she can install TWRP recovery on Moto G8.
Step 1: Unlock Bootloader On Moto G8
We have done a dedicated post bootloader unlocking of Moto G8. Follow the guide linked below.
| Guide: How to Unlock Bootloader of Moto G8 (G Fast)
[su_highlight background=”#78ffb1″ color=”#16181b”]NOTE: Follow all the steps as mentioned in the guide as it is universal for all Motorola Android Phones[/su_highlight]
Step 2: Install TWRP Recovery On Moto G8
The first method you can Install the TWRP recovery then flash the SuperSu or Magisk to get your device rooted
- Check out the Pre-Requirement Section above (Important)
- Make sure your device’s bootloader is unlocked. Check out the link given above to unlock the bootloader if you haven’t done it yet
- First of all, make sure you have followed each and every step mentioned in the pre-requisites section
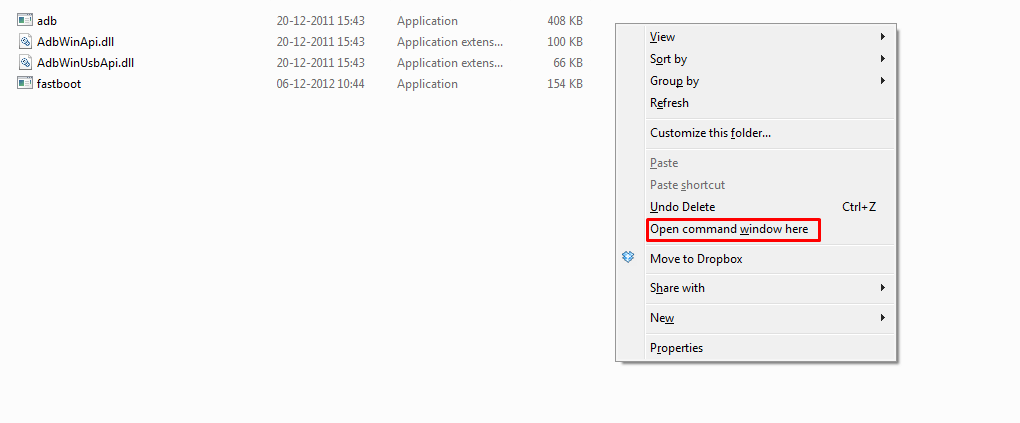
- After that, you have to download the TWRP Recovery and transfer it to the Fastboot folder
- Download twrp-3.4.0-0-rav-test6 (Credit: Recognized Xda Developer vache)
- Now open a command window inside that folder. To do that, “Shift + Right click” on any empty white space inside the folder and then select “Open command window here” from the context menu.
Note: ADB folder will be created automatically when you install the ADB and fastboot (Check Pre-requirement section
- Connect your device to the PC. And type the following into the command window we opened in step 4 above to boot your device into bootloader/fastboot mode:
adb reboot bootloader
└ If your asks for permission to “Allow USB debugging”, tap OK.
- Once your device boots into bootloader mode, issue the following command into command window to flash the TWRP recovery .img file:
fastboot boot twrp-3.4.0-0-rav-test6
- Once TWRP is successfully flashed on your device, issue the following command to reboot:
fastboot reboot
Done!!! Now you should have TWRP on your device
Step 3: Root Moto G8
-
Using Magisk To Root Moto G8
- Download the latest Magisk
- Now follow the guide to flash magisk via TWRP to get root access on your device.
How To Unroot Moto G8
- You have to flash the stock official firmware to unroot your device completely.
That’s it. Your Cloudfone Thrill Plus has been rooted successfully. Keep reading rootmygalaxy for more news and updates.
