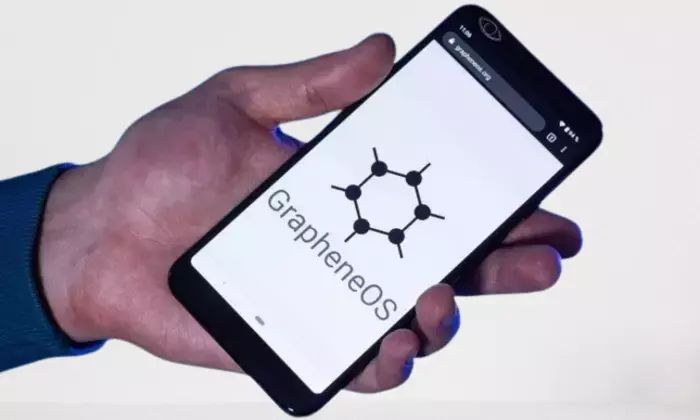
GrapheneOS is an open-source and security-focused mobile OS based on Android. This firmware provides enhanced privacy protections while also maintaining compatibility with most Android apps.
If you value your privacy and are looking to reduce the data harvesting by Google, then installing GrapheneOS on a compatible handset like the Google Pixel smartphone would be a great option.
If you’re looking to know how to install this OS on your Pixel smartphone, then this guide will be helpful. In this guide, you will get to know how to install GrapheneOS and De-Google your Pixel Smartphone.
Table of Contents
How to install GrapheneOS on your Pixel smartphone?

Step 1: Download Graphene web installer
The first thing you should do is head over to the web installer page on Graphene’s website. This is what you will be using to install Graphene from the web browser. You will require a Chromium-based browser like Google Chrome, Brave, or Chromium. Remember that Firefox or Internet Explorer will not work.
Step 2: Set up OEM Unlocking
- Turn on your Pixel smartphone for new devices and go through the entire setup process until you get the home screen. If you have an existing Pixel device, then you’ll have to reset your Google Pixel phone to factory settings. This is recommended as it’ll remove any residual data or settings.
- Enable Developer options by simply tapping “Build Number” under “About Phone” seven times until you get “You are now a developer!”
- Return to the main Settings screen and then tap “System”. After that, go to Advanced -> Developer Options. Here, you will need to enable OEM Unlocking and USB Debugging.
- Now, connect your Pixel smartphone to the Windows PC with a USB-C cable. It will give the necessary low-level devices access for installation.
Step 3: Unlock the bootloader
- First, you’ll need to reboot your device into Fastboot mode. To do that, you should hold down the Power + Volume Up buttons until your device reboots. Once the phone starts rebooting, you should hold down the Volume Down button until you get the Fastboot Mode screen.
- Now, navigate to the browser page and then scroll down before clicking on “Unlock Bootloader” under the Web-based installation section.
- Doing this brings up a dialog box with an option for selecting the connected phone. Click “Connect” in the GrapheneOS installer dialog box. It needs to detect your Pixel phone in Fastboot Mode.
- Click the Volume Down button for selecting Unlock Bootloader and press the power button for unlocking. This will fully unlock the bootloader and you’ll have to go through the standard pixel setup process again.
- Once the setup is complete, you’ll need to re-enable OEM Unlocking and USB Debugging.
- Once enabled, you should reboot the phone once more into Fastboot mode by pressing the Volume Up and Power buttons simultaneously and selecting reboot. Hold the Volume Down button as your device reboots.
Step 4: Flash GrapheneOS using the installer
- In the web-based installer on your browser, you need to click the “Download” button under the GrapheneOS release to download the latest GrapheOS build for your Pixel device.
- Once downloaded and with your Pixel device in Fastboot mode, you should click the Flash release button. You should remember that it’ll wipe everything on your device and replace the existing OS, so make sure that you save any existing files.
- The flashing process will start and it’ll replace Android with GrapheneOS on your smartphone. Be patient as it could take 10-15 minutes for this process to get completed. Your smartphone will reboot and flash multiple times.
- Once the flashing is complete, it’ll be important to re-lock the bootloader so that the device is secured. On the web-based installation page, you’ll need to select “Lock Bootloader”.
- Return to your phone and press the Volume Down button and then the power button, selecting the option and locking the bootloader.
- Once complete, your device will reboot but it’ll still be in the Fastboot menu. Press the Power button for selecting “Start” and boot your device with GrapheneOS.
Step 5: Finish the setup and disable OEM unlocking
- In Fastboot Mode, it will take you through the setup wizard. You’ll need to follow the prompts for connecting to Wi-Fi, setting up encryption, and more.
- Once at the home screen, you should open Settings and return to About Phone -> Build Number. Enable Developer Options once more.
- Under Developer options, you’ll need to turn off the OEM unlocking switch for preventing unauthorized access. Restart your smartphone to apply the changes.
- Your Pixel smartphone is now De-Googled and ready to use, hardened with privacy and security.