Guide to Add Custom Codec to MX Player to Support DTS and AC3 Audio: MX Player is one of the very well known applications from the Google Play Store. It has been around for years now, and some people take it as an essentiality to have on their smartphones. This is due to the vast variety of formats that MX Player supports. As of 2016, MX Player remains to be the only video player on the Google Play Store that has the biggest library of formats available. This means that no matter which kind of video file you have, MX Player will not struggle to play it fine.
However, with the last few updates, MX Player has seen some major issues, and a lot of fans have not liked that from it. With the last few updates, MX Player has removed support for DTS and AC3 audio, which is a big bummer for some people. People who have videos in the format of Dolby Digital Audio might suffer from this loss.
If you are a victim of this unfortunate update, then some of your videos will have lost their audio. To simplify things a bit, here’re the format of videos you will not be able to enjoy after the recent update : DTS/DTSHD/AC3/EAC3/MLP. We, however, have a workaround for you! XDA member ktsamy has been able to create a ZIP file for the audio codec that is supported by MX Player, and it is as easy as transferring it onto your internal memory and launching the MX Player app again.Follow this guide to Add Custom Codec to MX Player to Support DTS and AC3 Audio
Add Custom Codec to MX Player to Support DTS and AC3 Audio
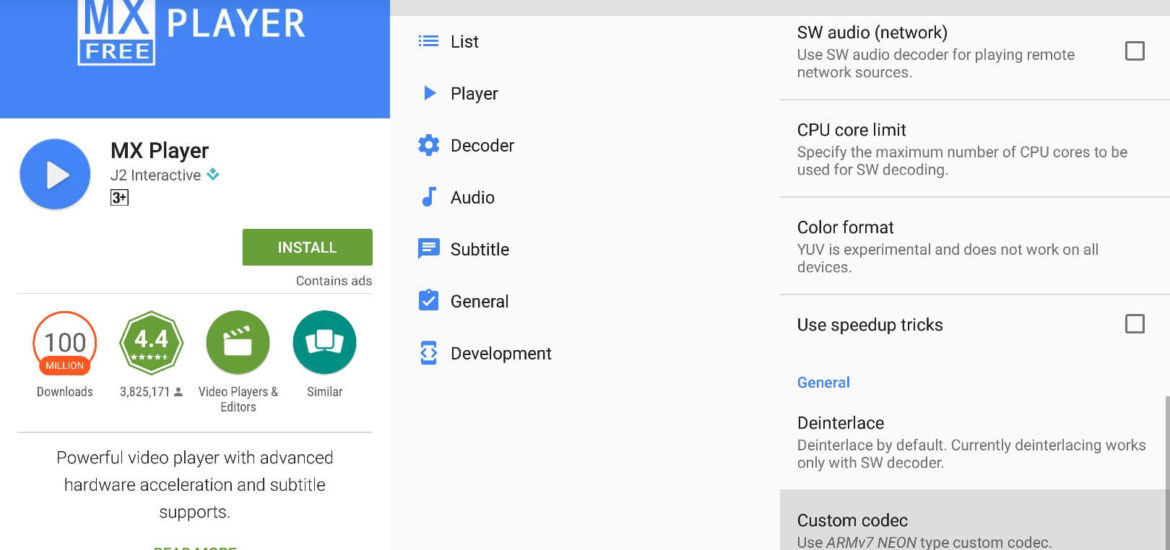
- First of all, launch MX Player, and under Settings, navigate to Decoder. Here you will be able to see the custom codec that your device runs. Keep that it mind.
- Download the appropriate custom codec by clicking the link here.
- Once downloaded, transfer the ZIP file into the root location of your device’s internal memory.
- The next time you launch MX Player, chances are that it already has installed the codec, and you’re ready to roll.
- If it doesn’t do so, try installing another codec and reboot your device and give it a hit again.
Voila! With just a few taps and transfers, you now have enabled the custom codec to enable DTS and AC3 audio on MX Player. If you have any queries, refer us in the comments section down below! If you found this useful, then why not share the word around?
