Now you can Download and Install Google Camera APK For Redmi Note 5/Note 5 Pro. Yes, you heard it right, the Gcam Port APK is now made available for both Xiaomi Redmi Note 5 and Note 5 Pro. So if you own any of these two devices, then go ahead and install the app on your device.
Redmi Note 5 Pro was launched along with the Redmi Note 5 and both the devices became an instant hit as they were offering the best value for money. Due the popularity and user base, both the devices have been getting regular ROMs, MODs and Ported APKs from the developers.
Google camera has the best portrait mode and the image processing done by the camera app is just another level. The low light images (Night sight) is also the best in the market. You can take better images with your device’s camera with the app.
Table of Contents
Xiaomi Redmi Note 5/Note 5 Pro Google Camera Features
Most of the Google Camera features have been added to the build.
- Google Lens
- Panorama
- Video Capture
- Portrait Mode
- Photosphere
- HDR+ Mode
- Lens Blur
Download Google Camera APK For Xiaomi Redmi Note 5/Note 5 Pro
| Google Camera Version | File Name | Download Link |
| GCam 6.2 | GCam-6.2.030_Arnova8G2_Urnyx05-v1.9b.apk | Download |
Other Devices Gcam: Download Google Camera APK For All Xiaomi and Redmi Devices (Gcam)
How To Install Gcam On Redmi Note 5/Note 5 Pro

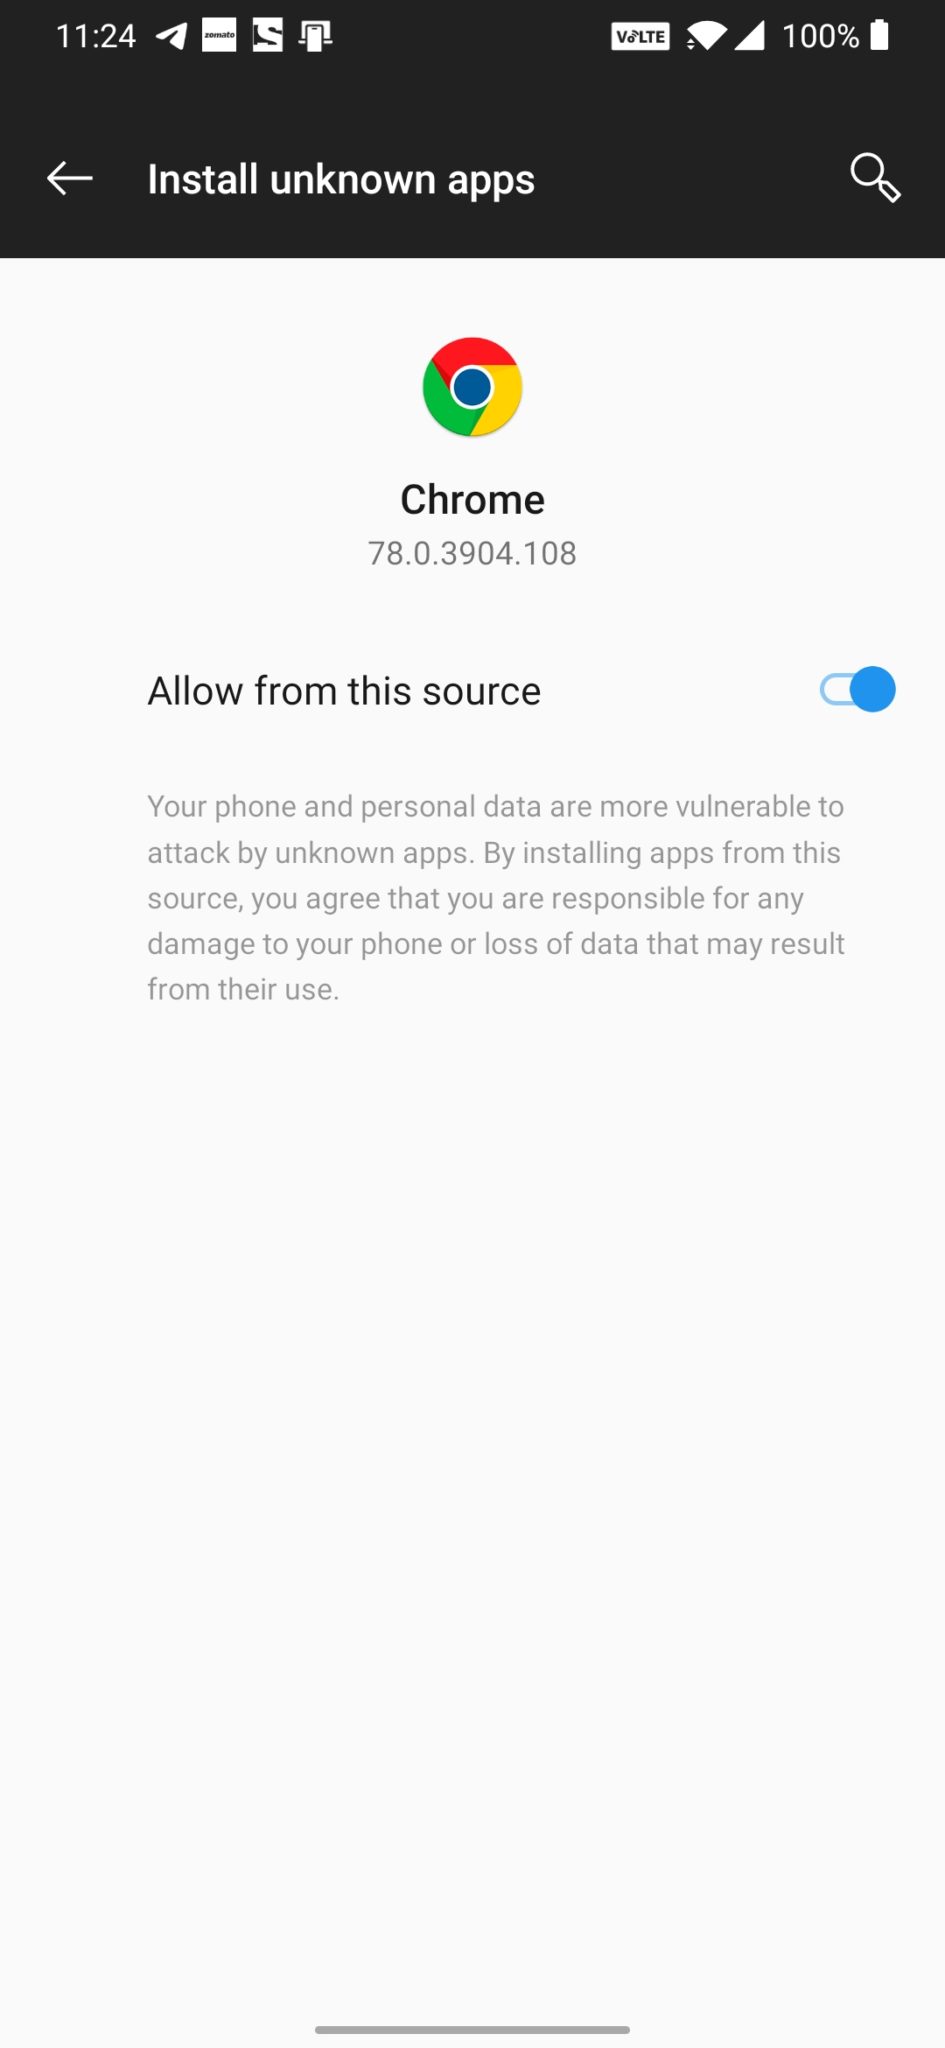
- First You Have to allow Google Chrome to Install Unknown apps (If you are using Chrome to download the Gcam apk)
- Go to settings > search unknown sources > click on Install Unknown Apps

- Now Go to Chrome (Assuming you will use chrome to download the apk) and enable Allow from this source
- Download the Gcam from the download section above
- Once the download is completed, click on the apk and install the app.
Recommended Settings:
- Open the GCam app -> launch Settings > select Advanced.
- Tap on Fix -> RAW format -> select RAW_sensor.
- Set the final JPG quality to 100%.
- That’s it. Enjoy the Google Camera.
We hope that you’ve found this guide helpful. You can ask in the comments below for any queries.
