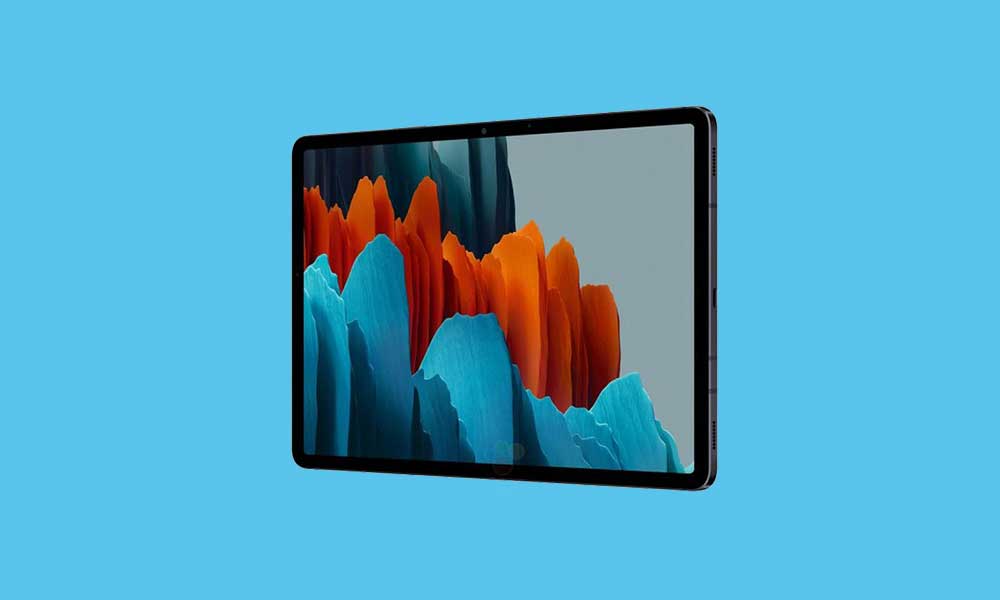
It’s quite possible to change the CSC on Samsung Galaxy devices without having the particular CSC while downloading the Samsung stock firmware manually. CSC stands for “Country Specific Code” which is an essential part of the Samsung stock firmware for its smartphones and tablets. It usually features localizations, system configurations, customized settings, and APN settings, system language, carrier-band, etc. The same is also applicable for the Samsung Galaxy Tab S7 model and here in this simple guide, we’ll share with you the steps to change CSC on Samsung Galaxy Tab S7.
Looking for a guide to change the country-specific code for your device model to install the stock firmware for a different region? If yes, then this article is for you. Make sure that the device model should be the same even if you want to change the CSC. You can visit the Sammobile page to check it. Additionally, you can also check the Samsung CSC on XDA Forum.

Table of Contents
Some Steps to Follow:
- Charge your Galaxy Tab S7 battery fully.
- CSC changing process will wipe out data. So, take a backup.
- You’ll need a Windows computer and a USB data cable.
- Download Samsung USB Driver and install it on the computer.
- Download the Samsung Stock ROM for your device model. (Search for the Galaxy Tab S7 model but don’t put anything on CSC area on Sammobile or Samfrew)
- Extract the firmware zip and you’ll get AP (System &Recovery), BL (Bootloader), CP (Modem / Radio), CSC\_ (Country / Region / Operator), HOME\_CSC (Country / Region / Operator).
- You just have to delete the HOME\_CSC file.
- Install the Odin tool on the computer.
Read Also: How to Change CSC on Samsung Galaxy A51
How to Change CSC on Samsung Galaxy Tab S7
- First, you’ve to boot your Galaxy Tab S7 in Download Mode.
- Then connect the device to the PC using a USB cable.
- Run the Odin tool, load the downloaded Samsung ROM, and start flashing it.
- Wait for a few minutes and the Odin tool will give a PASS success message.
- Now, don’t restart your phone or unplug the cable.
- Let the Samsung boot screen to appear. Then set up the device.
- Download the APK file from the link on your device.
- Enable Unknown Sources on the phone Settings and enable the Airplane/Flight Mode.
- Head over to the Samsung Galaxy Themes – Select My Stuff – Choose Mysterious Theme (Do not update it).
- Again go to the phone Settings – About Phone – Legal information – Change Carrier (third one that says Android 10).
- Select and install a suitable CSC.
- Remove the SIM card from the Galaxy Tab S7 and restart the device.
- Finally, you have to wait for a couple of minutes to boot into the system and set up the device.
Keep visiting the blog for more info.
Source: XDA Forum | Credits: yakapa40, Jasi2169