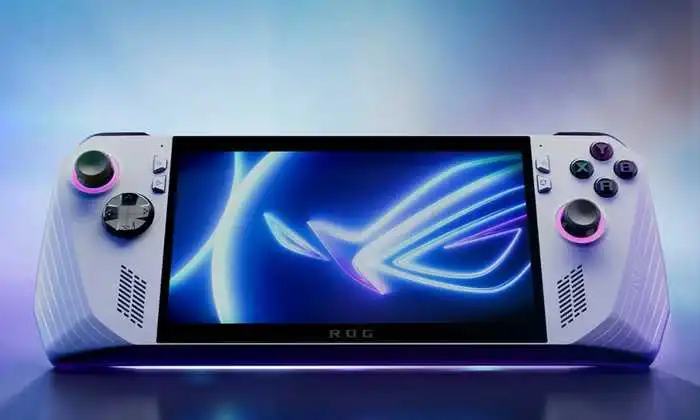
Gaming has taken a new dimension with the emergence of impressive handheld consoles like the ASUS ROG Ally. This gaming console has garnered the attention of gaming enthusiasts offering a remarkable gaming experience in a compact form. Just like any gaming platform, capturing screenshots and gameplay footage is essential for sharing memorable moments and achievements. If you are wondering how to take screenshots and record gameplay on your ASUS ROG Ally you are in the right place.
The ASUS ROG Ally powered by Windows 11 provides several options for capturing screenshots and recording gameplay. While third party apps are available for this purpose let’s start with the built in tools and features tailored for the ROG Ally.
Using ASUS Armoury Crate
ASUS laptops often come equipped with the Armoury Crate software and the ROG Ally is no exception. This software simplifies the process of capturing screenshots and recording gameplay.
Taking Screenshots
- On the right side of your ASUS ROG Ally locate and press the Armoury Crate button.
- Select Settings from the Armoury Crate interface.
- Tap the + icon under Edit Command Center.
- Choose Take Screenshot.
- Now, whenever user press the Armoury Crate button, you’ll find the Take Screenshot option available. Select it to capture a screenshot of your current screen.

Recording Gameplay
- Press the Armoury Crate button on your ROG Ally.
- Click on the + icon and select Record Screen.
- After adding the option to quick access tap Record Screen to begin recording your gameplay.
- Alternatively you can initiate screen recording by holding down either the M1 or M2 buttons on ROG Ally and pressing the Y button.
Using the Xbox App
If you prefer an alternative method the Xbox App can also be used to capture screenshots on your ROG Ally. Follow this:
- If you don’t have the Xbox App installed visit the Microsoft App Store and install the Xbox App as well as the Xbox Games Bar app.
- Sign in to the apps using your Xbox or Microsoft account.
- Pull up the on screen keyboard and press the Windows and G keys simultaneously to open the Xbox Games bar. On the ROG Ally, press the M1 or M2 button along with the A button.
- From the displayed bar, select the Capture icon to take a screenshot. For screen recording press the M1 or M2 button along with the X button.
Using the Snipping Tool
For a straightforward approach to capturing screenshots the pre installed Snipping Tool in Windows 11 is highly effective. Follow this to use it:
- Access the on screen keyboard and press Windows + Shift + S keys.
- Choose the desired style or type for your screenshot such as capturing a portion of the screen, a specific window or the entire screen.
Sharing Screenshots and Recordings
Also Read: How to fix Firmware Parsing Error in Ryujinx Nintendo Switch Emulator
Utilize the Armory Crate app for screenshots and recordings take advantage of the built in Media Gallery to easily share your captures with others through various apps on your ROG Ally.
The ASUS ROG Ally offers multiple avenues for capturing screenshots and gameplay footage. While each method has its merits using the Armoury Crate app is particularly convenient for this purpose.