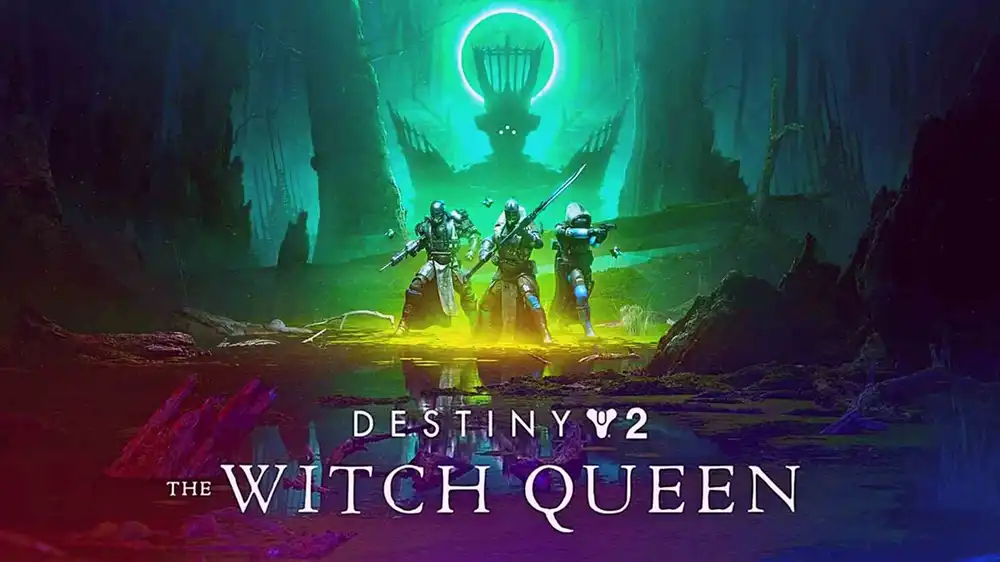
Destiny 2 is an exciting free-to-play online-only multiplayer FPS video game published by Bungie. Now, the game’s developers have come up with a new DLC titled “Destiny 2: The Witch Queen” and it requires the base game to be installed first.
While the game has received a lot of positive reviews, the game isn’t without its issues. Some users have been facing the issue where the game is stuck on the loading screen. In this guide, you’ll get to know about the different methods to fix Destiny 2: The Witch Queen stuck on the loading screen issue.
Page Contents
show
Method 1: Force quit the game and Steam
- Press the key CTLR + ALT + DEL simultaneously.
- Click the Task Manager.
- Look for Destiny 2 and then click on it.
- Click the End task button located at the lower-right portion of the screen.
- Look for Steam, click on it, and then click the End task button.
Method 2: Verify integrity of game files
- Launch the Steam client.
- Navigate to the Library tab before right-clicking on Destiny 2 and clicking Properties.
- Navigate to Local Files and click Verify Integrity of Game files.
- Wait patiently until the verification has finished.
Method 3: Uninstall the game and reinstall it
- Launch the Steam client.
- Now, navigate to the Library tab before right-clicking on Destiny 2.
- However over Manage and then click on Uninstall.
- Click on Uninstall once more for removing the game from your computer.
- Once the game is uninstalled, restart your PC.
- Download the game once more and reinstall it.
Method 4: Ensure that everything is updated
- Click the Start icon before typing “file explorer” and then click the File Explorer app.
- On the left panel, you should right-click on This PC before clicking on Properties.
- Click on Device Manager.
- Expand Display adapters and then right-click on your GPU before clicking Update driver.
- Click Search automatically for drivers and then wait until your PC has finished the update.
Method 5: Delete the cache
- On the keyboard, press the Windows + R keys simultaneously. It’ll pull up a small window present at the lower-left corner of the screen.
- In the text field, you should type “%appdata%” and then click OK. It’ll open up a folder.
- You should look for the folder named Bungie” and then double-click on it.
- Inside it, you should look for the folder “DestinyPC” and once you’ve located it, delete it. It’ll contain all the temporary files of the game.
Liked this post? Let us know on X (formerly Twitter) - we love your feedback! You can also follow us on Google News, and Telegram for more updates.
