The Android’s open-source ecosystem allows for a lot of tweaks and changes that you can carry out. After you have unlocked the device’s bootloader, you will be able to flash custom ROMs and custom recoveries. Further, you can also root your device using TWRP.
However, while you’re carrying out such tweaks, certain issues could be imminent. With that said, the Failed (Status Read Failed (Too Many Links)) issue seems to be one of the oldest and most frequently occurring ones.
In the Failed (Status Read Failed (Too Many Links)) error, the status lead fails and too many links do not help the end-users understand the underlying issue. If you’re experiencing this error, then this guide will be helpful. In this guide, you will get to know how to fix Failed (Status Read Failed (Too Many Links)).
Table of Contents
How to fix Failed (Status Read Failed (Too Many Links))

Method 1: Change the USB cable
The most common cause of the Failed (Status Read Failed (Too Many Links)) issue could be that you’re using an unofficial, old, or teared-up USB cable. This is why you should switch over to the official USB cable and then retry the process. Some users were facing this issue with the official USB cable and switching over to a different cable helped fix this error.
Method 2: Switch to using USB 2.0 ports
USB 3.0 ports are often known for giving too many issues. In most instances, they tend to break down the ADB or Fastboot communication between the device and PC. Therefore, it is suggested that you switch to the USB 2.0 ports and then carry out the process.
Method 3: Use Google ADB drivers
Typically, there are many ADB and Fastboot tools available on the internet. The ones that claim to be among the smallest in size, they compromise on the performance front. This means they leave out important files. It is recommended that you do not install such drivers but rather stick to the ADB drivers provided by Google. You can download the official Android SDK Platform Tools here.
How to hide root from apps using Hide My ApplistMethod 4: Use CMD over PowerShell

Many suggest that you should keep a safe distance from PowerShell and stick to Command Prompt. The reason for this is that the former makes the matter much more complicated than it should. For example, you may need to use a period and forward slash before you execute any ADB and Fastboot command. Not doing this will throw up an error or two. This is why you should use the Command Prompt over PowerShell and check if Failed (Status Read Failed (Too Many Links)) issue is resolved.
Method 5: Re-verify the files
First, you should ensure that the file you’re about to flash is built for you device specifically and not for its Mini, Max, Ultra, Pro, or Plus variants.
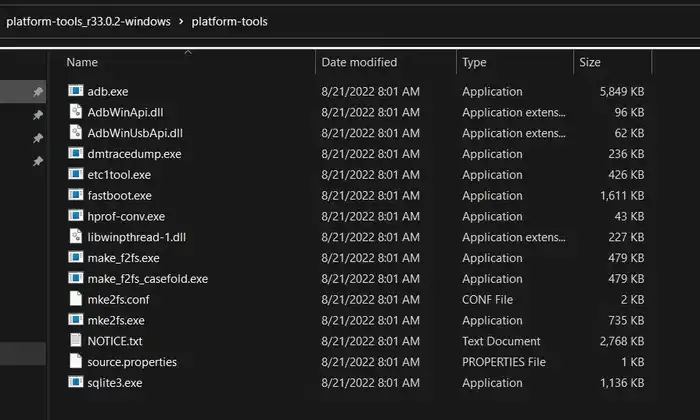
Further, the files you’ll need for flashing must be placed in the platform-tools folder. This is the folder where the Fastboot and ADB files will be present.
Ensure that you’ve named the files correctly. Most instructions across the web list out the commands like Fastboot boot twrp.img or Fastboot flash recovery twrp.img. When you’re downloading the file, it wouldn’t be named as twrp. Instead, aside from the twrp keyword, it would have the version number and device code. You should rename the recovery to twrp and execute the command above. You can also keep the name as it is and modify the command accordingly.
