Are you in need of a screen recording tool for capturing online meetings, creating tutorial videos, or simply preserving a moment on your computer screen? While Windows 11 does not offer a built-in screen recording feature, you can still access this functionality through the Snipping Tool. In this guide, we will walk you through the steps for enabling screen recording in the Snipping Tool on a Windows 11 PC.
When you have to take screenshots, the built-in app in the OS is more than enough as it’ll check most of your prerequisites. However, a native screen recording tool is something that most users have been requesting for ages and it seems like Microsoft has finally paid heed to it. The computer giant has started testing a new version of the Snipping Tool v11.2211.35.0, which comes with the Screen Recording functionality. However, this update is aimed at the Insider Preview users on the Developer Preview. However, there is a nifty workaround through which you’ll be able to enable this feature even on the stable Windows OS.
Table of Contents
Why Use the Snipping Tool for Screen Recording?
The Snipping Tool is a built-in application in Windows that allows users to capture and edit screenshots. With the latest update, Microsoft has included the ability to record your screen within the Snipping Tool, providing a convenient and user-friendly solution for screen recording needs.
Prerequisites for Enabling Screen Recording in the Snipping Tool
Before you can begin using the screen recording feature in the Snipping Tool, you will need to make sure you have the following:
- Access to the Online Microsoft Store Link Generator
- A stable internet connection for downloading the necessary updates
Steps to enable Screen Recording in Snipping Tool on Windows 11 PC
- To start off, you should go to the Online Microsoft Store Link Generator
- Type the below value and select Fast from the drop-down menu before hitting the checkmark icon –
https://www.microsoft.com/store/productID/9MZ95KL8MR0L
- Download the package named Microsoft.ScreenSketch_2022.2211.35.0_neutral_~_8wekyb3d8bbwe.msixbundle
- Launch the setup and then hit Update to update the Snipping Tool to the latest version
- Launch Snipping Tool from the Start Menu and you’ll see the Screen Recording option
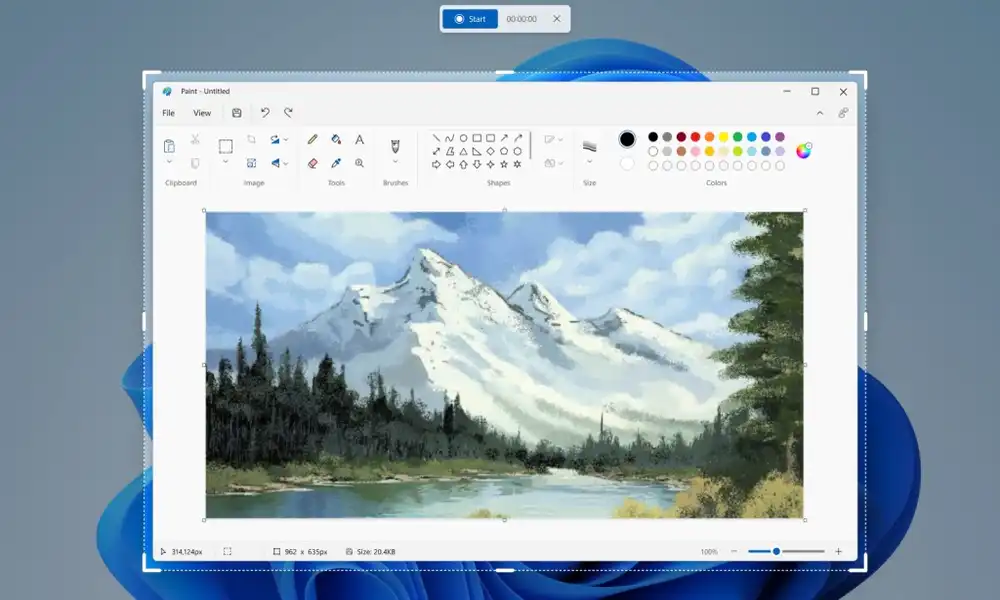
- Select Record and click on New
- Drag the cursor to the region that you wish to record and release it
- The recording will automatically start after a countdown of three seconds
- Once you’re done, hit the red icon to stop the recording
- Lastly, hit the Save icon located at the top right for saving this recording at the desired location
Also Read: How to bring back Windows 10/7 Task Manager in Windows 11
Steps to remove the screen recording option from Snipping Tool?
If the screen recording feature isn’t meeting your requirements, you can easily remove it and return to the earlier stable version.
- Launch Settings by going to Windows + I and head over to Apps -> Installed Apps
- Select the Sniping Tool and press Uninstall -> Uninstall in the prompt
- Once it is done, launch Microsoft Store and look for Sniping Tool before hitting Get
- That’s it, the stable version of the Sniping Tool has been installed on your PC
Conclusion
The Snipping Tool in Windows 11 now includes the ability to record your screen, providing a convenient and user-friendly solution for capturing online meetings, tutorial videos, and more. With just a few simple steps, you can easily enable and utilize this feature to meet your screen recording needs.
We hope this guide has been helpful in showing you how to enable screen recording in the Snipping Tool on a Windows 11 PC. If you have any questions or feedback about the guide, please leave a comment in the comment section below. We would love to hear your thoughts and experiences with using the screen recording feature in the Snipping Tool.
Featured Image: blog.windows.com
