When you’re flashing a custom ROM on your smartphone, you will first need to flash TWRP. Then, you will be able to flash the custom ROM. Once the flashing is complete, you’ll be able to replace the TWRP Recovery with the AOSP Recovery. However, it is easier said than done, especially if you’re new to the custom scene. If you’re looking to find out how to replace TWRP with AOSP Recovery, then this guide will be of great help to you. In this guide, you will get to know how to replace TWRP with AOSP Recovery.
In essence, this guide will instruct you on reinstating the Pixel Experience Recovery on your device, assuming it is running the Pixel Experience ROM. The process will involve replacing the TWRP Recovery currently installed. Let’s proceed without further delay.
Table of Contents
How to replace TWRP with AOSP Recovery
This guide will provide instructions for two specific scenarios – if you’ve used TWRP on your device just once and if you’ve installed TWRP permanently. We’ll cover both situations in detail. Please be aware that rootmygalaxy and its team are not responsible for unforeseen events like thermonuclear war, your alarm not waking you up, or any harm to your device and data from following these steps.
#Situation 1: Temporary TWRP Installation

If you’ve used the command ‘fastboot boot twrp.img’, your device will boot TWRP for a single use. After you restart your device, it will return to the AOSP Recovery you had before. In simple terms, restart your device from any screen [OS, TWRP, Fastboot] and you’re done.
#Situation 2: Permanent TWRP Installation
If you’ve installed TWRP Recovery permanently, the process will be slightly different and longer. Here’s what to do in this case:
Step 1: Install Android SDK
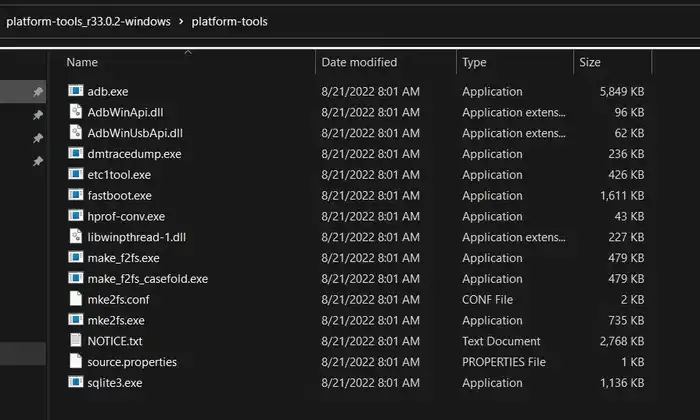
To start off, install the Android SDK Platform Tools on your PC or computer. It’s the official ADB and Fastboot binary provided by Google. You should download it and extract it to a convenient location on your PC. Doing this will give you the necessary platform-tools folder.
Step 2: Extract Boot and Vendor_Boot
- You need to download the same version of the custom ROM that you have installed on your smartphone currently
- Then, you should extract it and you will get a few files, including the payload.bin file that you’ll be using
- Download and extract the Fastboot Enhance Tool on your PC before launching it through its EXE file
- Head over to the Payload Dumper tab, click “Browse”, go to the payload.bin file, and select it
- After that, choose the boot.img and vendor_boot.img before clicking on Extract image
- Choose the directory and select OK
- Once the files are extracted, you should transfer the files to the platform-tools folder
Step 3: Boot to Fastboot mode
- Connect your smartphone to the PC using a USB cable while ensuring that USB debugging is enabled
- After that, go to the platform-tools folder and type in CMD in the address bar before hitting Enter to launch the Command Prompt
- Then, type in the following command in the CMD window for booting your smartphone to Fastboot Mode
adb reboot bootloader
- For verifying the Fastboot connection, you should type the following command and you’ll get back the device ID –
fastboot devices
Step 4: Flash Boot and Vendor_Boot
- First, you should execute the below command for flashing the boot.img
fastboot flash boot boot.img
- After that, type the following command to flash the vendor_boot.img
fastboot flash vendor_boot vendor_boot.img
- Then, execute the below command for booting your device to AOSP recovery –
fastboot reboot recovery
- That’s it, you can boot your smartphone to the OS using Reboot System Now
The steps provided will ensure a smooth transition from TWRP Recovery to AOSP Recovery. Should there be any questions or points of confusion arising from these instructions, don’t hesitate to put them in the comment section down below.
