Do you own a Samsung Galaxy S24 Ultra but wish to install TWRP on Galaxy S24 Ultra? If yes, then you’ll find this guide to be very helpful. In this guide, you will get to know how to install TWRP on Galaxy S24 Ultra.
There are different ways through which you can flash custom ROMs, gain root privileges, delete bloatware, enhance performance, increase battery life, and more. To carry out these perks, one of the prerequisites is to install TWRP.
If you’re unaware, it is a custom recovery that can be used to install third-party apps directly on your Android handset. When you install TWRP on Galaxy S24 Ultra, you’ll be able to create a personalized interface using custom ROM.
Table of Contents
How to install TWRP on Galaxy S24 Ultra

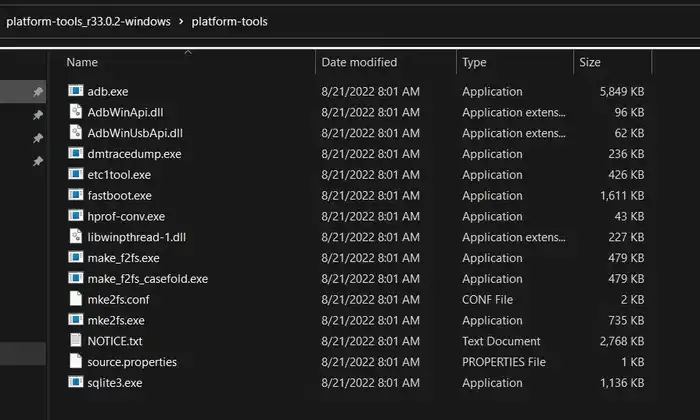
Step 1: Install Android SDK
To start off, install the Android SDK Platform Tools on your PC or computer. It’s the official ADB and Fastboot binary provided by Google. You should download it and extract it to a convenient location on your PC. Doing this will give you the necessary platform-tools folder.
Step 2: Boot your device to Download Mode
- The first thing before you install TWRP on Galaxy S24 Ultra is power off your smartphone
- Press and hold the Power and Volume Up keys and your smartphone will be booted to Stock Recovery
- Now, you should highlight the Reboot to Bootloader option using the Volume Keys and press the Power Key to confirm it
- Your device should boot to the Download Mode
Step 3: Install Odin
Now, you’ll need to download and install the Odin Tool on your PC for flashing the TWRP on Galaxy S24 Ultra. You can grab hold of the latest Odin by heading over to this link. Once it is done, you should extract it to any convenient location on your PC.

Step 4: Disable Android Verified Boot on your device
- Start by downloading the tar(vbmeta_disabled_R.tar) file on your PC
- Now, connect your phone to the PC via a USB cable
- Launch the Odin Tool and then click on the Userdata button
- Navigate to the vbmeta file, select it, and then click Open
- Now, click on the Start button
- You will get a prompt on your smartphone, stating that “You have to reset your device to factory settings”
- Use the Volume Keys for selecting the reset option and then hit the Power Key for confirming it
- Your device will undergo a reset and AVB will stand disabled
Step 5: Download the Magisk app
Next, you need to download the Magisk APK file. This file will be used for rooting your Galaxy S24 Ultra. So you should download it by heading over to the link mentioned below and renaming the APK to ZIP.
Step 6: Download TWRP Recovery
You can now download the latest custom recovery for your device by heading over to the link mentioned below –
TWRP for Galaxy S24 Ultra – Download
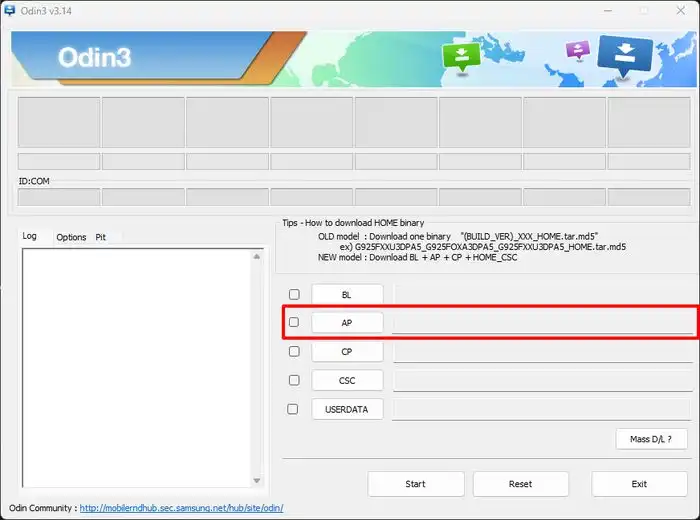
Step 7: Install TWRP Recovery
- Launch the Odin Tool on your PC and then click on the AP button
- Now, navigate to the downloaded TWRP.tar file, choose it, and then click Open
- After that, hit the Start Button and TWRP would get flashed onto your device
- Now, use the hardware key combinations for booting your device directly to TWRP
Step 8: Disable Encryption via TWRP
- Once your Galaxy S24 Ultra boots to TWRP, head over to Advanced -> Terminal
- Type in the below command and then hit “Enter” –
multidisabler
- Your smartphone will resize the vendor and ask you to run multidisabler once more
- You should again execute the below command and this time, you’ll get the Finish message –
multidisabler
Step 9: Format your phone
- After disabling encryption, you’ll need to format it
- You should head over to Wipe -> select Format Data
- Now, type in “YES” in the space provided and then tap on the checkmark located at the bottom right
- Once formatting is complete, you’ll need to reboot the device to TWRP
- So, you should go to Reboot and then select Recovery
Step 10: Root your device via Magisk
- Now, it’ll be time to flash Magisk and then root your device
- To do that, go to Install and then select the Magisk zip before performing a right swipe to flash it
- Once Magisk is flashed, you can reboot the device to the OS
- Now, go to Reboot and then select System
- Your smartphone will now boot to the rooted OS with TWRP on Galaxy S24 Ultra
We hope this guide helped you install TWRP on Galaxy S24 Ultra. If you have any questions or suggestions, feel free to mention them in the comments section.
