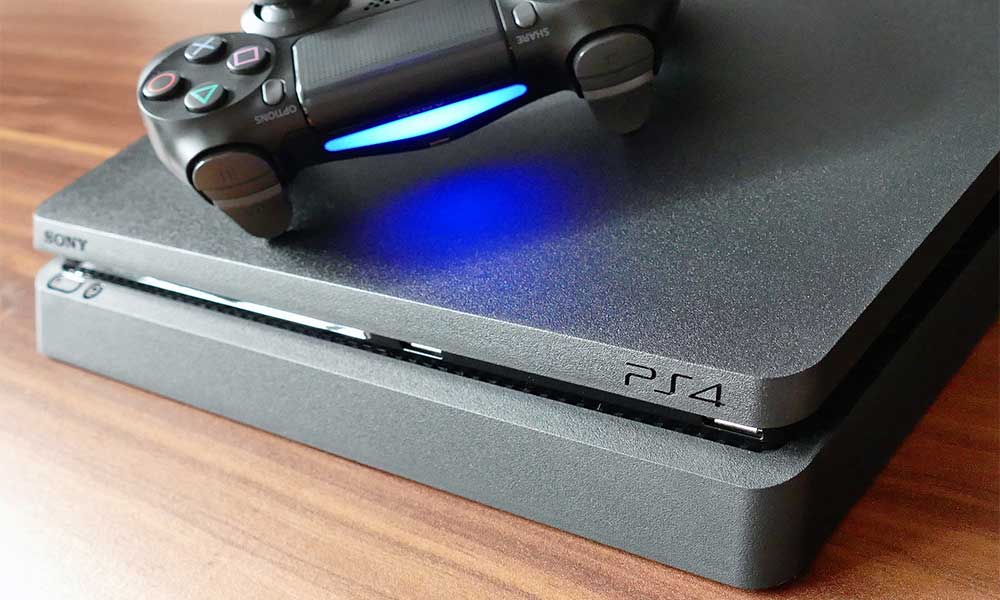
Sony’s PlayStation consoles and the PlayStation Network are one of the best gaming platforms in the gaming market. However, nothing is permanent and nothing is perfect. The same also applies to the PS4 gaming console and the PSN. It seems that some of the users are getting the PlayStation (PS4) Error CE-33986-9 during the sign-in process. Once the connection timed out, this error appears after multiple failed attempts. Are you one of them? Check this article to fix this problem.
Though this error is quite frustrating as there is nothing particularly mentioned in the error code, it’s always recommended to start checking some of the basic elements of any kind of related errors first. The error code appears with a message that says “Cannot connect to the server within the time limit. There might have been a problem in connecting to the network, or PlayStation Network or the server of the service provider might be temporarily busy. (CE-33986-9)”.
Steps to Fix PlayStation (PS4) Error CE-33986-9
As the error message suggested that there might be an issue with the PlayStation server or the network connectivity issue, now, you can easily follow some of the steps below to cross-check the problem and then you can fix it accordingly.

1. Check PlayStation Network Status
Just go to the official PSN Status Page here and check if there is any server downtime or maintenance is occurring whenever you receive the error code.
If there is any issue, you have to wait for a while until everything back to normal again. However, if there is no issue from the server side then follow the next method.
2. Restart your Console and Router
Simply just turn off both the PS4 console and the Wi-Fi router for once. Wait for at least 1 minute and then turn it on again.
3. Power Cycle PS4 Console
- First, turn off your PS4 console completely by long-pressing the power button. Once you hear the two beeps, release the button.
- Unplug the power cord from the power source.
- Wait for around 30 seconds and then plug back in the power cable.
- Turn on the console and sign into your account.
4. Adjust Network Settings in PS4
- Go to the Settings menu on the console.
- Choose Network > Set Up Internet Connection.
- Choose ‘Use Wi-Fi’ or ‘Use a LAN Cable’.
- Go to Custom > Choose Network > Enter Password > Automatic for IP Address Settings.
- Don’t use DHCP Host Name > DNS Settings to Manual > Enter 8.8.8.8 for Primary DNS and 8.8.4.4 for Secondary DNS.
- Select Next > Choose Automatic for MTU Settings.
- Finally, test the internet connection and speed.
- You’re done.
Keep visiting the blog for more info.
Liked this post? Let us know on X (formerly Twitter) - we love your feedback! You can also follow us on Google News, and Telegram for more updates.