Qualcomm is pretty active when it comes to the custom development scene. Whether it is for custom ROMs, custom recovery, or flashable modes, the Snapdragon devices are high in the priority queue to be blessed with these goodies.
Carrying out tweaks on Qualcomm Snapdragon devices can sometimes have undesirable consequences on your devices too. One of the most concerning and worrisome issues is the EFS/NVRAM/QCN partition getting corrupted.
When this happens, you’ll need to bid adieu to your Qualcomm Snapdragon’s unique International Mobile Equipment Identity. Luckily, there is a handy tool through which you can change/repair/fix the IMEI on Qualcomm Snapdragon devices. In this guide, you will get to know how to change/repair/fix IMEI on Qualcomm Snapdragon devices.
How to change/repair/fix IMEI on Qualcomm Snapdragon devices

When you change/repair/fix IMEI on Qualcomm Snapdragon devices, you must remember that changing the IMEI number is illegal in certain regions. Make sure that you check your region’s law and only then go ahead with the steps.
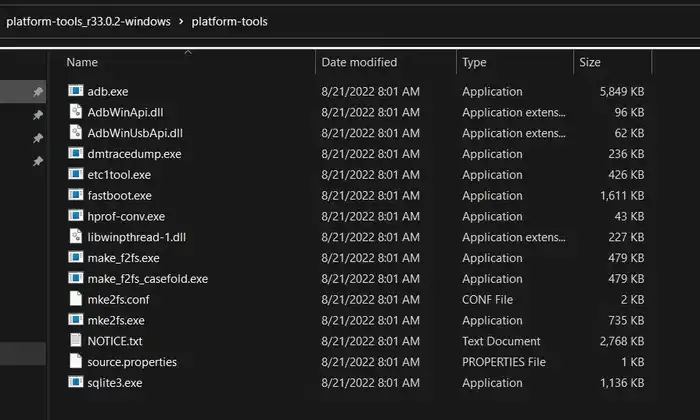
Step 1: Install Android SDK
Firstly, you’ll need to install the Android SDK Platform Tools on your PC. It’s the official ADB and Fastboot binary offered by Google. You’ll need to download it and extract it to a convenient location on your PC.
Step 2: Enable USB Debugging and OEM Unlocking
To start off, you’ll need to enable Developer Options on your smartphone. Go to settings -> About phone -> tap on build number 7 times -> return to Settings -> system -> advanced -> developer options -> finally enable USB debugging and OEM Unlocking.
![]()
![]()
![]()
Step 3: Unlock the bootloader and root the device
There is often an element of confusion regarding this step but to put it into perspective, you’ll need to unlock the bootloader on your device. Remember, unlocking the bootloader on your Qualcomm Snapdragon device will mean wiping off all the data on your phone and nullifying the device’s warranty.
Your device will also have to be rooted.
Step 4: Install the Qualcomm Snapdragon USB drivers

Next, you need to download and install the Qualcomm HS USB drivers such that your device is recognizable by your PC in DIAG Mode.
Step 5: Boot the Qualcomm Snapdragon device to DIAG Mode
- To start off, you should go to the platform-tools folder and type in CMD in the address bar before hitting enter to launch the Command Prompt window
- After that, type the following command in the CMD window for opening the shell environment –
adb shell
- Now, you should bring up the superuser request through the following command –
su
- Then, tap “Allow/Grant” in the SU request that appears
- Execute the following command for booting your Qualcomm device to the DIAG Mode –
setprop sys.usb.config diag.adb
Step 6: Change/Repair/Fix IMEI on Qualcomm Snapdragon devices
- First, you should download and extract the Qualcomm Smartphone Write IMEI Tool to a convenient location on your PC
- Now, you should double-click on the Qualcomm_Smartphone_Write_IMEI.exe file for launching the tool
- Then, you should click on Settings and then type in ustest as password before clicking “OK”
- Checkmark “Write IMEI 1” and type the desired IMEI under the space provided before choosing the COM port to which your Qualcomm Snapdragon device is connected
- Lastly, click on the “Write1” button and wait for the process to be completed
- Once it is done, you should ideally get the Pass message
- Reboot your device before typing in *#06* and you will see the new/repaired IMEI
