Step By Step Guide To Delete Saved Voice Recordings From Google Home: Google Home is a futuristic gadget in the form of a smart speaker that takes your commands as you speak normally through voice support and answers back to you. Google is developing its Google Home product by introducing it to artificial intelligence and machine learning technologies. The current Google Home model saves everything you say whether it makes sense to it or not and it keeps learning from the saved audio from time to time.
Previously, it used to record everything you would say to it or anybody else when activated and it will only respond to the commands that matched its database and discard the rest.But now, irrespective of what you say to it or to anybody else, everything is getting saved. This is really concerning for many as it messes with personal privacy.
When you keep it activated, you cannot say certain stuff it seems because it will get saved and you never know whether it is being sent to the server for Google developers to analyze for future responses or not. Therefore, it becomes essential for the users of Google Home to delete those saved audio or voice recordings in case something unwanted had been spoken. Take the following steps to achieve exactly that.
Steps To Delete Saved Voice Recordings From Google Home
You will need a computer and an internet connection. You might think that it can affect Google Home’s learning ability but there is no confirmation from Google on whether it will affect its performance or not. It is safe to assume that it will not as it is still in its experimental phase.
Step 1. Go to myactivity.google.com

Step 2. You have to sign in using the same email address with which you are already signed into your Google Home.
Step 3. Once you log in, you have to go to My Activity page. You will see all the Google Home activities performed and all the audio recordings datewise under My Activity page.
Step 4. You need to select the filter Voice & Audio so that only audio recordings are shown. All you have to do now is select the audio recordings individually and select Delete option. You can also select all the audio recordings at once by clicking on the action overflow button in the search bar and select Delete Results option.
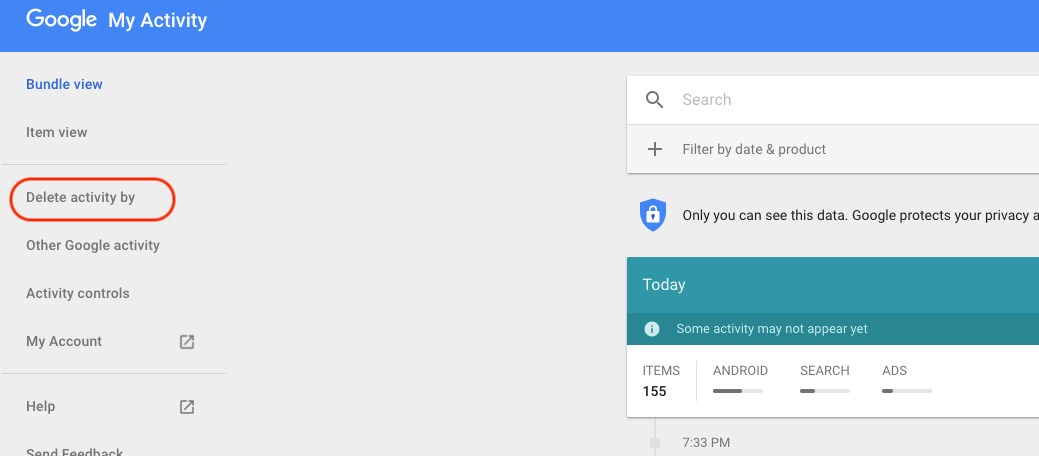
There is also an option “Delete Activity By” where you can select specific dates to delete all the activities on those dates.
