Apple officially announced iOS 17 at the recent WWDC and since the preview, it has been the talk of the town. The new OS brings along several changes and new features, including the highly anticipated StandBy Mode.
The Standby Mode is an amazing way of to use your device when it is still idle and charging, allowing you to view info at a glance. Through this feature, you’ll be able to see reminders, clock, Calendar, upcoming events, weather information, and more.
If you’re looking to know how to use this feature, then this guide will be helpful. In this guide, you will get to know how to enable the StandBy mode on iPhones running iOS 17.
Steps to enable the Standby Mode on iOS 17

- Open the Settings app on your iPhone before tapping on StandBy.
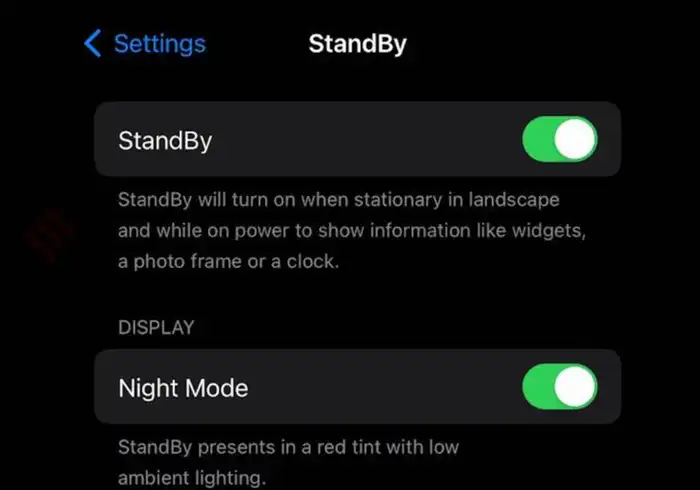
- Then, tap and enable the toggle for StandBy located at the top.
- Now, you need to tap and enable the toggle for “Always On” if you’re using an iPhone 14 Pro or above. This allows the StandBy mode to be visible while the iPhone can detect your attention. It intelligently turns off the display once you aren’t looking at it.
- Now, you need to tap and enable the toggle for “Night Mode” if you are on an older model than iPhone 14. Night Mode will allow the StandBy Mode to get displayed with a red tint in low-light conditions. This will help minimize eye strain when looking at the StandBy display in the dark.
- If you’re using an iPhone 14 Pro or higher, you should tap “Night Mode” for customizing its options.
- Then, you should tap and turn on the toggle for “Night Mode” for enabling it as you did for an iPhone older than iPhone 14.
- You need to tap and enable to toggle for “Motion to Wake” to turn on the display once it is moved in the night.
- StandBy Mode has been enabled on your iPhone. You can check and test it by leaving your iPhone idle in the landscape model while charging.
