In this guide, you will get to know how to extract boot.img file directly from your device without downloading firmware. To extract the full potential of your device, the first step will involve unlocking the device’s bootloader. After that, you’ll be able to carry out a plethora of mods and tweaks. For that, your device will have to be rooted using Magisk.
However, that method will see you extract boot.img file from the stock firmware, patch it using Magisk, and flash it using Fastboot. This method will need you to download the firmware, which doesn’t just extract data but also leads to unnecessary time wastage. Moreover, you will have to get the exact same firmware version installed currently on your device.
Instead of downloading the firmware file, you can also extract boot.img file directly from the firmware already installed on your device. This way, you can be sure that the stock boot.img file will be the same version currently installed on your device. This guide will help you with that.
How to extract Boot.Img file directly from your device

Step 1: Install Android SDK
To start off, install the Android SDK Platform Tools on your PC or computer. It’s the official ADB and Fastboot binary provided by Google. You should download it and extract it to a convenient location on your PC. Doing this will give you the necessary platform-tools folder.
Step 2: Enable USB Debugging and OEM Unlocking
Then, you will need to enable USB Debugging and OEM Unlocking on your smartphone. The former makes your smartphone recognizable by the PC in ADB mode. Meanwhile, it’ll allow you to easily boot your smartphone to Fastboot Mode.
OEM Unlocking will be needed to extract boot.img file down the line. You’ll need to go to Settings -> About Phone -> Tap on Build Number 7 times -> Return to Settings -> System -> Advanced -> Developer Options -> Enable USB Debugging and OEM Unlocking.
![]()
![]()
![]()
Step 3: Install TWRP Recovery
For that process, you’ll be required to have the TWRP Recovery installed. You can also temporarily boot your device to TWRP if you’re only looking to install TWRP for one-time use.
Step 4: Boot your device to TWRP Recovery
- Start by connecting your device to the PC using a USB cable, ensuring that USB Debugging is enabled
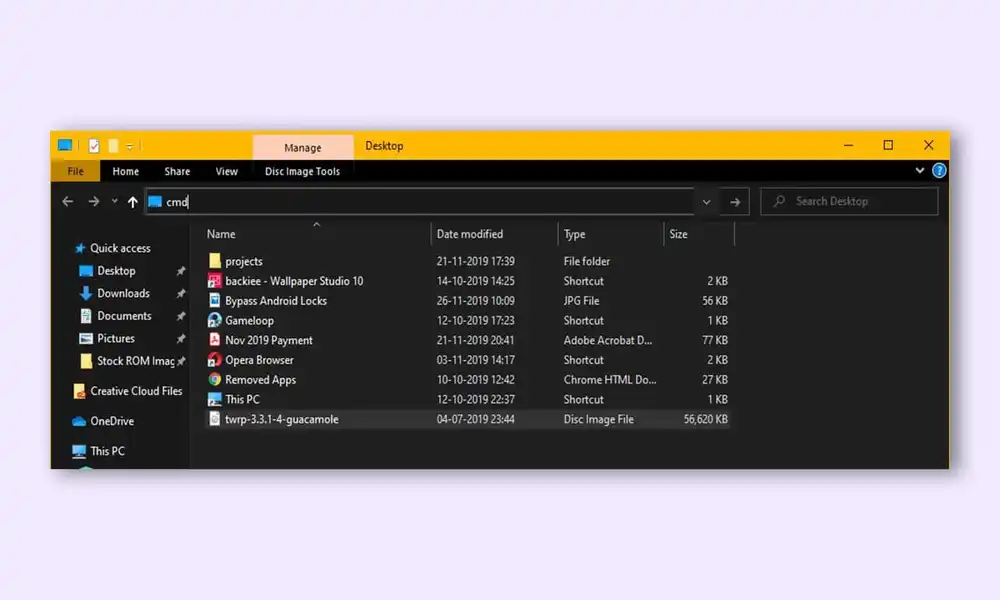
- Now, go to the platform-tools folder and type in CMD in the address bar before hitting Enter to launch the Command Prompt
- Type the following command in the CMD window for booting your device to TWRP Recovery –
adb reboot recovery
Step 5: Extract Boot.img using TWRP
Here are the steps to follow to extract boot.img file –
- With the device booted to TWRP and connected to PC, you should type the following command in the CMD window opened inside the platform-tools folder –
adb shell

dd if =/dev/block/bootdevice/by-name/boot of =/sdcard/boot.img
- Once you execute the above command, your device would extract the stock boot.img file from the currently installed firmware, after which you should place the boot.img file in the Internal Storage
- While this is optional, it is recommended you take a backup of the file onto your PC
- To do that, enter the following command –
adb pull/sdcard/boot.img stock_boot.img
- Once you do that, a copy of boot.img would be placed in the platform-tools folder and be named “stock_boot.img”
- Once the process is complete, you can reboot the device to the OS
- To do that, head over to Reboot and then select System
- After your device boots up, you can install the Magisk app and then patch the boot.img file using it
- Doing this will give you the Magisk_patched.img file, which you can flash using Fastboot Commands and root your device
