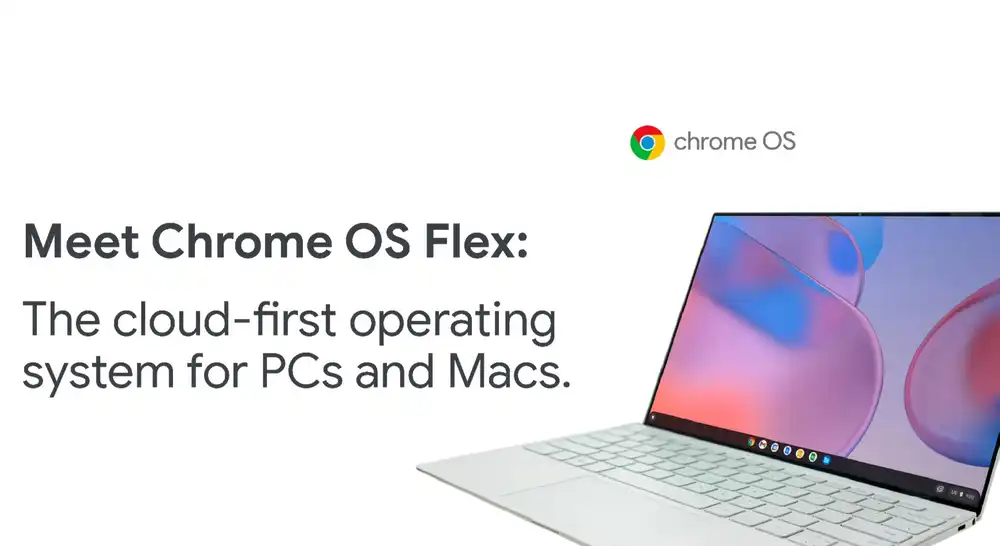
Earlier this year, Google announced Chrome OS Flex to breathe new life into the aging Windows PC lineup and older Macbooks. With Google supporting third-party hardware, Chrome OS Flex stands out with the seamless installation process and longer support window. Previously, the Chrome OS beta build worked like a charm. With the stable build of Chrome OS Flex, things are looking even more impressive. In this guide, you’ll get to learn more about Chrome OS Flex and how to install Chrome OS Flex on your Windows Laptop, PC, and Macbook.
What is Chrome OS Flex?
A couple of years back, Google acquired Neverware, which was a New York-based company that was working on developing CloudReady. It allowed the users to breathe new life into older generation PCs and run Chrome OS. CloudReady was essentially built on the open-source Chromium OS base. Google took over this project in February 2022 and released the first beta of Chrome OS Flex (CloudReady 2.0) based on Chrome OS. It was Google’s official desktop OS with support for Google Assistants and other Google services. It came with full Linux Support but Google Play Store didn’t make an appearance. After 6 months, Google has released the stable build of Chrome OS Flex with support for over 295 certified devices.
Google is offering Chrome OS Flex to Enterprise users and for Education purposes for free. Regular users can also install Chrome OS Flex on their old Macbooks and Windows PCs. The primary aim behind this project is to make use of old hardware and offer speedy performance, which is on par with modern computers. As Google is maintaining this project for hundreds of devices, you can expect greater support from a myriad of different manufacturers, including Apple, HP, Asus, and more.
Requirements for installing Chrome OS Flex
- A USB pen drive with a storage capacity of 8GB or more
- A Windows PC having an Intel or AMD x86-64bit processor (ARM processors aren’t supported yet)
- 4GB RAM or more
- Internal storage needs to be more than 16GB or more
- Check if your PC is certified to run Chrome OS Flex here. If your PC is there on this list, you’ll be good to go. If your model isn’t appearing on this list, you shouldn’t worry. You can still move forward with the installation. Chrome OS Flex will work even on non-certified PCs, with the only difference being that some of the functionalities might be limited. Over time, Google will be adding more computers to its certified list.
How to flash Chrome OS on a USB drive
- First, you should install the Chromebook Recovery Utility Chrome extension using this link. This is an extension that’ll allow you to flash the Chrome OS Flex build onto the USB drive.
- Then, open the Chromebook Recovery Utility and then plug in your USB drive. Once you’ve done that, click on “Get Started”.
- On the next page, click on the option “Select a model from a list”.
- Now, click on the “Select a manufacturer” drop-down menu and then choose “Google Chrome OS Flex”. From the next drop-down menu, you should choose “Chrome OS Flex” and then click on “Continue”.
- Select the USB thumb drive and then click on “Continue”.
- Lastly, click on “Create Now” and the Chromebook Recovery Utility creates a bootable Chrome OS Flex drive. The entire process could take anywhere between 10 and 15 minutes, depending on the speed of the internet.
How to install Chrome OS Flex on your Windows Laptop or Macbook
- Once the flashing process has been completed, you should restart your PC and then press the boot key. Continue pressing the boot key until you’ve seen the boot selection page. If you’re installing Chrome OS Flex on a custom-build PC, then find the boot key based on your motherboard manufactured from the internet.
- On the boot selection page, you should select the USB drive using the arrow keys and then hit Enter.
- Now, you’ll see that the “Welcome to CloudReady 2.0” screen has appeared. Here, you should click on “Get Started”. Then, go through the on-screen instructions and sign in using your Google accountant.
- You should explore Chrome OS Flex before you install it on your hard drive. This way, you’ll be able to check the compatibility of your Wi-Fi, Bluetooth, mouse, keyboard, touchpad, and other hardware devices.
- Once you’re sure that you want to install Chrome OS Flex, open the Quick Settings panel from the bottom-right corner and then click “Sign out”.
- Click on “Install CloudReady” present in the bottom-left corner.
- Finally, you should click on “Install CloudReady 2.0” and click on “Install” once more. Note that this step wipes away your entire hard drive, so ensure that you take a complete backup before you perform this action. Once the installation is complete, you should shut down your PC and then remove the USB drive.
- That’s it, Chrome OS Flex will boot up on your device without issues. You can then enable the new Chrome OS launcher on Chrome OS Flex and enjoy all the features.
