Are you looking to Xiaomi Pad 6 using Magisk and looking for a simple guide to help you with that? If yes, then you’re in the right place. In this guide, you will get to know step-by-step instructions to root Xiaomi Pad 6 using Magisk.
In the world of tablets, Xiaomi has started making a name for itself. The Xiaomi Pad 6, the newest addition to its lineup, has managed to grab a lot of eyeballs thanks to its impressive specifications and features. Unfortunately, it falls short in the custom development game.
Despite its drawbacks, you will still be able to carry out tweaks and customizations once you root Xiaomi Pad 6 using Magisk.
Caution: Rooting Android devices carries significant risks, including security vulnerabilities, potential data loss, voided warranties, device instability, and the possibility of bricking your device entirely. Exercise extreme caution and only proceed if you fully understand the risks involved.
Table of Contents
How to root Xiaomi Pad 6 using Magisk?

Step 1: Install Android SDK
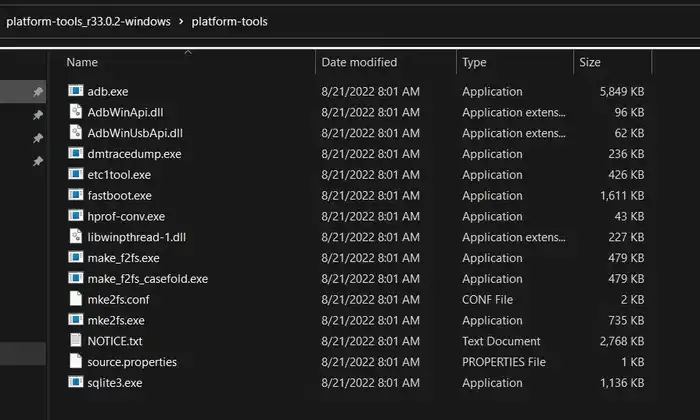
Firstly, you’ll need to install the Android SDK Platform Tools on your PC. It’s the official ADB and Fastboot binary offered by Google. You’ll need to download it and extract it to a convenient location on your PC.
Step 2: Enable USB Debugging and OEM Unlocking
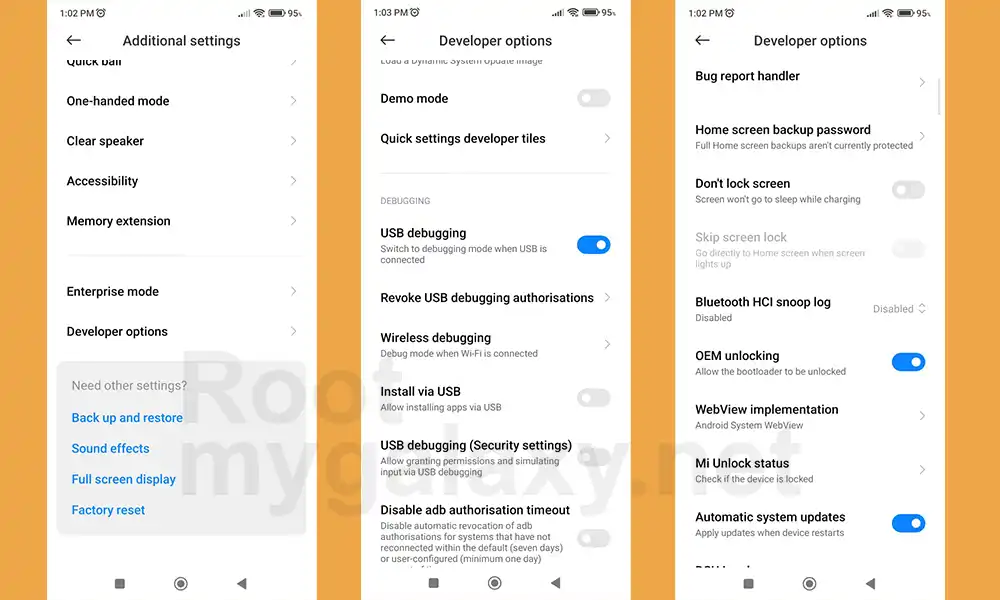
To start off, you’ll need to enable Developer Options on your smartphone. Go to settings -> About Phone -> tap on build number 7 times -> return to Settings -> system -> advanced -> developer options -> finally enable USB debugging and OEM Unlocking.
Step 3: Unlock the bootloader
There is often an element of confusion regarding this step but to put it into perspective, you’ll need to unlock the bootloader on your device. Remember, unlocking the bootloader on your Xiaomi device will mean wiping off all the data on your phone and nullifying the device’s warranty.
Step 4: Download Xiaomi Pad 6 Fastboot ROM
Next, you need to download the Fastboot ROM for your Xiaomi Pad 6. Ensure that you’re downloading the same version currently installed on your device. You can do so by verifying it from your device’s Build Number. Talking about the downloading source, you can get it by heading over to the official MIUI site or a third-party website like Xiaomi Firmware Updater.
Step 5: Get Boot.img for Xiaomi Pad 6
- To start off, you’ll have to download and install the 7ZIP software on your computer
- After that, right-click on the Fastboot ROM TGZ file before selecting Open With -> 7ZIP File Manager
- Once the extraction is done, you’ll get another file in TAR format
- Now, right-click on the TAR file before selecting 7ZIP -> Extract Here
- You’ll get all the extracted firmware files with the partition files that are present in the Images folder
- Head over to the Images folder and copy the init_boot.img and transfer the file to your device
Step 6: Patch Init_Boot using Magisk
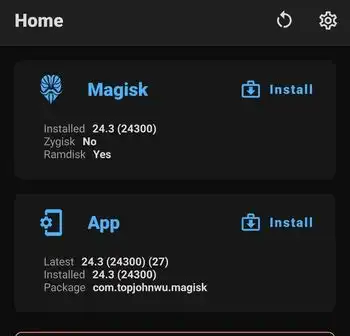
- Download and install the Magisk app
- Launch it and tap on the Install button beside Magisk
- Then, you should choose “Select and Patch a File”
- Navigate to the stock init_boot file before selecting it
- Tap on the “Let’s Go” option at the top right
- The init_boot file will be patched and placed under the Downloads folder
- Transfer the file to the platform-tools folder on the PC
Step 7: Boot your device to Fastboot Mode
- Connect your phone to the PC via a USB cable
- Ensure that USB debugging is enabled
- After that, head over to the platform-tools folder, type in CMD in the address bar, before hitting Enter
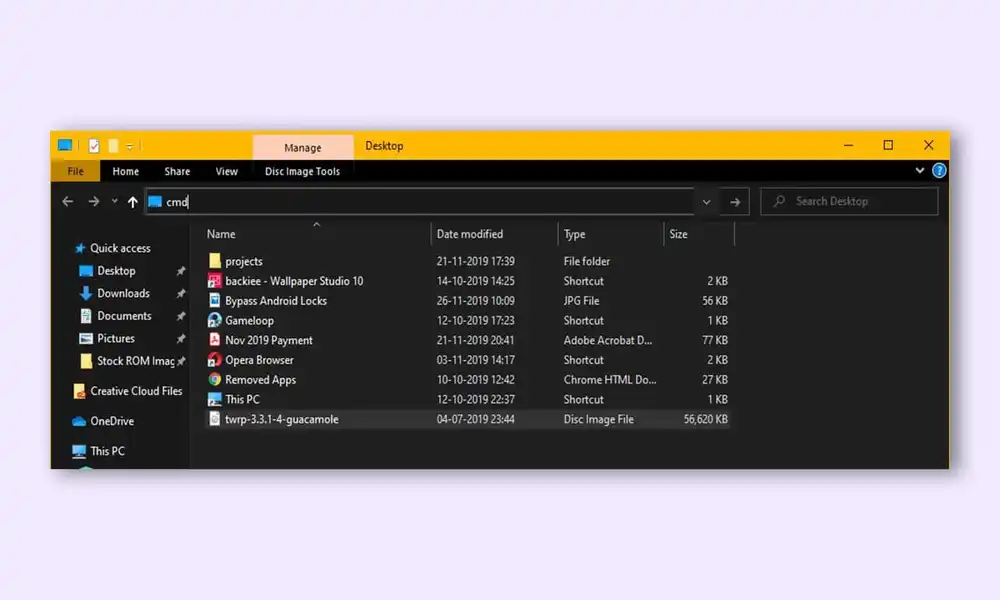
- It’ll launch the Command Prompt
- Type in the following command in the CMD window for booting your device to Fastboot Mode
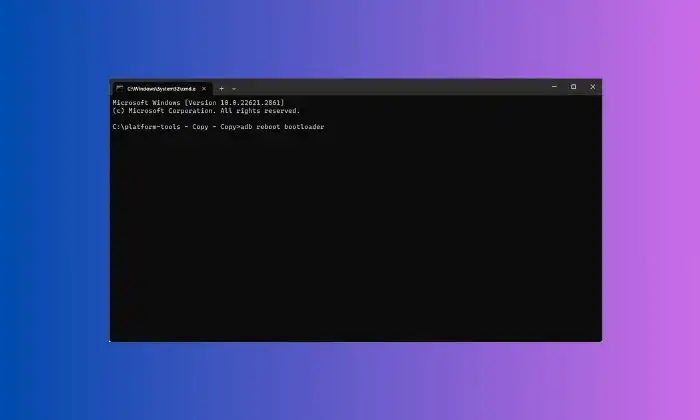
adb reboot bootloader
- Then, type in the below command to verify the Fastboot Connection
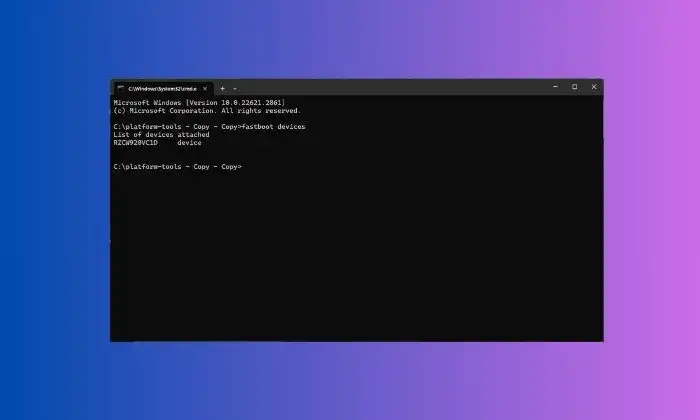
fastboot devices
- If you’ve got a device ID followed by the fastboot keyword, the connection will be successful
Step 8: Root Xiaomi Pad 6 via Magisk Patched Init_Boot
- Type the following command in the CMD window for flashing the patched init_boot.img file –
fastboot flash init_boot magisk_patched.img
- Ensure that you’re replacing magisk_patched.img with the appropriate name of the patched init_boot.img file
- If this command didn’t work, you’ll have to manually flash the init_boot to both slots via the below command –
fastboot flash init_boot_a magisk_patched_boot.imgfastboot flash init_boot_b magisk_patched_boot.img
- Your smartphone will boot to the rooted OS
- If this doesn’t happen, you should manually do this using the below command –

fastboot reboot
We hope this guide helped you root Xiaomi Pad 6 using Magisk. If you have any questions or suggestions, feel free to mention them in the comments section.