Android Debug Bridge or ADB is a command-line utility that offers users the ability to communicate with their Android devices through commands. You can run ADB Commands to carry out tasks like installing apps, removing bloatware, and giving admin privileges for tinkering.
While traditionally relying on tethered USB connections, the landscape seems to have shifted tremendously. Android apps today allow you to unleash the capabilities of ADB wirelessly. This way, you can transform your device into a customizable powerhouse irrespective of your location.
In this guide, you will get to know how to run ADB Commands on Google Pixel smartphone.
How to run ADB Commands on a Google Pixel smartphone
Here are the steps to follow to run ADB Commands on a Google Pixel smartphone –
- To run ADB Commands, you should start off by activating the Developer Options on your Pixel smartphone. To do that, go to the Settings app, access the “About Phone” section, look for the Build Number entry, and then tap on it 7 times until you get a confirmation message.
- After that, open the ADB Shell app before toggling on the Pair Mode. Establishing a connection will require you to input the IP Address and Port of your device. Now, follow these steps to access this information –
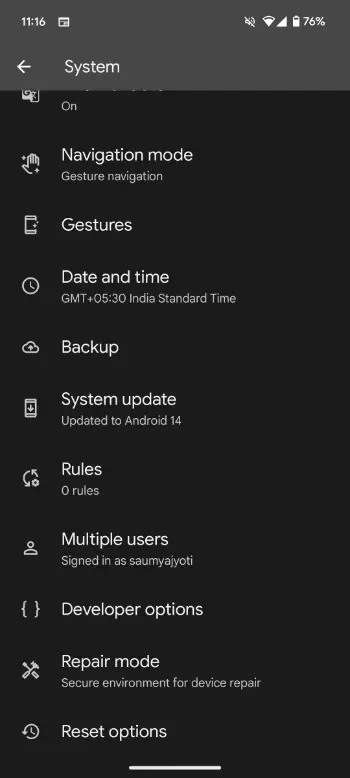
- Go to Settings -> System -> Developer Options -> Wireless Debugging
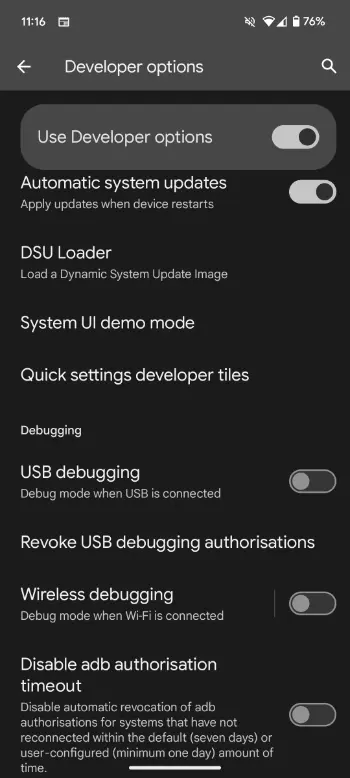
- After that, scroll to the Debugging section before tapping on the Wireless Debugging entry and then turning on the Wireless Debugging toggle
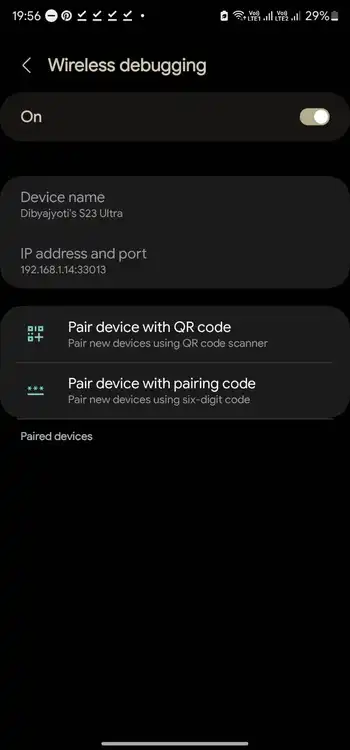
- Now, select the Pair Device option with pairing code
- Once the Pair with device dialog opens up, you’ll find the IP Address and Port Details
- Further, you will also find the Wi-Fi pairing code, which you will be needing later
- Once the Pair with Device pop-up gets closed, the pairing code and port details would change. Prevent it by using the Split-Screen Mode –
- Swipe up on the Home button before swiping up again
- Now, hold on to the ADB Shell app icon before tapping on Split Screen
- Once two screens are visible, you should open the ADB Shell app and the Wireless Debugging page at the same time
- After you have configured the split screen mode, you’ll be able to pair your Android device for wireless ADB. By now, you would have exited the Pair with device pop-up, so you should open the Pair Device with Pairing Code option once more on the Wireless Debugging page. After that, type the displayed IP address in the ADB Shell app input box and repeat it for the 5-digit Port number separated from the IP address with a colon. Make sure that you have the Pair Mode toggle enabled.
- Next up, you should click on the “Pair” button. You need to tap the “Cancel” button if a pop-up wants to take you to the “Help” page. On the screen that opens up, you’ll get a terminal window with a prompt asking you to enter the pairing code. You should then type the 6-digit Wi-Fi Pairing Code from the Pair with device pop-up before pressing the Enter button on the right side of the input box.
- The world is your oyster now. You can run ADB commands for uninstalling bloatware, give apps root-like permissions, or explore the hidden corners of your Pixel smartphone.
