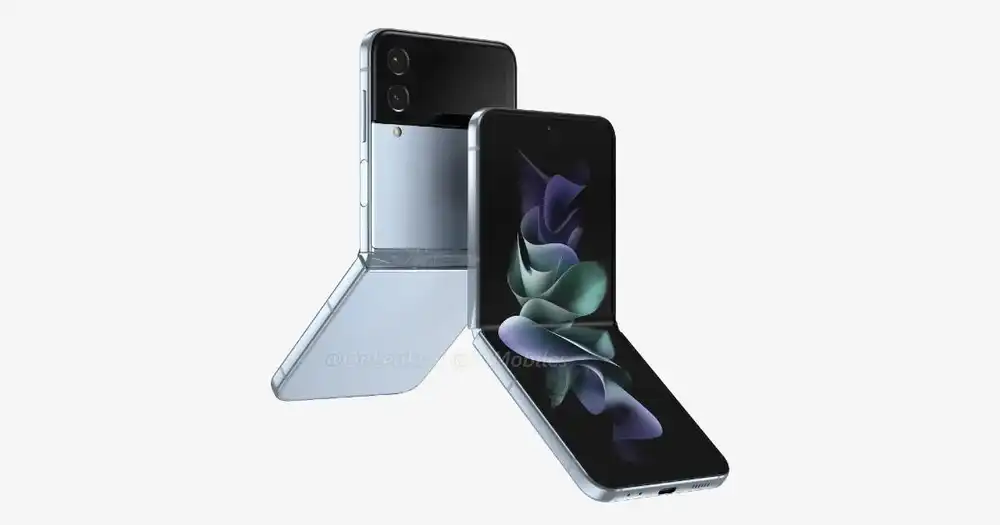
An important functionality in today’s smartphones is the possibility to take screenshots. The Samsung Galaxy Z Flip 4 comes with a flip module, setting it apart from other smartphones in terms of design. Its form factor is very different, which means some ways to use the phone are also different. In this guide, you’ll get to know how to take a screenshot and a long screenshot on your Galaxy Z Flip 4.
The simplest and most common method to take a screenshot is by using a button combination. You can use shortcut buttons on various Android devices, including Galaxy Z Flip 4. For this method to work, your phone’s volume button and power button need to work properly.
- On your Samsung Galaxy Z Flip 4, head over to the page that you want to capture
- Press the Volume Down + Power buttons together
- You’ll come across a screenshot animation
- The captured screenshot will be displayed at the bottom with a toolbar for any further actions
- Then, you’ll be able to view screenshots in the Gallery app
How to take long screenshots on your Galaxy Z Flip 4
Taking a long screenshot is very different from taking a normal screenshot. Also known as scrolling screenshots, it can capture the entire page including the content that won’t fit the screen. Long screenshots are pretty helpful if you’re looking to capture an entire web page, search results, long menu items, a bunch of orders, and more. Long Screenshots are like merging multiple screenshots into one. If you don’t want to take many screenshots and wish to save time and space, you should follow this method.
- Head over to the page that you wish to capture
- Take the screenshot using the method mentioned above
- Once you’ve taken the screenshot, it will appear at the bottom with some tools
- There will be four tools including an icon with two drop-downs, you’ll be able to take long screenshots of that page
- Tap the scrolling screenshot icon and the screenshot extends
- You’ll be able to tap the icon multiple times until it has covered all the pages that you want to capture
- Once it is done, you can check out the long screenshot in Gallery
Video Guide
The manual concludes here. I hope this guide was useful. If you have any questions or suggestions about this article, please let us know.
Liked this post? Let us know on X (formerly Twitter) - we love your feedback! You can also follow us on Google News, and Telegram for more updates.
