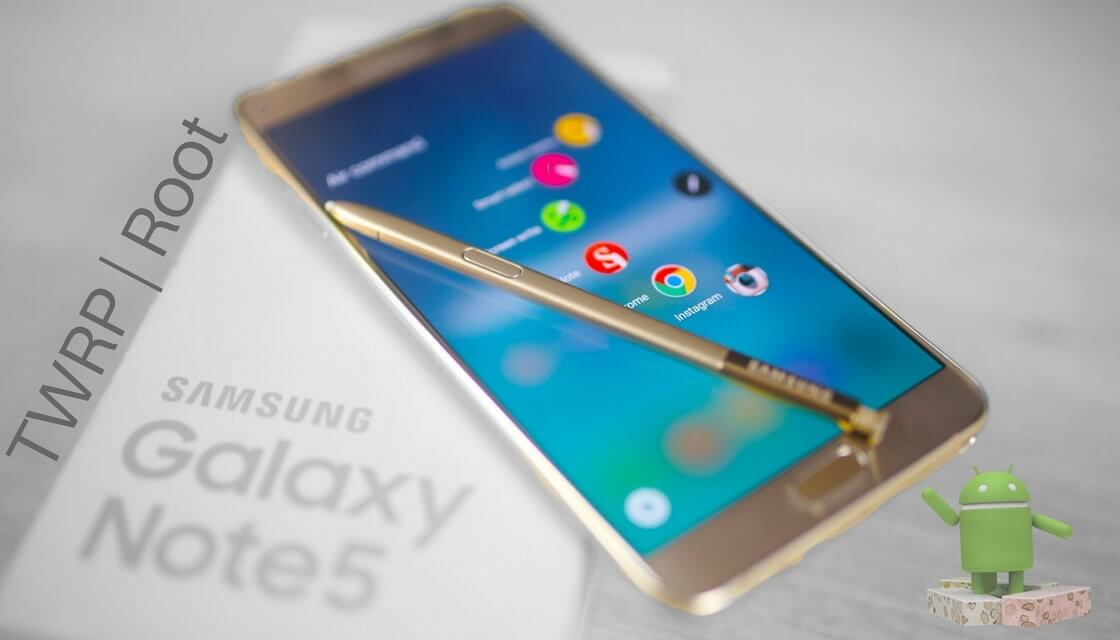
In this guide, we will have a walk through and all necessary steps to How to Install TWRP and Root Galaxy Note 5. Rooting Galaxy Note 5 lets you attain privileged control over various Android hidden features. You can customize anything on your device. Rooting your device allows you to remove all the restrictions applied by the manufacturer.
Rooting Galaxy Note 5 gives you additional benefits like you can install special apps, flash custom ROMs, you can streamline your phone performance and many extra features. The real performance of an Android smartphone can only be unlocked once it is rooted. Rooting your Galaxy Note 5, lets the user flash different Custom MODs, ROMs, and such stuff onto the device
Now here we come with a full working guide on How to Root and TWRP Recovery On Galaxy Note 5. While rooting you have to be very careful and proceed with great caution, anything wrongs you may get your device bricked.
Table of Contents
DISCLAIMER
RootMyGalaxy.net is not responsible for any damage happened to your device(s) while following this guide, Proceed at your own risk.
PRE-REQUISITES
- Make sure that the USB drivers for your Android device are installed on the PC.
- Follow the below Guide Exactly or else it may lead to brick your device. RootMyGalaxy.net is not responsible for any damage.
- We recommend to take complete backup and proceed.
- Maintain 50-60% battery to prevent sudden shutdown between the process.
DOWNLOADS
Steps to Root And Install TWRP Recovery on Galaxy Note 5
Install TWRP Recovery
-
- Download & install Odin Flash tool on your PC
- Make Sure Samsung USB Drivers are Installed on your PC.(Download Galaxy Note 5 drivers here)
- Download the TWRP File For Note 5 from the download section above (Download according to your model)
→ Now Follow this guide to Flash TWRP 3.1.0 Recovery On Galaxy Note 5 > How to Install TWRP Recovery On Samsung Devices Using Odin
Steps to Root your device via TWRP
- Download the SuperSU zip file from above and transfer the file to your device.
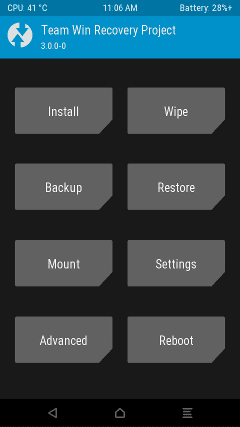
- Boot your device into TWRP recovery. (press and hold the Volume Down button + Home button + Power button at the same time.)
- Select “Wipe” from the TWRP main menu and do a “Swipe to Factory Reset” on the bottom of the screen.

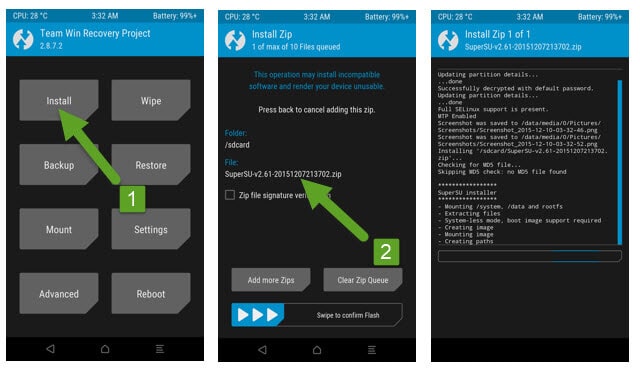
- Once done, go back to TWRP main menu, tap on “Install” and select SuperSU (zip file) that you transferred to your device in Step 1.
- After selecting the .zip file, do “Swipe to Confirm Flash” on the bottom of the screen to begin the SuperSU installation process.
(This may take some time as it is a fresh flashing process).

- Once your zip file is successfully installed, go to “Wipe cache/Dalvik” option, select it and then do “Swipe to wipe” on the bottom of the screen.
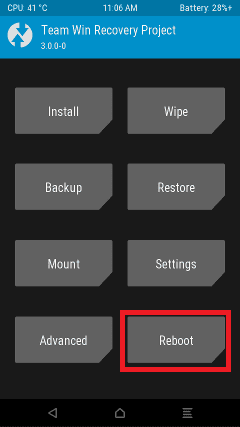
- Once done, reboot your device from the TWRP main menu

- Done!!!
Hope you found this article helpful. If you have queries let us know in the comment section below.
