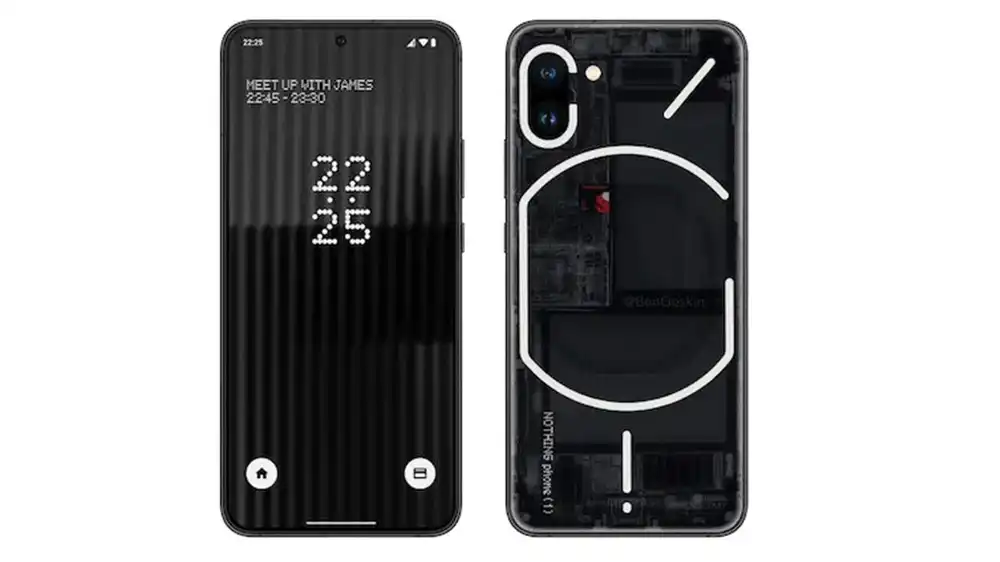
Since the initial days of OnePlus, users have been eagerly anticipating the new launches by the Chinese OEM. When it comes to offering high-quality features and the latest technology, no one does it better than Carl Pei. This has carried onto the Nothing brand as Nothing Phone (1) as the brand seems to be doing wonders.
Another domain where Nothing Phone (1) performs well is custom development. You can easily flash custom/GSI ROMs and get administrative access by rooting your device via Magisk. This will allow you to experience a plethora of mods and tweaks to the device. In this guide, you’ll get to know how you can unbrick your Nothing Phone 1 by flashing the stock firmware through Fastboot Commands.
How to unbrick Nothing Phone (1) by Flash Stock Firmware through Fastboot Commands
Step 1: Install Android SDK
Firstly, you’ll need to install the Android SDK Platform Tools on your PC. It’s the official ADB and Fastboot binary offered by Google. You’ll need to download it and extract it to a convenient location on your PC.
Step 2: Download Nothing Phone (1) Firmware
Then, download the stock firmware for your smartphone from the link mentioned below. Nothing offers its firmware in payload.bin, which you’ll need to extract to get hold of the partition files. If your smartphone has the same firmware/build installed, you can directly download the Fastboot ROM (extracted payload) instead of the payload.bin.
- Global Fastboot ROM as well as installation guide
Step 3: Extract Nothing Phone (1) Payload.bin
If you’ve downloaded the Fastboot ROM, you can skip this step. If you’ve got a payload.bin firmware, you’ll need to extract it first and get the resultant IMG files. Once it is done, ensure that you transfer the extracted files to the platform-tools folder.
Step 4: Unlock bootloader on Nothing Phone (1)
Since you’re going through the unbricking guide, changes are highly likely that you’ve already unlocked the device’s bootloader. Note that for the unlocking process, you need to enable OEM Unlock from the Settings menu beforehand.
Step 5: Boot your bricked Nothing Phone (1) to Fastboot Mode
In most cases, a boot-looped device or soft-bricked device may already be in the Fastboot Mode. However, if you’re stuck in a bootloop, long-press the Power key to turn it off. After that, press and hold the Power and Volume Down keys (or Power + Volume Up in some devices) simultaneously for booting your device to Fastboot Mode.
However, if you aren’t able to power off the device, let its battery drain out. Once it happens, you should connect it to the charger. As soon as it’s about to boot up, use the Power + Volume Up/Down keys and it’ll boot to Fastboot Mode right away.
Step 6: Format the device via Fastboot
- Now, go to the platform-tools folder where the extracted ROM is present
- Head over to its address bar, type in CMD in the address, and hit Enter
- It’ll launch the CMD window
- Execute the below command to perform a factory reset
fastboot –v
Step 7: Flash Nothing Phone (1) Firmware using Fastboot commands
Execute the below commands in the CMD window to flash the partition file. Ensure that you’re executing one command at a time. In case you get an error, don’t leave the process mid-way, instead, move over to the next flashing command.
fastboot flash abl abl.img

fastboot flash aop aop.img

fastboot flash bluetooth bluetooth.img

fastboot flash boot boot.img

fastboot flash cpucp cpucp.img

fastboot flash devcfg devcfg.img

fastboot flash dsp dsp.img

fastboot flash dtbo dtbo.img

fastboot flash featenabler featenabler.img

fastboot flash hyp hyp.img

fastboot flash imagefv imagefv.img

fastboot flash keymaster keymaster.img

fastboot flash modem modem.img

fastboot flash multiimgoem multiimgoem.img

fastboot flash odm odm.img fastboot

fastboot flash product product.img

fastboot flash qupfw qupfw.img

fastboot flash shrm shrm.img

fastboot flash system system.img

fastboot flash system_ext system_ext.img

fastboot flash tz tz.img

fastboot flash uefisecapp uefisecapp.img

fastboot flash vbmeta vbmeta.img

fastboot flash vbmeta_system vbmeta_system.img

fastboot flash vendor vendor.img

fastboot flash vendor_boot vendor_boot.img

fastboot flash xbl xbl.img

fastboot flash xbl_config xbl_config.img
Okay, that settles it. To restore normal operation after a bricked Nothing Phone 1, use these steps to flash the factory image using Fastboot Commands. The stock ROM/firmware can also be installed via alternative methods. Please let us know in the comments if you have any questions about the procedures we have outlined above. As soon as we get an answer, we will get back to you.
Liked this post? Let us know on X (formerly Twitter) - we love your feedback! You can also follow us on Google News, and Telegram for more updates.
