Have you been facing Bad Buffer Size error in TWRP? If yes, then you’ll find this guide to be quite helpful. In this guide, you will get to know step-by-step instructions to fix Bad Buffer Size Error in TWRP.
If you’re planning on stepping into the custom domain, then having a custom recovery will be the most powerful tool you can have in your arsenal. From flashing custom ROMs to taking backups, and more, you can dip your toes into a slew of useful features.
However, due to different types of partition styles that each handset beholds, there isn’t a uniform method to flash the recovery. As a result, you may get a few errors while flashing the TWRP Recovery. One of them is Bad Buffer Size Error. In this error, you may end up getting stuck in the Fastboot Mode.
How to fix Bad Buffer Size Error in TWRP?

Here are the steps you need to follow to fix Bad Buffer Size Error in TWRP –
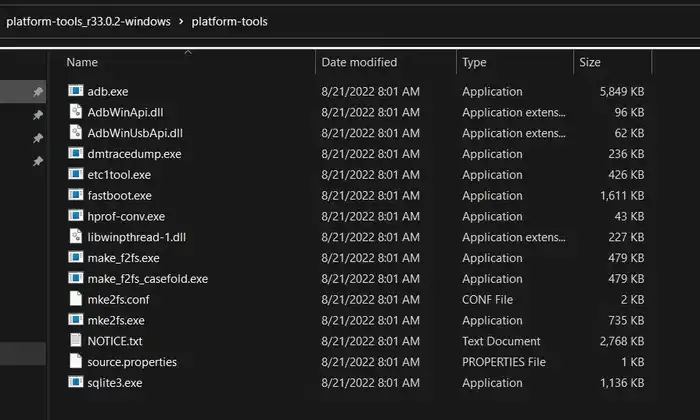
- First, you need to download and extract Android SDK Platform-Tools on your PC
- After that, rename the recovery file to recovery.img before transferring it to platform-tools folder
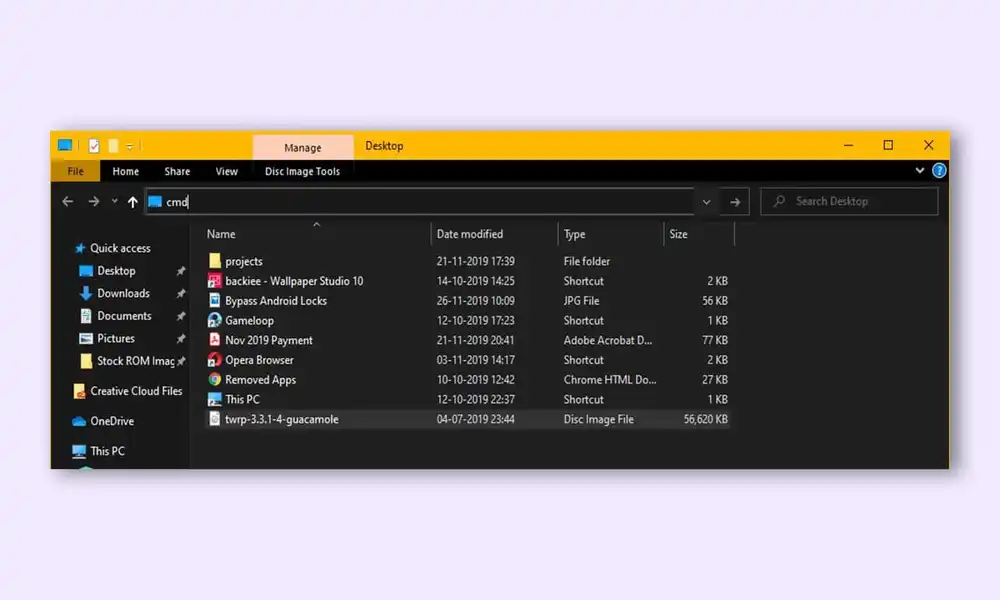
- Open the Command Prompt in the platform-tools folder (Just type in CMD in the address bar before hitting Enter to launch the Command Prompt)
- Now, your device should be booted to the Fastboot Mode
- If this isn’t the case, you should use the hardware key combinations for force booting to this mode
- Type the following commands in the CMD window –
fastboot erase misc

fastboot set_active a
- After that, type the following command to flash the recovery to the recovery partition –
fastboot flash recovery recovery.img
- You can also manually flash the recovery file to both the slots using these commands –
fastboot flash recovery_a recovery.img

fastboot flash recovery_b recovery.img
- Lastly, use the following command to boot your smartphone to the newly flashed recovery –
fastboot reboot recovery

We hope this guide helped you fix Bad Buffer Size Error in TWRP. If you have any questions or suggestions, feel free to mention them in the comments section.
