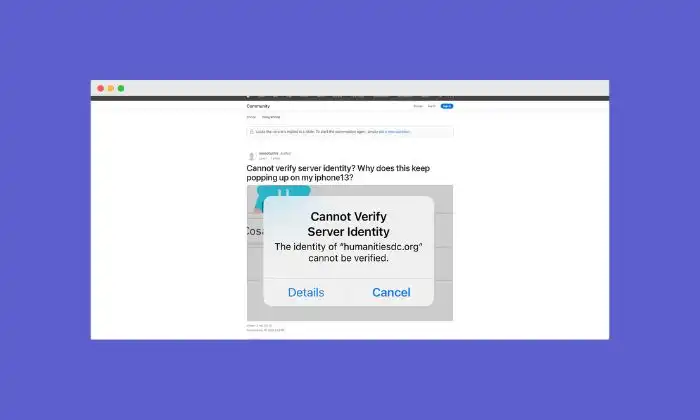
If your iPhone gives you the “Cannot Verify Server Identity” error, it is essentially telling you that the mail server’s certificate is fake. This error occurs because of the strict verification of the mail server certificates for iPhones.
It is a common error that occurs in iOS devices when using the Mail app. If you’re getting this error, then this guide will be helpful to you. In this guide, you will get to know how to fix iPhone Cannot Verify Server Identity error.
How to fix iPhone Cannot Verify Server Identity error
Method 1: Quit and restart the Mail app
If you’re using an earlier iPhone that has a physical Home button, quitting background apps can be carried out by following these steps –
- Head over to the Home screen to get started
- After that, swipe up from the bottom of the screen and pause slightly in the middle
- Then, swipe left or right to go to the Messages app
- Then, swipe up on the Messages app card for closing it
If you’ve got an iPhone 8 or earlier model, this is how to clear out the background apps –
- Start by double-pressing the Home button to get the most recently used apps
- After that, navigate through the app previews by swiping right or left
- Close the app and then swipe up on its preview
Once you have ended all the background apps, you should try launching Mail once again to see if the error is gone. If it recurs, you need to move to the next solution.
Method 2: Remove the email account and add it back
- Tap the “Settings” option from the Home screen
- After that, select “Accounts & Passwords”
- Now, navigate to the “Accounts” section before tapping to select the email account that you wish to delete
- Then, you should tap the “Delete Account” button at the bottom of the screen
- Tap “Delete from my iPhone” for confirming that you wish to delete the email account
- Once you’ve deleted the email, head back to Settings -> Accounts and Passwords menu
- After that, tap the option to “Add Account”
- Choose your email service provider
- Enter the required information
- Follow the on-screen instructions for completing the entire email setup process
Method 3: Reset network settings
- From the Home screen, you’ll need to tap on “Settings”
- Tap on the “General” option before scrolling down to and tapping on “Reset”
- Select the option to “Reset network settings”
- When prompted, you should enter the passcode for continuing
- Tap the option for confirming that you wish to reset network settings on your iPhone
Method 4: Factory reset your iPhone
- Tap on “Settings” on the home screen
- Then, tap on “General”
- Scroll down and tap on “Reset”
- Select the option to “Erase all content and settings”
- When prompted, you should enter your passcode for proceeding
- Tap the option for confirming a full system reset on your iPhone
