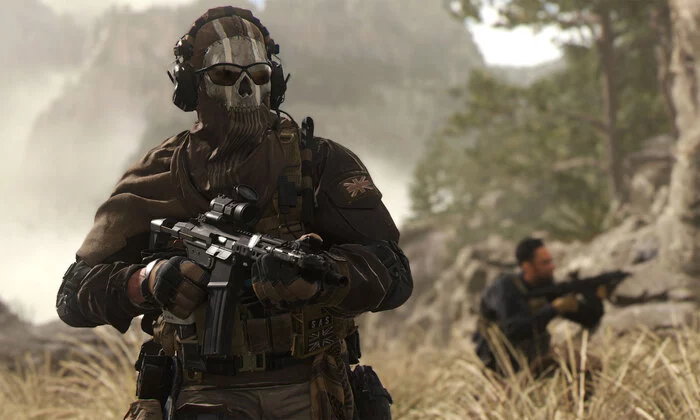
Modern Warfare 2 is an incredibly fun game that has a lot to offer to all types of gamers. Although there are a lot of positives, it isn’t free from its fair share of bugs and issues. There are a number of issues that have been troubling the users, with one of them being GPU Driver Version Error.
This error pops up when you’re trying to launch the game on your Windows 10 or Windows 11 PC. You will be greeted with the message “Your GPU Driver Version Does Not Meet the Minimum Requirements for Running Call of Duty: Modern Warfare II”.
If you’re in the same boat, then this guide will be incredibly helpful. In this guide, you will get to know how to fix GPU Driver Version Error in Modern Warfare 2.
Steps to fix GPU Driver Version Error in Modern Warfare 2

Method 1: Update GPU drivers
If you’ve got an NVIDIA driver, you need to head over to the official website of NVIDIA. After that, look for your GPU and download the latest driver. Now, run the setup file and then follow the on-screen steps. Once it is finished, you should restart your PC.
Meanwhile, if you’ve got an AMD Driver, you should go to the official website of AMD. Select your graphics card and then download the latest driver. Once it is downloaded, you should run the setup file. Follow the on-screen instructions and then restart your PC to see if GPU Driver Version error is resolved.
Method 2: Update DirectX
- Go to the official website of Microsoft and then download the DirectX installer
- Follow the steps mentioned to check for the latest version of DirectX
- If a new version is available, it’ll automatically begin to install
Method 3: Clear the graphics card cache files
- Open the File Explorer and then type %localappdata% into the address bar before pressing Enter
- Find the NVIDIA folder and then open it
- Open the DXCache folder and delete all the items in this folder
- Return and open the GLCache folder before Deleting all the items in this folder
- Now, return to the %localappdata% folder
- Look for the NVIDIA Corporation folder
- Open the “NV_Cache folder and then Delete all the files in the folder
Method 4: Update Windows
If you’re running Windows 10, you should right-click on the Start Menu icon before clicking on Settings. Then, you need to go to Update and Security and Check for Updates.
Meanwhile, if you’re running Windows 11, you should right-click on the Start Menu icon before clicking on Settings. Then, you need to go to Windows Update and Check for Updates.
Pic credit – www.callofduty.com