When talking about custom development, Fastboot is the most important mode. While it is possible to boot your device in Fastboot Mode without using a PC, most other custom development tasks will require a PC.
If your PC doesn’t have the necessary Fastboot Drivers installed, it won’t be able to identify the connected device in the first place. This means you won’t be able to execute any Fastboot command. Owning to such reasons, it is imperative that you have the Fastboot Drivers installed on your Windows 11 PC.
If you require help with that, then this guide will be helpful. In this guide, you will get to know how to install Fastboot Drivers in Windows 11 PC.
How to install Fastboot Drivers in Windows 11 PC

- To start off, you need to enable USB debugging on your PC
- To do that, head over to Settings -> About Phone -> Tap on Build Number seven times -> Return to Settings -> System -> Advanced -> Developed Options -> Enable USB Debugging
![]()
![]()
- After that, download the Android SDK Platform Tools and extract the file to a convenient location on your PC, which will give you the platform-tools folder
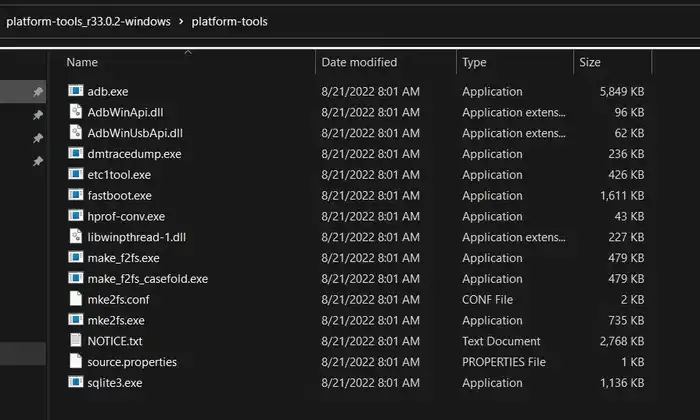
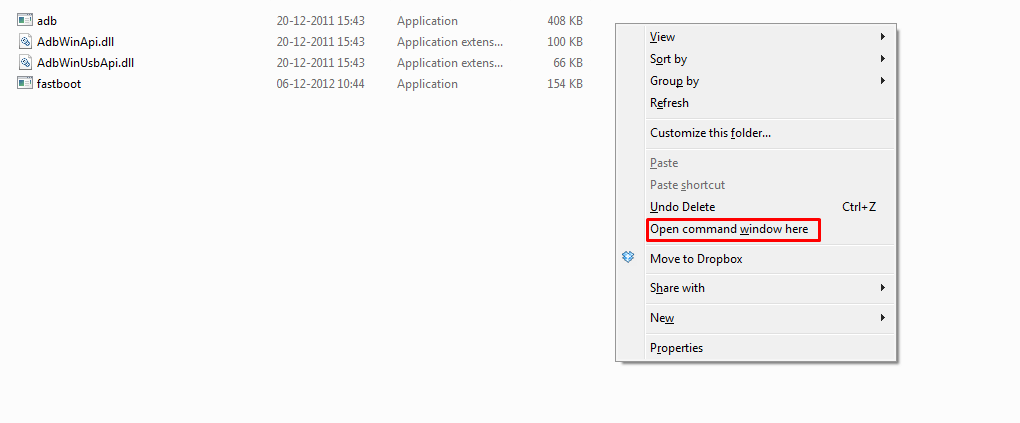
- Now, head over to the folder’s address bar and type in CMD before hitting Enter to launch the Command Prompt window
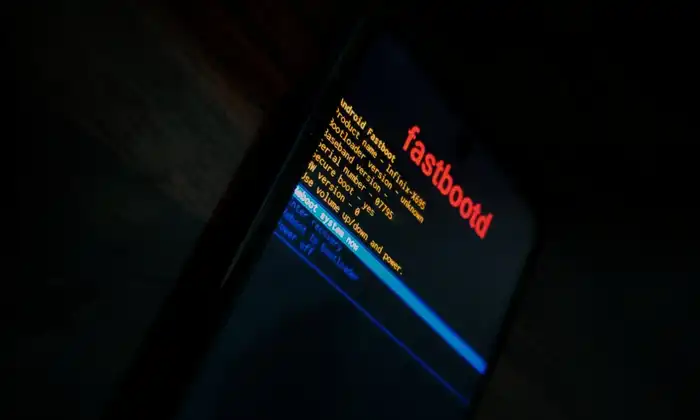
- Type the following command in the CMD window for booting your PC to Fastboot Mode –
adb reboot bootloader
- Download the latest Android Bootloader Interface Driver before extracting it to your PC, which will give you a couple of files such as the android_winusb.inf
- Next, you should press the Windows + X shortcut keys and choose Device Manager from the menu that pops up
- Expand the Other Devices section and your device would be listed with an exclamation mark
- Then, right-click on it and then select “Update Drivers”
- Now, you should select Browse My Computer for drivers
- Then, you should choose Let me pick from the list of available drivers
- Press the “Show All Devices” option and then click “Next”
- After that, click on the “Have Disk” button before clicking on the Browse button
- Now, navigate to the folder where you extracted the Fastboot Drives, choose the “android_winusb.inf” file, and then click “Open”
- Click on “OK” for loading the Fastboot Drivers
- Windows will bring up the Android Bootloader Interface Drivers
- You should be selecting it and click on “Next”
- If there appears a prompt, you should click on “Install”
- The Android Bootloader Interface Drivers will get installed and you will be notified of the same
- Once the installation has been completed, your device will go from the Other Device section to Android Device
- That’s it, you have installed the Fastboot Drivers onto your PC
How to verify Fastboot Driver installation?
One you have installed Fastboot Drivers, you will need to put them to rest straight away by verifying them. Here are the steps to follow –
- Start by connecting your device to the PC using a USB cable
- After that, open the Command Prompt inside platform tools
- Boot your device to the Fastboot Mode using the following command –
adb reboot bootloader
- Execute the following command for verifying the Fastboot Connection –
Fastboot devices
- You will get your device ID, signifying that the connection is successful
