Google Pixel smartphones come with a lot of unique and exciting features that distinguish them from other brands. However, they do pale in some aspects. For instance, the customization possibility is limited compared to other OEMs.
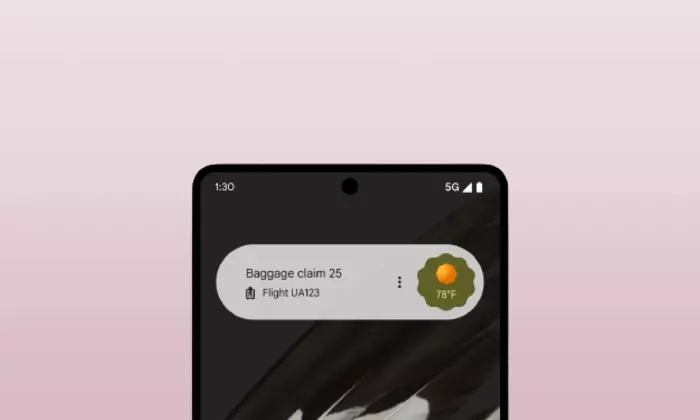
For instance, many users have been struggling to remove or customize At a Glance widget on their Pixel handsets. Not being able to remove the At a Glance widget is a negative blow for the users as it is a basic functionality of any Android smartphone. This means users aren’t able to free up space or customize according to their liking.
If you’re struggling with this situation, then this guide will be helpful. In this guide, you will get to know how to remove or customize At a Glance widget on Google Pixel.
How to remove or customize At a Glance widget on Google Pixel
If you’re struggling to remove or customize At a Glance widget on Google Pixel, then you’ll be glad to know there are a few ways to remove and customize this widget. The first method involves installing a third-party launcher from the Party Store as most of them will allow you to tweak the home screen UI more deeply. After you have installed it, you’ll be able to set the widgets you wish to in any position on the screen.
Meanwhile, there are users who appreciate the At a Glance and stock Pixel Launcher’s smoothness, so they prefer to continue using it. For them, there is an alternative app called “Smartspacer”. This is an app that allows you to not just hide the widget but also multiply its functionality by adding trackable data items from other services and apps.
How to download and install Smartspacer?
To get started, you’ll need to download the Smartspacer APK by heading over to the developer’s official Discord and installing it on your Pixel device. After that, you should install the Shizuku app by going to the Google Play Store. If you’re a root user, the app will detect it, which is why you will need to grant it root access.
If you’re not a root user, you can configure it with these steps –
- Go to your device’s Settings menu and then tap on “About Phone”
- Now, tap on Build Number seven times to unlock the Developer Options menu
- Return to the Settings menu and tap on “System” before tapping on “Developer Options”
- Open the Shizuku app and then tap on “pairing”
- Return to the “Developer Options” and enable “Wireless Debugging”
- In the “Wireless Debugging” menu, you should tap on “Pair devices with pairing code”
- Look for the pop-up with a code and the “Pairing Service Found” notification
- Then, tap on “Enter pairing code” from the notification before typing the code that appeared in the pop-up before tapping on “Send”
- Once the pairing is done, go to the Shizuku app and tap on the “Start” option
- Once you have finished the process, you’ll get some cards, among which will be “Shizuku is running”
- Another card will say “Authorized applications”, tap on it and look for the Smartspacer app and enable it
