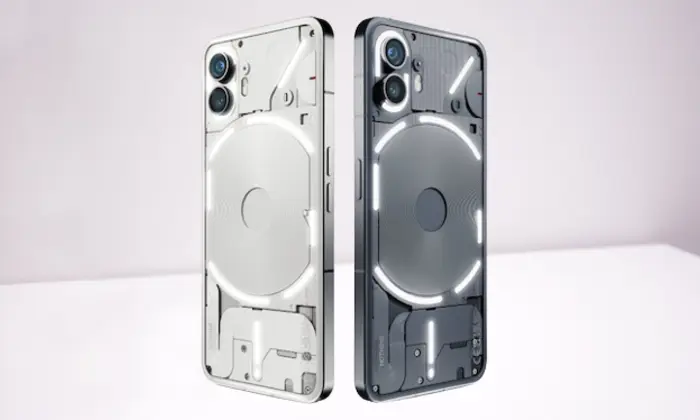
When talking about underlying OS skins, Nothing beholds an incredibly clean stock stage experience. As far as the update cycle is concerned, the OEM has done an impressive job and pushed timely updates.
However, these updates are typically rolled out in batches, which means not everyone will get them at once. If the first batch of users has received the update, then they can capture and share the OTA URL with others.
The users who haven’t yet received the update can download the OTA update using ADB Sideload in Nothing Phone 2 and manually install it. In this guide, you will get to know how to install OTA Updates using ADB Sideload in Nothing Phone 2.
Steps to install OTA Updates using ADB Sideload in Nothing Phone 2

Step 1: Install Android SDK
To start off, install the Android SDK Platform Tools on your PC or computer. It’s the official ADB and Fastboot binary provided by Google. You should download it and extract it to a convenient location on your PC. Doing this will give you the necessary platform-tools folder.
Step 2: Enable USB Debugging and OEM Unlocking
Then, you will need to enable USB Debugging and OEM Unlocking on your smartphone. The former makes your smartphone recognizable by the PC in ADB mode. Meanwhile, it’ll allow you to easily boot your smartphone to Fastboot Mode.
OEM Unlocking will be needed to carry out the bootloader unlocking process. You’ll need to go to Settings -> About Phone -> Tap on Build number 7 times -> Return to Settings -> System -> Developer Options -> Enable USB Debugging and OEM Unlocking.
Step 3: Download the firmware for Nothing Phone 2
- Now, you need to get hold of the firmware file for your smartphone from the following link –
Download Nothing Phone 2 Stock Firmware [Stock ROM Flash File]
-
- You should download the full update package
- Once you’ve downloaded the file, transfer the firmware to the platform-tools folder on your PC
- Likewise, you should rename the file to update such that the complete name ends up being updates.zip
Step 4: Boot to stock recovery
- Connect your smartphone to the PC using a USB cable
- Go to the platform-tools folder and type in CMD in the address bar before hitting enter to launch the Command Prompt
- Enter the following command in the CMD window for booting your device to the stock recovery –
adb reboot recovery
- You will be taken to the No Command Screen
- For exiting the screen, you should press and hold the Power button
- When doing that, press and release the Volume Up key and release the Power Key too
- You will be taken to the stock recovery
Step 5: Install OTA/Firmware using ADB Sideload in Nothing Phone 2
- Use the Volume keys for highlighting the Apple Update from the ADB option and then press the Power key for confirming it
- Now, you should go to the platform-tools folder
- Type in CMD in the address bar before hitting Enter to launch the Command Prompt
- Type the following command in the CMD window for verifying the ADB Sideload connection –
adb devices
- If you’re getting the sideload keyword in the Command Prompt, the connection will stand successful and you might be able to proceed ahead
- Go to the CMD window and type the following command to install the OTA file –
adb sideload update.zip
- The installation process will begin and can take a few minutes
- Once it is done, use the Volume keys for selecting the Reboot System Now option and then press the Power Key for confirming it