Poco X6 Pro is an exciting smartphone that comes with a wide array of specifications and features. However, what if you want to further add to those features and unlock doors to tinkering and customization?
You can do that once you root Poco X6 Pro. Rooting your device will have numerous benefits such as installing the latest firmware build, removing unwanted apps, customizing the UI, new features, making endless modifications, and more.
Incredibly, you can root Poco X6 Pro running Android 14-based HyperOS. If you want to know how, then I will tell you how. In this guide, I will show you how you can root Poco X6 Pro.
WARNING: Unlocking the bootloader will erase everything on your device. This method is straight forward and can be performed easily with our guide, but we recommend users take a full backup as sometimes things may go wrong and you may end up bricking your device. We shouldn’t be held responsible if anything happens to your device. So proceed with your own risk.
How to unlock the bootloader on your Poco X6 Pro

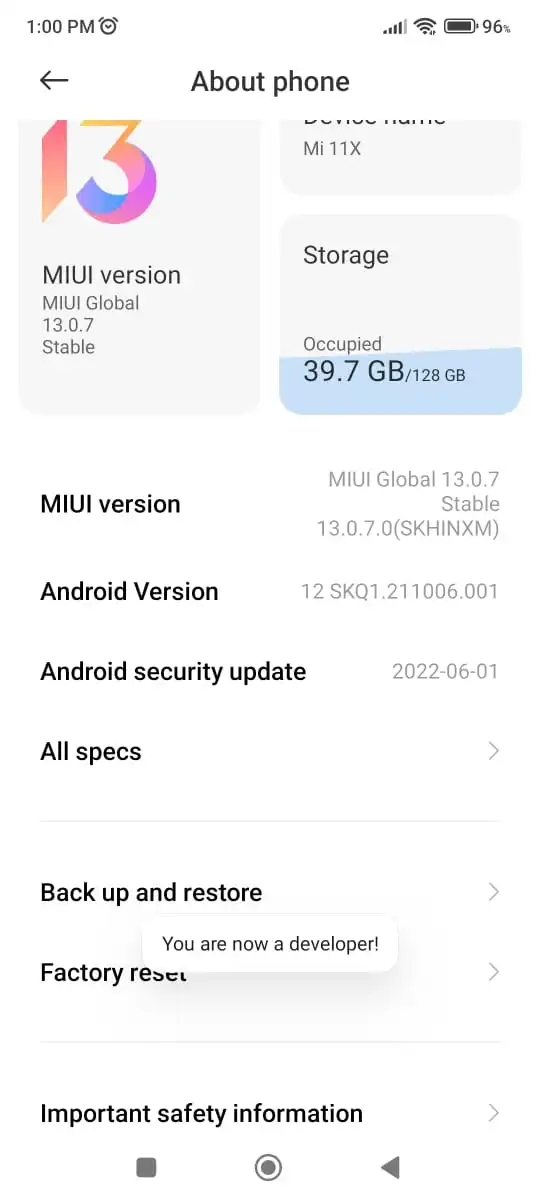
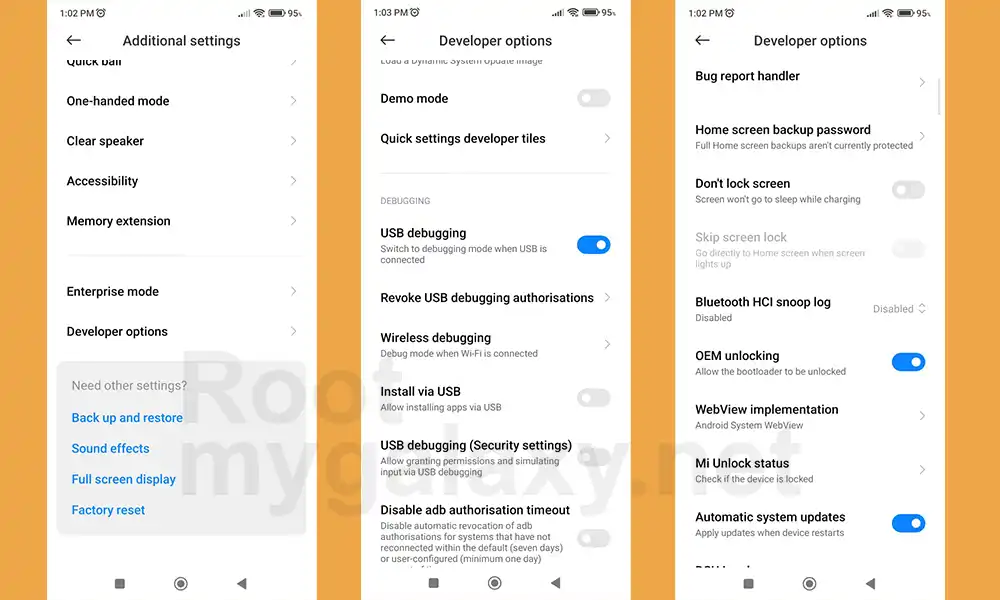
Step 1: Enable the developer options and OEM unlock
Enable developer options by heading over to the Settings App of your smartphone, scrolling down, and then tapping on “About Phone”. Then, tap on Build Number (MIUI Version) until you get the “You are now a developer” popup.
Step 2: Link your Poco X6 Pro with your Mi account
- Confirm your Mi account
- If you haven’t registered to it, head over to Settings -> Mi account or visit the official Mi page for account registration

- Ensure that you’ve inserted the SIM card
- Provide the necessary information to create and link your smartphone to your Mi account
Step 3: Unlock the bootloader on your Poco X6 Pro
- Boot your Poco X6 Pro into Fastboot mode
- Then, grab the USB cable and connect it to your PC while in Fastboot mode
- Now login to Mi Cloud Server to check whether your device is syn or not. If there are other devices synced with your mi cloud, remove them.
- Download the Mi Unlock Tool from the link mentioned above and extract the zip file
- Then, run the miflash_unlock.exe file

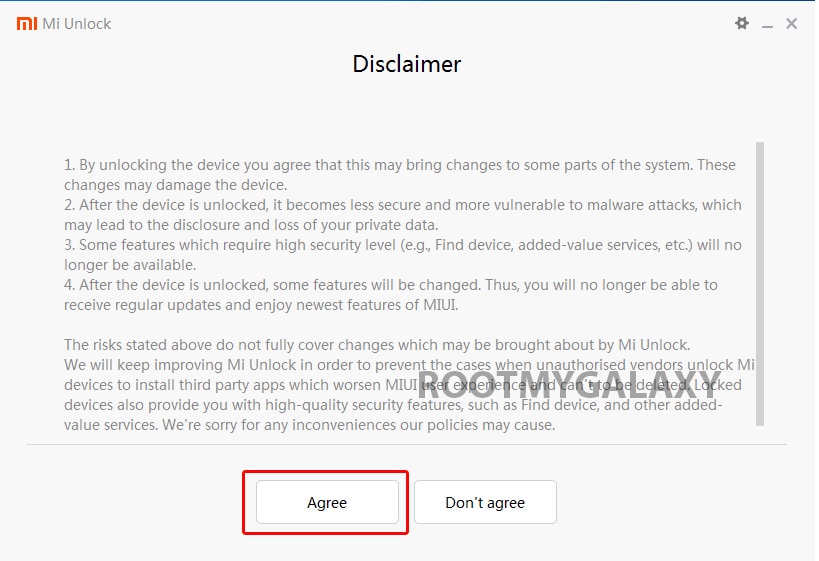
- A new disclaimer page will appear, read it and click Agree
- Now you will be asked to Log in. Log in with your Mi Account, If you don’t have one then Sign UP – CLICK HERE to Sign Up
- Now boot your Xiaomi Poco X6 Pro to Fastboot/Bootloader mode and connect it to your PC via provided USB
- Your device will be shown as connected.
- Note: If a message shown on the screen that your device is not supported by Mi Unlock. Don’t worry. Just click on the Go button to continue
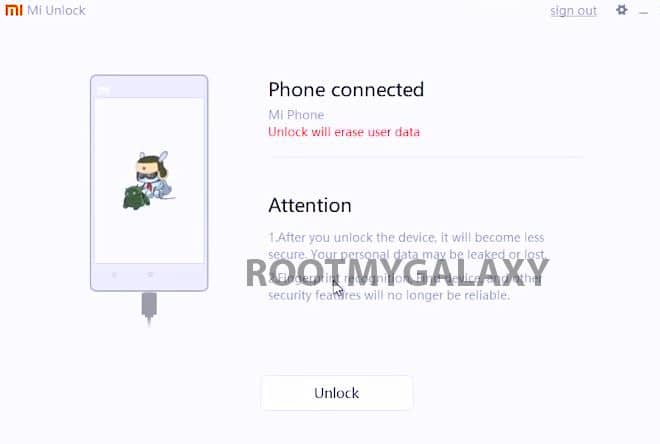
- Now Click On Unlock. It will show some warning, escape that. It will start the unlocking process automatically.

- Once the process is completed, reboot your device. Your device’s bootloader should be unlocked. You can check the bootloader lock status from the settings.
How to root Poco X6 Pro
In this method, you’ll need to be using the init_boot.img file of your smartphone. You can easily get this file from the HyperOS Fastboot ROM or get the init_boot.img from the HyperOS Recovery ROM of your smartphone. Once you’ve done that, you’ll be ready to go.
Here are the steps you need to follow to root Poco X6 Pro –
- Once you’ve got the init_boot.img of your Poco X6 Pro running Android 14-based HyperOS phone
- The next step would be to patch the file with Magisk manager app
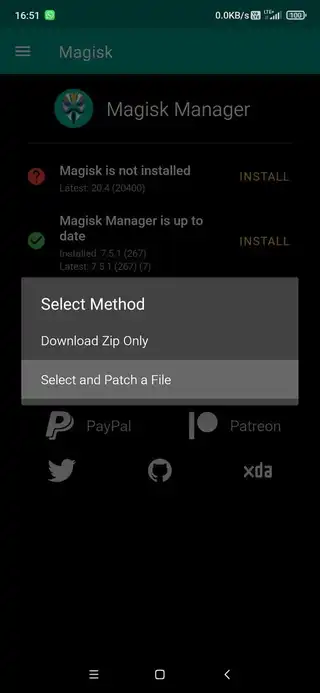
- Run the Magisk Manager app on your device
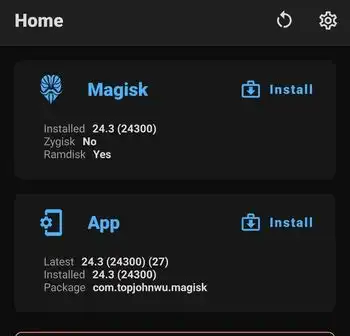
- After that, tap on Install Select and Patch a File
- Head over to the location where you copied init_boot.img file on your Poco X6 Pro and then select the same file for patching it with the Magisk app
- Wait for the patching process
- You can find the patched init_boot image (magisk_patched.img) file in the Downloads folder
- Now, you should save the HyperOS Patched init_boot.img on your PC and you’ll require a PC to flash this file on your Android device
- Install the Android sdk Platform Tools and then set them up on your PC.
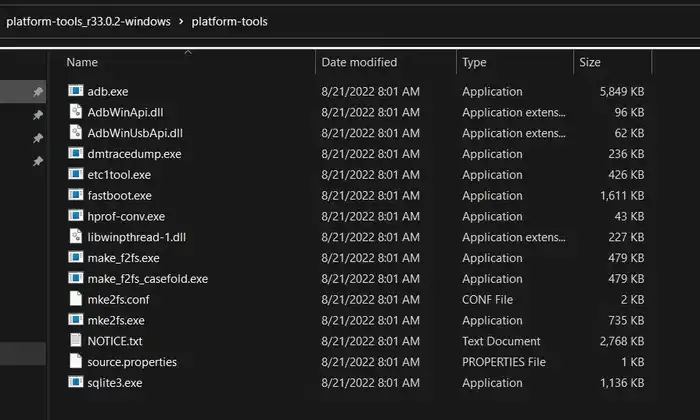
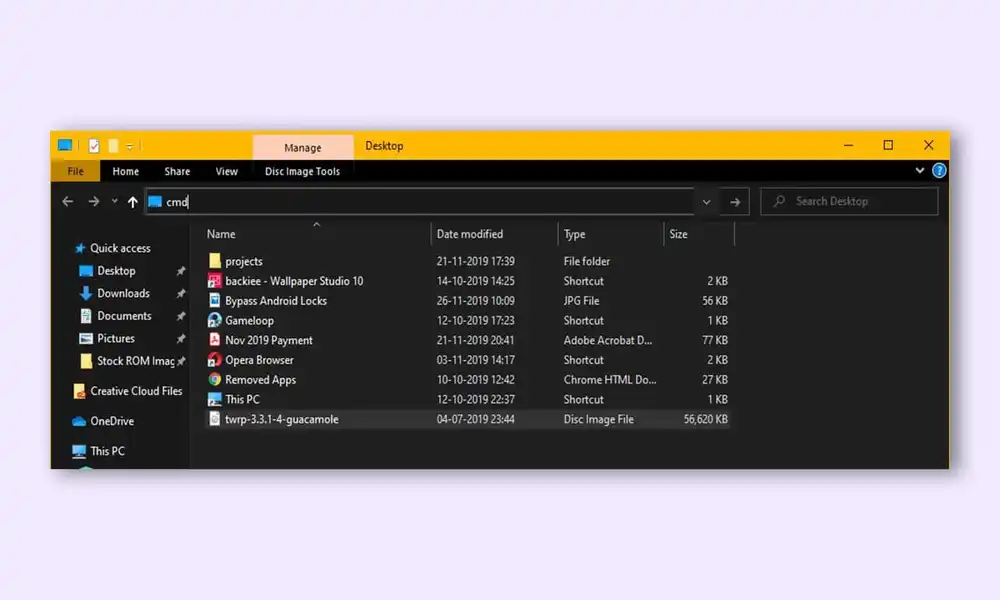
- Once you have installed the drive, you should open the Platform Tools folder before running the Command Prompt window on the folder by typing “cmd” in the address bar of the platform-tools folder
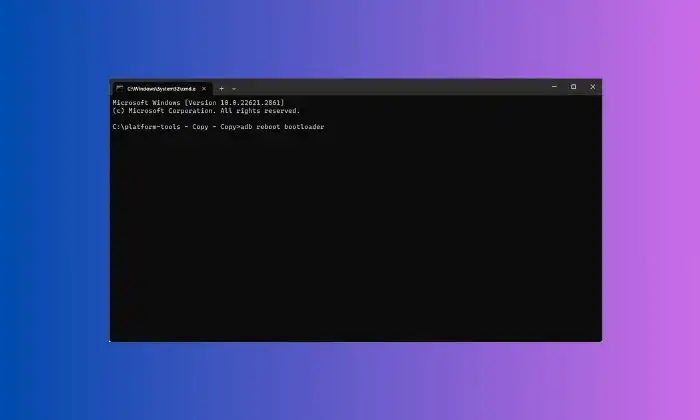
- Reboot the bootloader menu by either holding the Power + Volume Down buttons while booting up or through entering the following command –
adb reboot bootloader
- Once your device is in bootloader mode, you’ll now need to execute the following command in the CMD window for flashing the patched init_boot.img –
fastboot flash init_boot_a magisk_patched_boot.img

fasbtoot flash init_boot_b magisk_patched_boot.img
- Once the image has been flashed, you should run the following command for rebooting your device –
fastboot reboot

- Your Poco X6 Pro is now rooted and you can enjoy the new capabilities
How to bypass SafetyNet on rooted Poco X6 Pro
Step 1: Hide Magisk app
- Launch the Magisk App and then select the settings icon located at the top right
- After that, tap on Hide the Magisk App -> Enable the toggle next to “Allow apps from this source”
- Assign a random name to this Magisk app and then hit OK
- It’ll ask for a home-screen shortcut and then tap OK
Step 2: Enable Systemless Hosts
- Launch the Magisk app and then tap on the settings icon at the top right
- Now, tap on Systemless hosts
- Now, head over to the Modules section and then verify if it has been added
Step 3: Enable Zygisk
- Launch the Magisk app and then tap on the settings icon at the top right
- Now, enable the toggle next to Zygisk before restarting your Poco X6 Pro
- Launch Magisk and ensure that it says “YES” next to Zygisk
Step 4: Configure Denylist
Denylist is the new name for the Magisk Hide option. You can use this function to hide root from the desired apps.
- Launch the Magisk app and then tap on the settings icon at the top right
- Enable the toggle beside Enforce Deny list and then tap on Configure Denylist
- Expand the following apps and then checkmark all its services –
Google Play Service
Google Play Store
Google Service Framework
Google Play Protect Service
- Now, do the same for the banking/payment apps of your choice
Step 5: Flash Universal SafetyNet Fix module
- Download the Universal SafetyNet Fix module –
- Now, launch Magisk and head over to the Modules section before tapping on Install from Storage
- Navigate to the downloaded SafetyNet module before selecting it
- It’ll be flashed
- Once done, you should hit Reboot
Step 6: Delete the data
- Go to Settings -> Apps and select Google Play Service
- After that, go to the Storage section and then tap on Manage Space -> Clear all data
- After that, you should delete the data of Google Play Protect Service and Google Play Store
- Now, you should tap on the overflow icon located at the top right and then select Show System
- This would bring up the select apps
- Now, choose Google Service Framework and then delete its data
- Lastly, delete the data of the banking/payment apps from which you’ve hidden root
- Once it is done, restart your Poco X6 Pro
Step 7: Check SafetyNet test results
- Download and install the YASNAC app from Google Play Store
- Now, launch the app and then tap on Run SafetyNet Attestation
- You will now get Pass under both the Basic Integrity and CTS Profile Match options
We hope this guide helped you root Poco X6 Pro. If you have any questions or suggestions, feel free to mention them in the comments section.
Liked this post? Let us know on X (formerly Twitter) - we love your feedback! You can also follow us on Google News, and Telegram for more updates.
