Samsung’s new Galaxy S24 lineup doesn’t just have amazing hardware for performance but it also features the smarts in the software department. The devices come with a bunch of AI tools that greatly help improve your productivity and carry out different day-to-day tasks with ease.
One of the most useful ones is the Object Eraser. You can use Object Eraser for editing photos and removing unwanted things from your images. If you have any handset from the Galaxy S24 Series, you’ll be able to use this feature.
In this guide, you will get to know how to use Object Eraser for editing photos on Samsung Galaxy S24 Series.
How to use Object Eraser for editing photos on Galaxy S24 Series

While the Object Eraser feature is available on the Galaxy S24 Series handsets, there are also other supported Galaxy handsets but they should be running the One UI 6.1 firmware. With that said, here are the steps you need to follow to use Object Eraser for editing photos on Galaxy S24 Series.
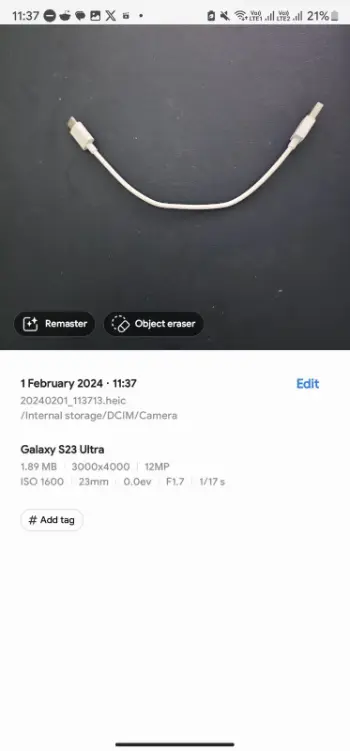
- First, you need to launch the Gallery app on your Samsung Galaxy S24 handset
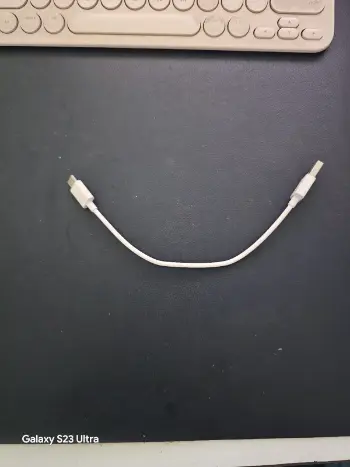
- After that, browse and choose the image that you wish to remove the object from
- At the bottom, you will be able to see different irons
- You should tap on the pen icon or the Edit icon
- With the Edit screen open, you need to tap on the last icon having four circles together
- After that, select the Object Eraser option
- Using your finger or the S Pen on the Galaxy S24 handset, you should draw around the objects you wish to remove
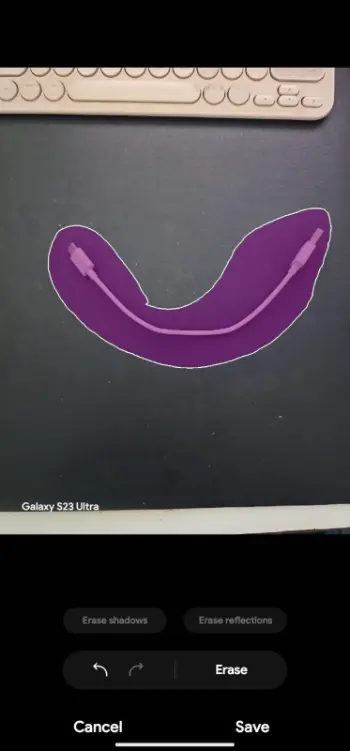
- Tap on the Erase button for removing the selected objects
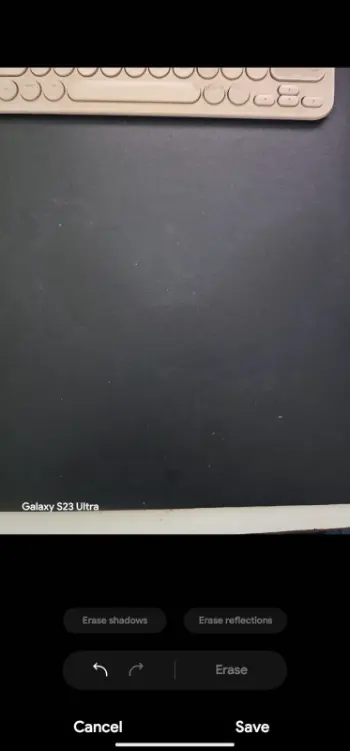
- Once you’ve finished erasing the objects, tap on the “Done” button
- The image will get saved to your device, which you can then share with others
