Download and Install Pixel / Pixel XL October 2018 Factory Image (Android 9.0 Pie): Google has started releasing the latest October 2018 Security Patch update to its Pixel devices. After the newer Pixel 2 and Pixel 2 XL, the original Pixel and Pixel XL have also started getting the update. The update is based on latest Android 9.0 Pie ait’sits a stable release.
The latest October 2018 Factory Image is seeding over-the-air (OTA). It will be available for all Pixel/ Pixel XL devices across the globe but it October 2018 take some time to reach everywhere as the OTAs are released in a phased manner. You can manually check for the update from your device’s settings.
The Latest Google’ October 2018 Security Patch update brings stability and performance improvements to the device. As it is the latest security patch provided by Google, so users are highly recommended updating their devices to this update if available. We have the October 2018 factory images of the devices so if you want to flash the firmware manually, you can do that too by following the guide.
To manually check the OTA, go to device Settings –> System menu –> System Update —> Now tap on the Check for Update option. If you see the update, then follow the instructions on the screen to download and install it.
Table of Contents
Disclaimer
RootMyGalaxy.net is not responsible for any hardware/software issues that occur on your device(s) by following this guide. We are certain that the following guide is carefully written, avoiding any mistakes on our side. If you are unsure of the causalities that October 2018 occur if the procedure goes wrong, then please don’t proceed.
Download Pixel/Pixel XL October 2018 Factory Image
- sailfish-ppr2.181005.003-factory-727c51f5.zip – Google Pixel
- marlin-ppr2.181005.003-factory-59b2d3dd.zip – Google Pixel XL
Steps To Install Pixel / Pixel XL October 2018 Factory Image
-
Install OTA
- If you want to flash the OTA Update Only then follow this guide > How To Install OTA Firmware Updates Using ADB Sideload
-
Install Full Firmware
- First Enable the USB Debugging and OEM Unlock on your device.
- Download and Install the ABD and Fastboot drivers on your windows/MAC.
- Download full firmware files and extract the files to the ADB folder.
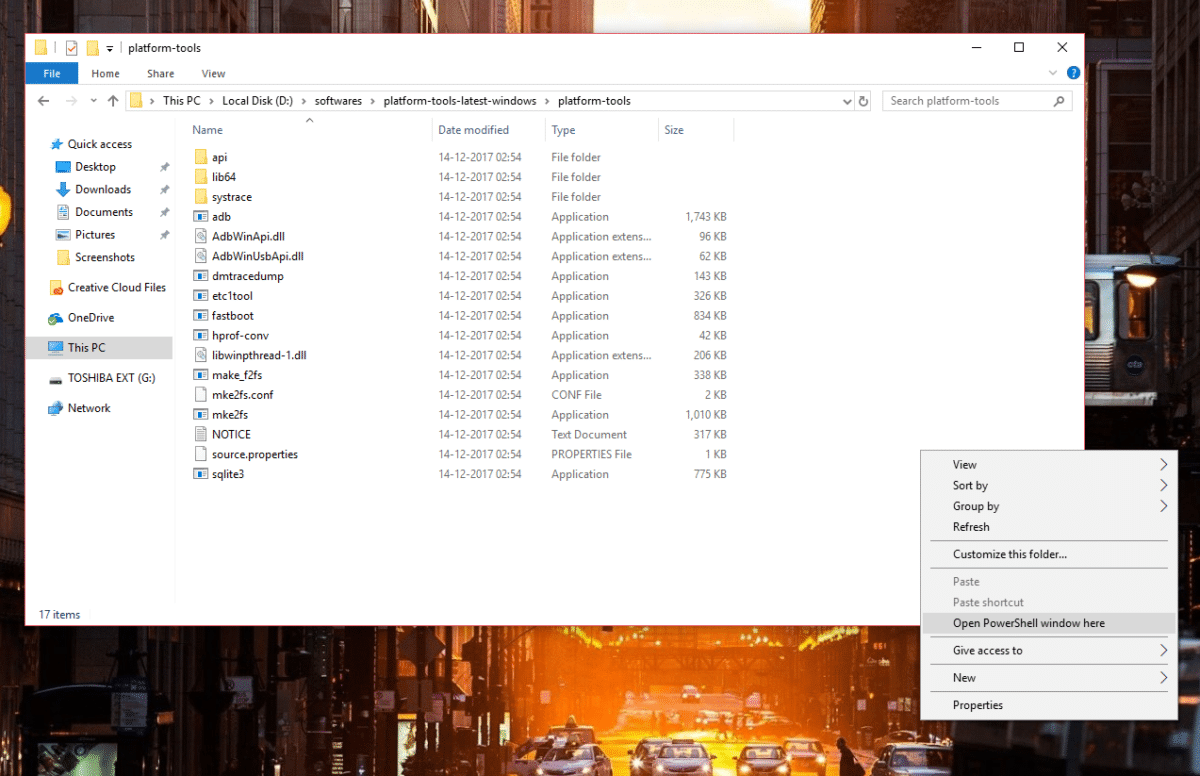
- While you are in the ADB folder, press and hold the ‘Shift” key and right-click on anywhere inside the folder to select ‘Open command window or powershell here.’ It will open the command prompt.
-
- In the command prompt windows issue the given commands to check whether your device is properly connected or not.
adb devices
- Now issue the given commands to boot the device into bootloader mode.
adb reboot bootloader
-
Once your device is in the bootloader mode, open the files in the ADB folder and simultaneously locate the flash-all script. Now run the script by double-clicking on it.
-
Wait for the process to finish. If the terminal asks to exit, do so.
-
To complete the process reboot your device.
- In the command prompt windows issue the given commands to check whether your device is properly connected or not.
That’s it you have successfully installed the firmware on your device. Feel free to share your opinion on the comment section down below.
