It’s been almost three years since Microsoft released Windows 11 officially and the company has introduced multiple security features to improve better user experience. But as time goes on, more security threats and ransomware attacks are spotted on Windows machines in various ways. Luckily, Windows 11 OS do come with a built-in security feature called ‘Ransomware Protection’ which is designed and developed to provide an enhanced security level. Now, if you want to enable Ransomware Protection on Windows 10 and 11 PCs, check this full guide.
This specific security feature on Win11 offers a security safeguard for your system and user data to protect it from vulnerability attacks. If you’re not aware of the Ransomware attack, it’s a malicious file or software that can be injected into encrypted files on your Windows computer and exploits user data. As a result, the affected user may lose important or confidential data and sometimes may get asked to pay ransom money against the recovery.
Even though plenty of Windows users try to avoid visiting risky websites and downloading suspicious files on their PCs, enabling this additional security feature will help a lot. The Microsoft Defender is a built-in antivirus tool on Windows that offers ‘Controlled folder access’ as an anti-ransomware feature for selected apps or files.
Steps to Enable Ransomware Protection on Windows 10 and 11 PCs
In case, any malware tries to edit or modify the specific file from a protected folder, that malware-infected file/app will be blocked. Eventually, you’ll get notified regarding the suspicious activity. So, you can check the steps below to turn on and configure Controlled folder access in Defender to protect data on Windows 10 or Windows 11 against ransomware.
You May Also Like: How To Block Websites Via Hosts File Windows 11
- Go to the Start menu.
- Search and open Windows Security.
- Click on Virus & threat protection.
- Head over to the Ransomware protection tab.
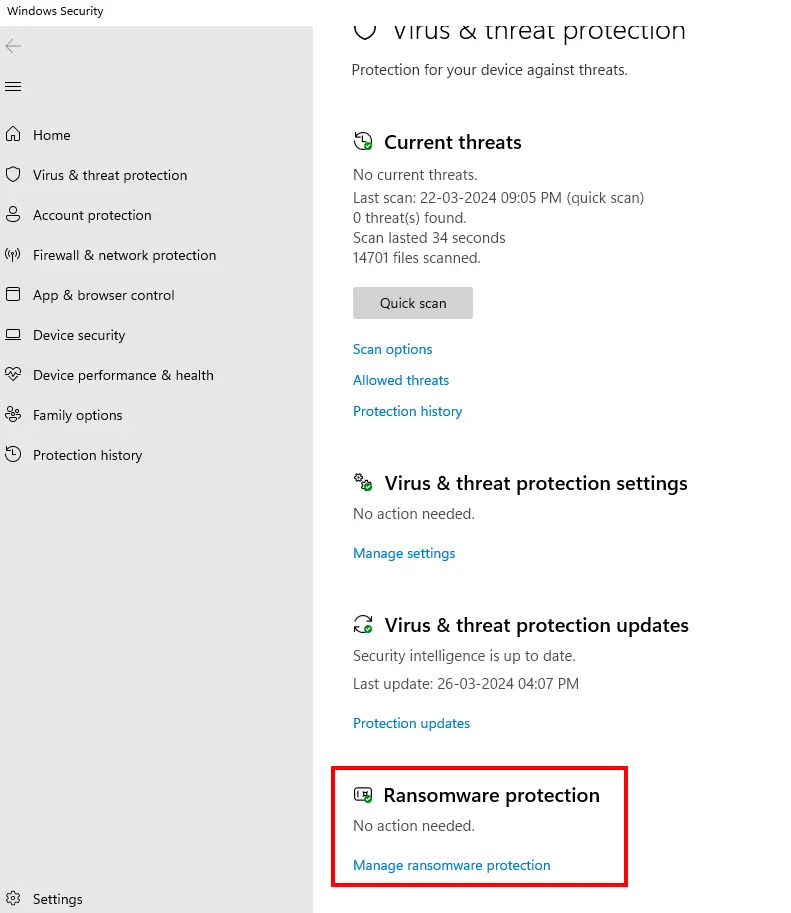
- Now, click on the Manage ransomware protection option.
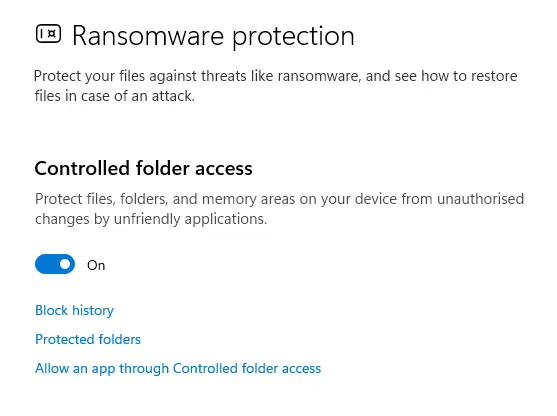
- Turn on the Controlled folder access toggle.
- If prompted by User Account Control, click on Yes.
- To add folder protection, click on Protected folders.
- If prompted by User Account Control, click on Yes.
- Click on Add a protected folder.
- Select the new folder location to protect against ransomware.
- Click on the Select Folder option.
- To allow an app, click on Allow an app through Controlled folder access.
- If prompted by User Account Control, click on Yes.
- Click on Add an allowed app.
- Select Recently blocked apps or Browse all apps to choose the app.
- Once you’re done, you’ll receive notifications against file modification or security threats.
Please Note: If you want to disable ransomware protection, turn off the Controlled folder access feature.
