Windows is always getting new and exciting features and the developers are at it again with the Windows 11 Moment 5 update. This update offers users a bunch of new features for the Windows OS.
Although this is far from the biggest updates, in fact it is one of the smallest ones, you will still be able to find something useful and interesting, including the Snap Assist feature with smart suggestions.
Currently, the Windows 11 Moment 5 update is in its first stage, you need to head over to Windows update and get it manually. Sometimes, you might receive an unlucky ticket and end up without any new features despite installing the new update.
How to install and enable Windows 11 Moment 5 features

If this is the case, you will need to bypass Controlled Feature Rollout and force-enable the new features using the VIVeTool app. Interestingly, the Stage 3 (the final stage) of this update is expected to come out on April 9th, 2024. Here are the steps you need to follow to install and enable Windows 11 Moment 5 feature –
Step 1: Get the update
Before you start, you need to head over to windows Update and then install the cumulative updates. You should ensure that you’re running Windows 11 version 22H2 or 23H2.
- Open Settings -> Windows Update and then check if there’s a message that KB5034848 is available for download
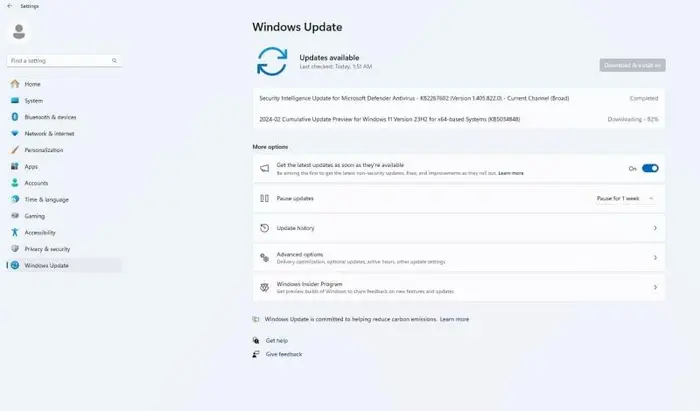
- After that, you should click “Download and Install”
- Now, confirm the action
- Then, you should wait for the system to download and install this update
- Restart your PC
That’s it, you’ll now be able to check whether you’ve received the Moment 5 feature. If you didn’t, you can head over to the next step.
Step 2: Force enable the new features
It is possible to turn on the features by force. All that you need to do is get the VIVeTool app and have a feature ID. Here are the steps to follow –
- Head over to GitHub and download the VIVeTool app
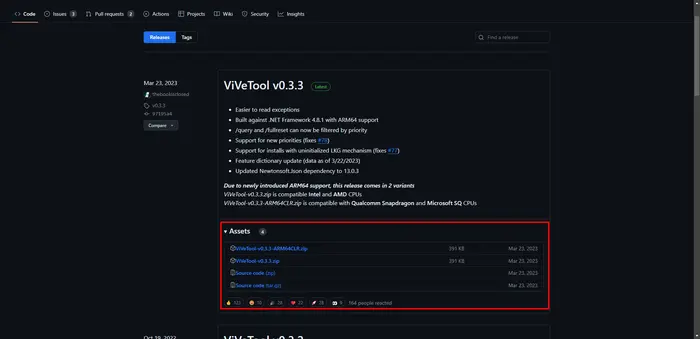
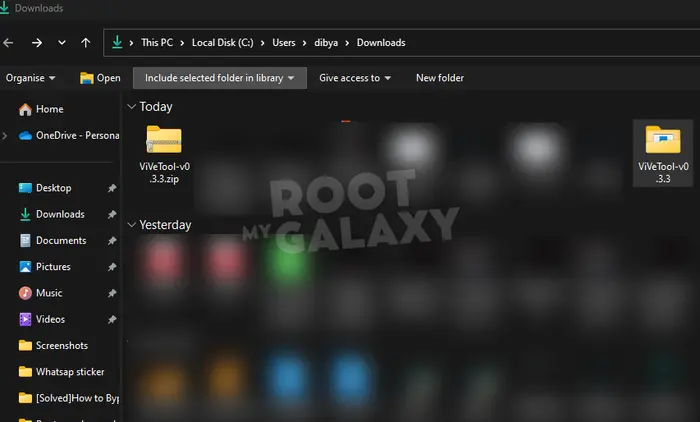
- Unpack the files in a convenient folder
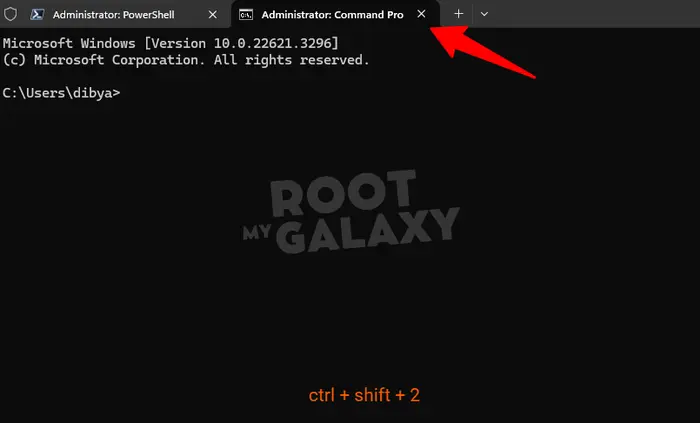
- After that, press Windows + X keys and select “Terminal (Admin)”
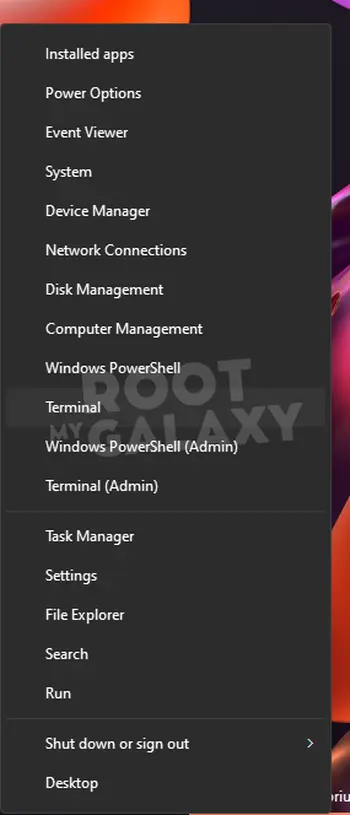
- Switch Windows Terminal to the Command Prompt with the Ctrl + Shift + 2 shortcut or by simply clicking the arrow-down button present at the top of the window
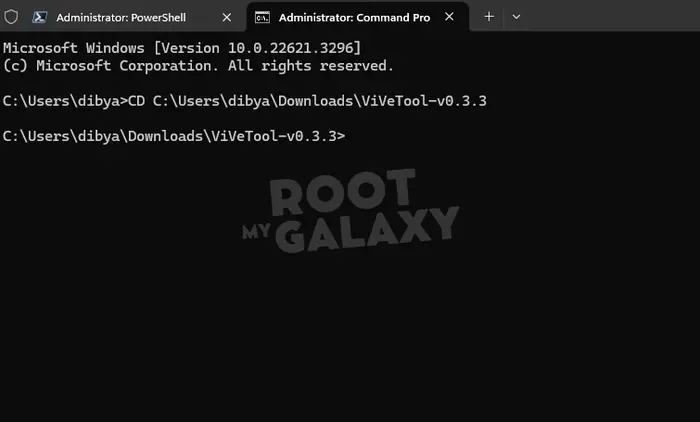
- Now, you should navigate to the folder containing the VIVeTool files with the CD command
- For instance, if you placed VIVeTool in C:Vive, you need to type CD C:Vive
- After that, type the following command and press enter
vivetool / enable / id:44470355
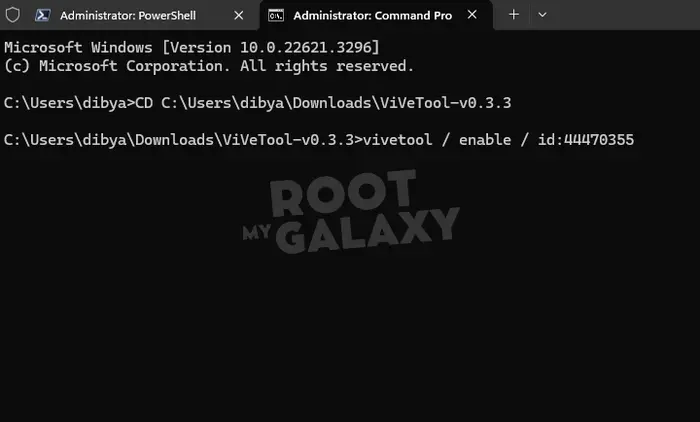
- Lastly, restart your PC
We hope this guide helped you install and enable Windows 11 Moment 5 feature. If you have any questions or suggestions, feel free to mention them in the comments section down below.
