The macOS Finder offers a range of customization options, allowing users to personalize the sidebar in Finder windows for quick access to files and volumes on their Mac. By customizing the sidebar, you can streamline your workflow and enhance productivity. Here, we’ll go over the several customization choices you have and demonstrate how to adjust the sidebar to suit your particular requirements.
Showing and Hiding the Sidebar
To toggle the visibility of the sidebar in a Finder window, you have two options. Either go to View -> Hide Sidebar in the main menu or use the keyboard shortcut Command-Shift-S. This allows you to quickly show or hide the sidebar depending on your preference.
Basic Sidebar Settings
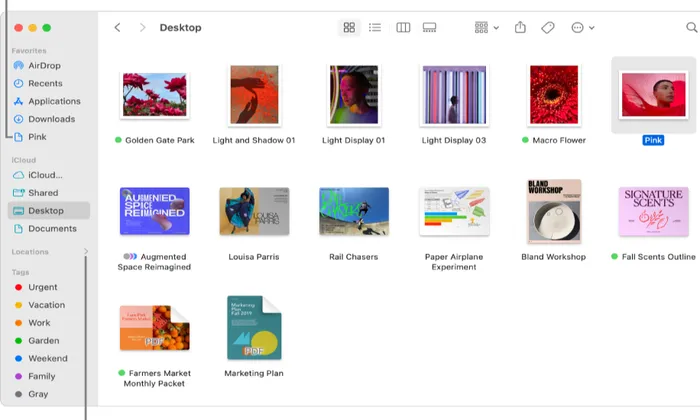
The sidebar in Finder windows is divided into different sections, including Favorites, iCloud, Locations, and Tags. Within each section you can add or remove items to customize the sidebar according to your requirements.
Here’s how you can manage the basic sidebar settings:
Reordering Items
Simply dragging an item up or down in the list will reorder it inside each segment. This allows you to prioritize frequently accessed folders or volumes for easy access.
Adding Custom Folders
Drag and drop the chosen folder from your Finder’s Desktop into the Favourites section to add a custom folder to the sidebar. This creates a quick shortcut to the folder, making it convenient to navigate through your files.
Removing Custom Folders
If you want to remove a custom folder from the sidebar Control click or right click on it and select “Remove from Sidebar” from the popup menu. Note that removing a standard folder in the sidebar only disables its display setting, which can be re-enabled later in Finder settings.
Unmounting Volumes and Devices
Mounted storage volumes, iOS devices, or network shares appear under the Locations section. To unmount them, simply click the small Eject icon next to their names in the sidebar.
Utilizing Tags
The Tags area can be found at the base of the sidebar. Tags provide a convenient way to organize and locate files based on specific criteria. All files and folders that have the selected tag are shown when you select it in the sidebar. Here’s how you can leverage tags:
Tag Reordering
You can customize the order of tags in the sidebar by dragging them, allowing you to prioritize frequently used tags.
Customizing Tags in Settings
By accessing Finder -> Settings, you can manage tags in the Tags pane. The “+” button allows you to add new custom tags, enable or disable existing tags, and reorder tags. Changes made to tags in Settings will be reflected in all Finder window sidebars.
Customizing Sidebars in Finder Settings
Finder settings provide additional customization options for the sidebar. To access the settings, go to Finder -> Settings. Here’s what you can do:
Tags Pane
In the Tags pane, you can reorder tags, enable or disable them, and add custom tags. You can also drag tags to the section at the bottom to make them visible in the Finder’s File menu and contextual menus.
Sidebar Pane
In the Sidebar pane of Finder settings, you can customize which items are displayed in the sidebar by toggling their checkboxes. For example, turning off the iCloud Drive and Shared items will remove the iCloud heading from the sidebar.
Conclusion
By customizing the sidebar in macOS Finder, you can optimize your file management workflow and have quick access to frequently used folders, volumes, and tags. Experiment with different settings and arrangements to create a personalized and efficient workspace in Finder. With a customized sidebar, you can streamline your file navigation and boost productivity on your Mac.
