As smartphones transitioned from Android 12 to Android 13 and then to Android 14, several new features got added but there weren’t many major changes in the UI. However, there were tweaks under the hood, security enhancements, and performance improvements.
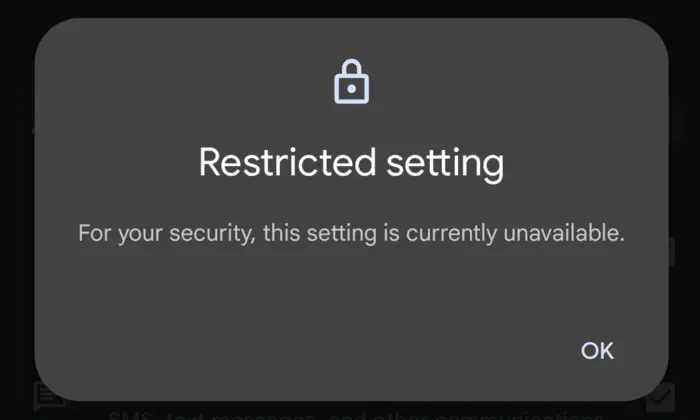
When talking about the security, Google has been quite strict in how third-party apps interact with accessibility services. Google introduced Restricted Settings in Android 13 before retaining it in Android 14 and it prevents the apps from accessing privacy-related APIs.
For instance, NotificationListenerService is an API known for allowing apps to access and read all the notifications. As it is quite a sensitive API, its access being given to any malicious app may prove to be a risky bet. This is why Google has put in Restricted Settings privacy measure that would prevent apps from being able to access these privacy-related APIs such as the NotificationListenerService.
How to bypass Restricted Settings for Sideloaded Apps on Android 14 and Android 13
Now, you may be wondering which apps fall under the Restricted Settings list. All the apps that use a non-session-based package installer tend to fall under the restricted domain. All the apps published on Google Play Store come with a session-based package installer, hence they can easily access the accessibility services once you have given it the permissions.
Meanwhile, most of the third-party apps that you’d sideload from the internet use the non-session-based package installer and they would not be able to interact with the system-level services. Despite such strict rules, Google has given the users an option to tweak the setting and allow the sideloaded apps to bypass Android 13 and Android 14 Restricted Settings.
Here are the steps to bypass Android 13 and Android 14 Restricted Settings for sideloaded apps –
- Go to Settings -> Apps -> See all apps before selecting the desired app from the list
- After that, you should tap on the overflow icon located at the top right
- Now, select “Allow Restricted Settings” before pressing “Allow” in the confirmation dialog box
- Head over to the app’s accessibility setting and you’ll no longer have issues enabling the desired permissions
Pic credit – www.kaspersky.com
