The battery is one of the most vital parts of your laptop or PC. Not just these devices, it is also a significant part of other devices like smartphones, tablets, smartwatches, and more. It will allow you to access the device and continue working for hours without having to connect to a power source.
It is important to keep tabs on the battery health and know that the battery tends to degrade over time. This means at the start, you will get maximum battery life but you shouldn’t expect the same performance after a year because of reduced battery capacity.
It would be best that you keep a close eye on your battery health and take measures accordingly. While Apple offers an easy way to monitor battery health, it is also possible to do that on your Windows 11 PC. In this guide, you will get to know how to check battery health on Windows 11 PC.
How to check battery health on Windows 11 PC?
You’ll be able to get a thorough battery health report using the PowerShell command. It will give you complete information on the battery beginning with the date you started using your Windows 11 PC. Here are the steps to follow to check battery health on Windows 11 PC –
- Right-click on the Start Menu icon and open “Terminal (Admin)”. Admin access will be needed so you should select “Yes” in the prompt. You can then open CMD or PowerShell but ensure that you run it as Administrator.
- Copy the following command and paste it in the Terminal and you’ll be able to right-click for pasting the copied command –
powercfg/batteryreport
- Now, press the Enter button and then wait for the command to get executed.
- Once the command is executed, the report will get saved. You’ll be able to see the file location in the Terminal or PowerShell window.
- Head over to the mentioned location (in the previous step) and open the battery-report.html file.
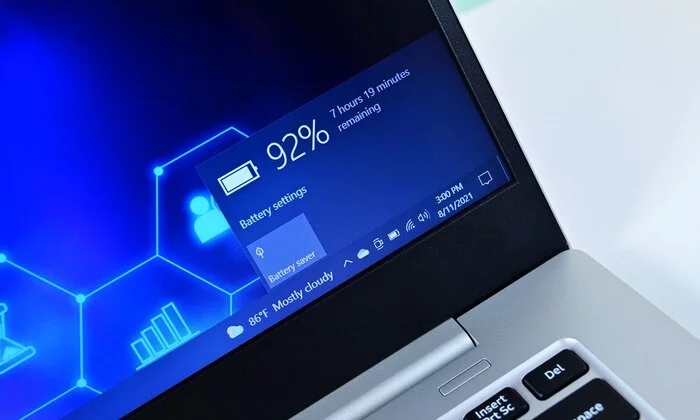
Pic credit – www.windowscentral.com
