Xiaomi recently released its latest offerings of handsets and it consists of Redmi Note 13 and Note 13 Pro. Within a short span of time, the newest lineup has garnered the limelight thanks to the wide array of features at an affordable price.
In terms of the custom development scene, Redmi smartphones have been quite popular among the masses. The same applies to Redmi Note 13 and Note 13 Pro. But before you can open up the doors to the endless tinkering and plethora of options, you will first have to root your device.
With that said, this guide will help you with that. In this guide, you will get to know how to root Redmi Note 13 and Note 13 Pro using Magisk.
How to root Redmi Note 13 and Note 13 Pro using Magisk

Step 1: Install Android SDK
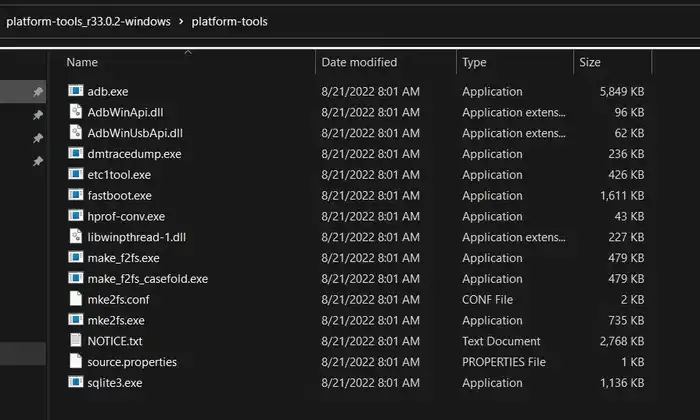
To start off, install the Android SDK Platform Tools on your PC or computer. It’s the official ADB and Fastboot binary provided by Google. You should download it and extract it to a convenient location on your PC. Doing this will give you the necessary platform-tools folder.
Step 2: Enable USB Debugging and OEM Unlocking
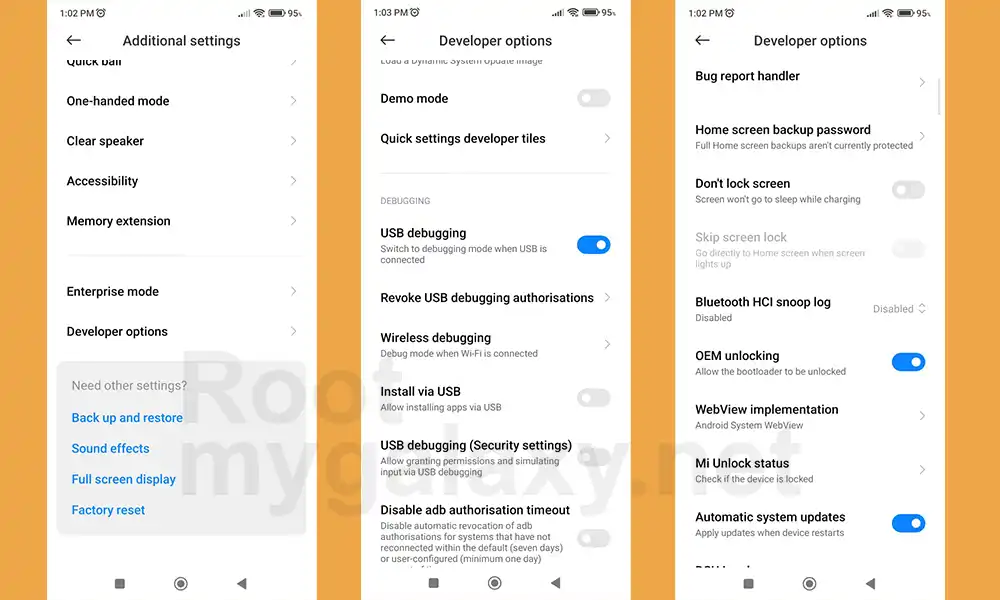
Then, you will need to enable USB Debugging and OEM Unlocking on your smartphone. The former makes your smartphone recognizable by the PC in ADB mode. Meanwhile, it’ll allow you to easily boot your smartphone to Fastboot Mode.
OEM Unlocking will be needed to carry out the bootloader unlocking process. You’ll need to go to Settings -> About Phone -> Tap on Build Number 7 times -> Return to Settings -> System -> Advanced -> Developer Options -> Enable USB Debugging and OEM Unlocking.
Step 3: Unlock Bootloader on your Redmi Note 13 and Note 13 Pro
You’ll also need to unlock the bootloader on your Redmi Note 13 and Note 13 Pro if you’re looking to root it using Magisk. Remember that doing this will wipe off the data and might even make your device’s warranty null and void.
How to Unlock bootloader on Xioami, Redmi and Poco Phones (MIUI Unlock Bootloader Guide)
Step 4: Download Redmi Note 13 and Note 13 Pro Fastboot ROM
Next, you need to download the Fastboot ROM for your smartphone. To do that, you should use the Redmi Note 13/Note 13 Pro Fastboot Stable ROM v14.0.2.0.TNRINXM. You’re also free to try out any version of your choice but it is recommended that you try the newer builds and the version of your region.
For downloading the firmware, you should go to the official MIUI Forum or use a third-party website like Xiaomi Firmware Updater.
Step 5: Extract stock boot.img
- Extract the ROM to a convenient location and head over to the Images folder
- In that, you will see the partitions files in IMG format
- Now, copy the boot.img file from here and send it to your device
Step 6: Patch Redmi Note 13 and Note 13 Pro stock boot using Magisk
- First, you should install the Magisk app on your smartphone
- After that, tap on the “Install” button located next to Magisk
- From the Method section, you need to choose Select and Patch a file
- Then, browse to the extracted boot.img file before selecting it
- Now, tap on the “Let’s Go” option located at the top right
- Magisk will load the boot.img file and patch it accordingly
- Once it is done, you’ll get the Download Complete message
- The patched boot image file will get saved in Internal Storage -> Downloads
- Ensure that you rename it to magisk_patched.img if this isn’t already the case
Step 7: Boot the device to Fastboot Mode
- Connect your smartphone to the PC using a USB cable and ensure that USB debugging is enabled
- Go to the platform-tools folder and type in CMD in the address bar before hitting Enter to launch the Command Prompt
- Type the following command in the CMD window for booting your device to Fastboot Mode –
adb reboot bootloader
You will now get the MI Bunny Logo alongside the Fastboot text written under it, signifying that the device has booted to Fastboot successfully.
Step 8: Flash Magisk Patched Boot.img and root your device
- Ensure that you’ve transferred the magisk_patched.img file to the platform-tools folder
- After that, boot your smartphone using the patched boot.img file using the following command –
fastboot boot magisk_patched.img
- After that, launch the Magisk app before tapping on the Install button beside Magisk
- Now, select Automatic Installation and wait until the process is complete
- Once it is done, you should tap on the “Reboot” button present at the bottom right
- Your device will boot to the rooted OS
