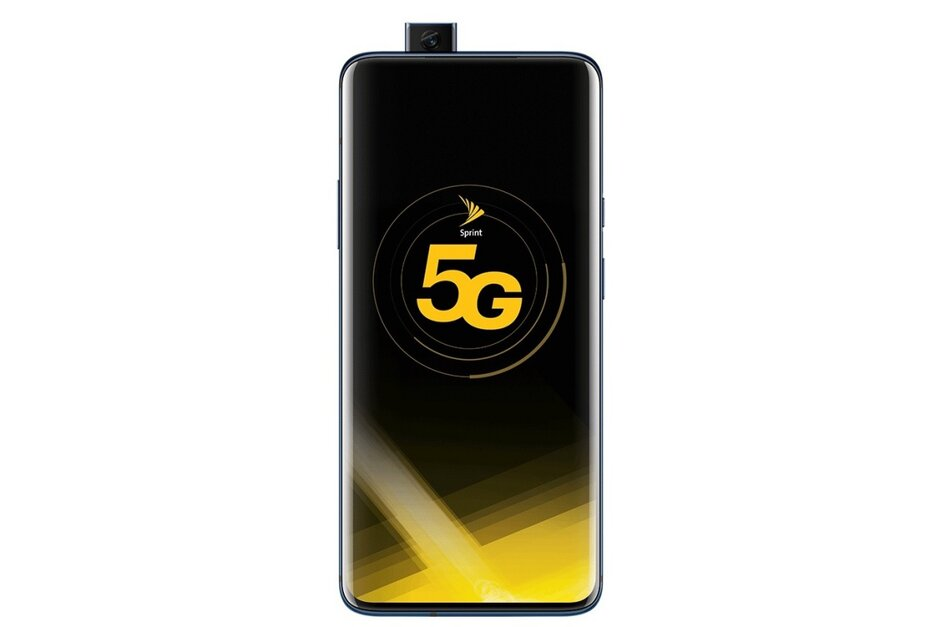
The OnePlus 7 Pro 5G was launched in June 2019 with a fluid AMOLED display that supports HDR10+, a 90Hz refresh rate. It packs Snapdragon 855 processor, 6/8/12GB RAM, 128/256GB onboard memory, 48MP triple rear cameras, a 16MP pop-up selfie camera, an in-display fingerprint sensor, a bigger battery, fast charging support, and more. Now, if you’re using the Sprint OnePlus 7 Pro 5G variant in the USA and want to install any custom firmware or any custom recovery or root or any custom module, then you will need to unlock the device bootloader at first. Check out How to unlock bootloader on Sprint OnePlus 7 Pro 5G.
It’s necessary to unlock the device bootloader as the handset comes with a locked bootloader out-of-the-box. Most of the OEMs always offer a locked bootloader due to security or privacy concerns. As it’s the main door to the unlimited customizations for Android, you will need to open (unlock) it. Once you unlock the device bootloader successfully, you can easily install custom files.
Table of Contents
Bootloader Unlocking on Android
A Bootloader is a system code that runs every time before any Operating System starts on a mobile or a computer. It’s worth mentioning that each and every device that runs on an operating system comes with a bootloader. It usually allows instructions to the hardware on a device to arrange the boot sequence whether the device will run the operating system or the stock recovery mode.
It basically happens within a fraction of seconds before a boot logo appears on the device. All the bootloaders on Android devices come locked by default from the manufacturer due to security or privacy measures. The manufacturers don’t want to install any third-party file on the devices for stability and security. So, if you want to flash a custom ROM or any other third-party file, make sure to unlock the bootloader at first.
OnePlus 7 Pro 5G Specifications

It has a 6.67″ Fluid AMOLED display with 1440×3120 pixels resolution, Corning Gorilla Glass 5, HDR10+, a 90Hz refresh rate, Android 9.0 Pie, SDM855 chipset, 6/8/12GB RAM, 128/256GB internal storage, etc. Currently, the device is running on Android 10 version. The handset packs triple rear cameras of 48MP+8MP+16MP lens with PDAF, Laser AF, OIS, dual-LED dual-tone flash, Panorama, HDR, etc.
While the front features a motorized 16MP pop-up selfie camera with Auto-HDR mode. It has 4000mAh battery with 30W fast charging including Wi-Fi 802.11 a/b/g/n/ac, Bluetooth 5.0, GPS, dual-band A-GPS, NFC, GLONASS, BDS, GALILEO, SBAS, Type-C port, etc.
How to unlock bootloader on Sprint OnePlus 7 Pro 5G
Before following the steps below, make sure to download the TWRP image file and the MSMTool on the computer.
Download Links:
Requirements:
- You will require a Windows computer and a USB cable.
- Take a full backup of the phone data. [Create & Restore Nandroid Backup]
- Download and Install Android ADB & Fastboot SDK Platform Tools for Windows/Mac/Linux.
- Make sure your device has more than 50% battery.
- Install Android USB Drivers for all Android devices.
- Enable USB Debugging and OEM Unlocking on your handset.
Unlocking Steps
- First of all, enable USB Debugging & OEM Unlocking on the phone.
- Make sure that ADB & Fastboot tool and USB Drivers are installed on the PC.
- Now, reboot your handset to EDL mode by press & hold Volume Up + Volume Down together and connect your device to the PC via a USB cable. [Don’t release the buttons]
- Allow the MSMTool to run on the computer and your device will reboot once the MSMTool finishes. But DO NOT REBOOT. You will need to interrupt the reboot process by entering into fastboot mode.
- Go to the installed ADB folder and open command prompt > type the following command and hit Enter.
fastboot flashing unlock
- Your device bootloader should be unlocked easily. Keep in mind that all the data will be deleted completely.
However, if you’re on the Slot B, you may get stuck on the Fastboot mode. In order to fix this issue, follow the below steps.
- Run the following command and press Enter
fastboot --set-active=other
- Now, run the below command and hit Enter
fastboot reboot-bootloader
- Select the Recovery mode > Press & hold Volume Up + Volume Down buttons together until the reset process is done.
- You will be back in the Fastboot mode.
- Run the following command and hit Enter
fastboot --set-active=other
- Now, run the following command to install the custom TWRP recovery.
fastboot boot twrp.img
- Here, the “twrp.img” can be replaced with the actual downloaded TWRP image file name. For ease, you can rename the TWRP file in short.
- Once the TWRP will be installed, your device will boot into TWRP recovery.
- In the TWRP recovery interface, format data by wiping system, cache, and data.
- Finally, reboot your device into the system. It may take some time to reboot. Wait for it.
We hope this guide was useful to you.