If you want to Unlock Bootloader On Redmi Note 8 Pro, then we have got you covered here. The Redmi Note 8 Pro is a fairly new device but the unlocking method is already made available. There is a dedicated tool available to unlock the bootloader of the Xiaomi devices. It makes the process very simple and easy.
Like most of the Android smartphone, Redmi Note 8 Pro also comes with an unlockable bootloader. If you are new to rooting, then you should know that Unlocking bootloader of an android device is the first and most important step in android rooting process. First users have to unlock the bootloader, then they can install TWRP recovery via Commands. Once TWRP is installed, root can be gained by flashing the supersu or magisk via TWRP recovery.
The Redmi Note 8 Pro is the successor to last year’s Redmi Note 7 Pro. It comes equipped with a 6.53-inch HD+ display with a screen resolution of 1080 X 2340 pixels. Its panel is an IPS LCD panel. The device is powered by MediaTek Helio G90T Octa-Core processor clocked at 2GHz. It has 4GB of RAM and 64 GB of onboard storage which can be expanded via microSD up to 512GB.
The device has a Quad rear camera setup. There is a whopping 64-megapixel primary camera; a second 8-megapixel camera, a third 2-megapixel camera and also a fourth 2 MP camera. It sports a 20-megapixel camera on the front side. The Redmi Note 8 Pro runs MIUI 10 based on Android 9.0 Pie. It is a dual sim device which accepts Nano-SIM and Nano-SIM cards. The device houses a Non-removable Li-Po 4500 mAh battery with support of 18W Fast battery charging. It also comes with an under-display optical fingerprint scanner.

Table of Contents
Warning:
Rootmygalaxy.net will not be held responsible for any kind of damage occurred to your Redmi Note 8 Pro while following this tutorial. Proceed at your own risk.
Pre-requirements:
- Make sure you have installed Xiaomi drivers on your PC.
- Download and Setup ADB and Fastboot Tools On your PC
- Follow the below Guide Exactly or else it may lead to brick your device. RootMyGalaxy.net is not responsible for any damage.
- We recommend to take complete backup and proceed.
- Maintain 50-60% battery to prevent sudden shut down between the process.
How to Unlock Bootloader On Redmi Note 8 Pro

- Enable the Developer Option, USB Debugging and OEM Unlock (Go to Settings > About phone > MIUI Version. Click 7 times on the MIUI Version to enable the Developer Option. Now Go back to Settings > Developer Option and Enable OEM Unlock.)
- Now again go to Settings > Mi account > MI Cloud > Enable Syn and Find Device
- Now login to Mi Cloud Server to check whether your device is syn or not. If there are other devices synced with your mi cloud, remove them.
- Download Mi Unlock tool – CLICK HERE. Once you download the file, Extract the MiFlashTool Zip file
- Now Go to the extracted files and open MiFlashUnlock

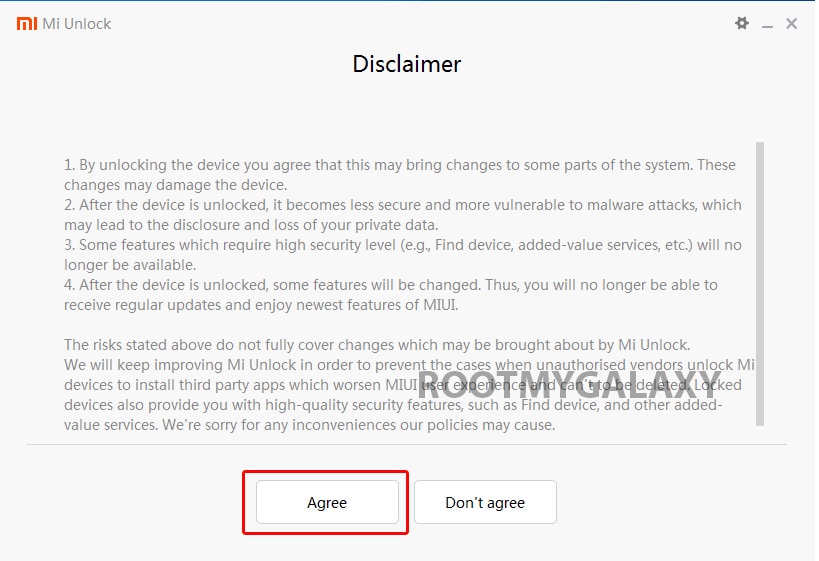
- A new disclaimer page will appear, read it and click Agree
- Now you will be asked to Log in. Log in with your Mi Account, If you don’t have one then Sign UP – CLICK HERE to Sign Up
- Now boot your Redmi Note 8 Pro to Fastboot/Bootloader mode and connect it to your PC via provided USB
- Your device will be shown as connected.
- Note: If a message shown on the screen that your device is not supported by Mi Unlock. Don’t worry. Just click on the Go button to continue
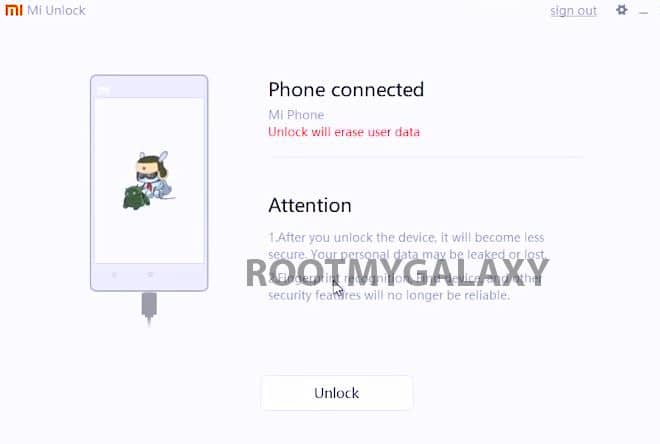
- Now Click On Unlock. It will show some warning, escape that. It will start the unlocking process automatically.

- Once the process is completed, reboot your device. Your device’s bootloader should be unlocked. You can check the bootloader lock status from the settings.
So that’s it for today’s simple guide. If you have any question regarding this post, feel free to leave that in the comment section down below.
