Here we will be sharing full step by step guide on How To Create & Restore Nandroid Backup On Android Devices using TWRP Recovery/CWM/Philz. There are different steps to follow for different custom recovery (TWRP/ CWM/ Philz). Don’t worry we will be covering all those steps in the below guide
As you guys know, Android is an open source OS and most customized mobile operating system. You can root your device and install custom recoveries. You can flash different kernels and ROM / Firmware via recoveries but one of the most important features of custom recoveries is that you can take Nandroid backup of your ROM and restore them anytime you need.
What is Nandroid Backup?
A Nandroid backup is a backup of your entire system including the kernel, themes, apps, app data, messages, call logs, device settings and others. That means when you restore it you will get everything like before. The name Nandroid comes from “NAND” flash memory which is the permanent storage on Android devices. Nandroid backups include OS, apps, app data, all settings and basically everything (saved passwords too). So below we are going to share How To Create & Restore Nandroid Backup On Android Devices
There are three possibilities → How To Create & Restore Nandroid Backup On Android Devices In TWRP / CWM / Philz
New Guides
How To Create & Restore Nandroid Backup On Android Devices
Using TWRP Recovery
- Boot your device into TWRP recovery mode
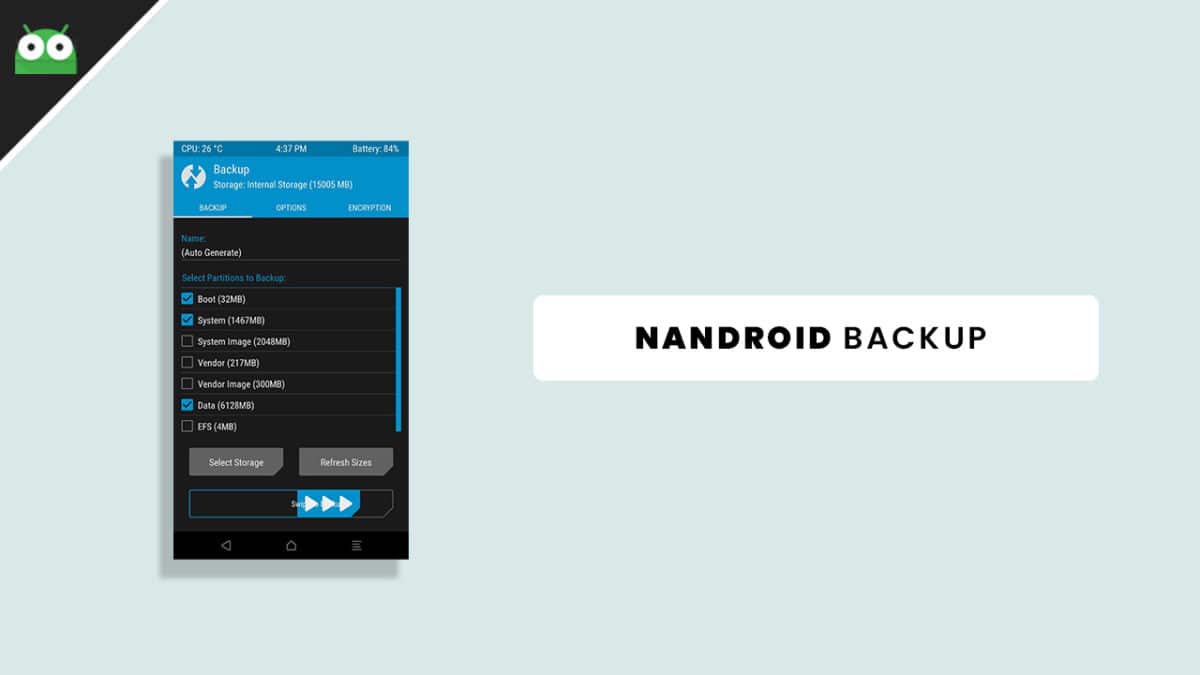
- Once in the main menu, tap on the Backup option to enter the backup menu.

- Now you can see available partitions to backup.
- Select the required partitions (Boot & System are musts)
- Now swipe right to take a nandroid backup
- Done!! backup is completed.
- Now If you want to restore the nandroid backup, go to restore option from the TWRP main menu
- Choose partitions and swipe right to restore
- Once restore is completed reboot your device
Using CWM Recovery
- Boot your device into CWM recovery mode
- Once in the main menu, tap on the Backup and Restore option to enter the backup menu.
- Now you can see Sub Options, select Backup, choose internal or external memory option.Make a backup
- Done!! backup is completed.
- Now If you want to restore the nandroid backup, go to restore a backup option, select any restore option (from Internal or External memory) from the above sub-menu.Now start restoring
- Once restore is completed reboot your device
Using Philz Recovery
→ It is based On CWM recovery but an advanced one.The process is very similar to CWM recovery.
- Boot your device into Philz touch recovery mode
- Once in the main menu, tap on the Backup and Restore option to enter the backup menu.
- Now you can see Sub Options, select Backup, choose internal or external memory option.Make a backup
- Done!! backup is completed.
- Now If you want to restore the nandroid backup, go to restore a backup option, select any restore option (from Internal or External memory) from the above sub-menu.Now start restoring
- Once restore is completed reboot your device
If you have any question related to this post feel free to leave that in the comment section below

Backup fails when I try to it.
E:Find_File: Error opening ‘/sys/class/backlight’
E:Unable to mount ‘/data’
E:Unable to recreate /data/media folder.
How do I fix this? Thanks!