Do you own a OnePlus 11 and want to install Android 14-based LineageOS 21 on OnePlus 11? If yes, then you are in the right place in the right time. In this guide, you will get to know step-by-step instructions to install Android 14-based LineageOS 21 on OnePlus 11.
Any time a new custom ROM is released, the custom development community is always ablaze. However, not many releases have matched the sheer joy that OnePlus 11 owners felt when LineageOS 21 came out for their handset. With the mess OnePlus created in the custom development scene, things were looking bleak.
Developers were hesitant in developing custom ROMs for this handset. However, after a long wait, the draught for OnePlus 11 users is over. If you’re a OnePlus user, the floodgates have opened and you can easily install Android 14-based LineageOS 21 on OnePlus 11.
How to install Android 14-based LineageOS 21 on OnePlus 11

Step 1: Install Android SDK
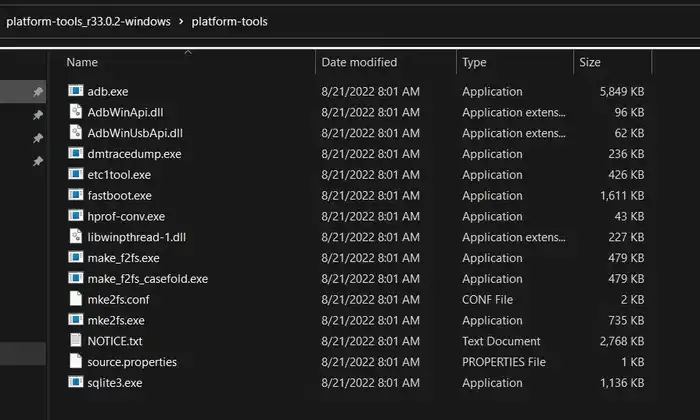
Firstly, you’ll need to install the Android SDK Platform Tools on your PC. It’s the official ADB and Fastboot binary offered by Google. You’ll need to download it and extract it to a convenient location on your PC.
Step 2: Enable USB Debugging and OEM Unlocking
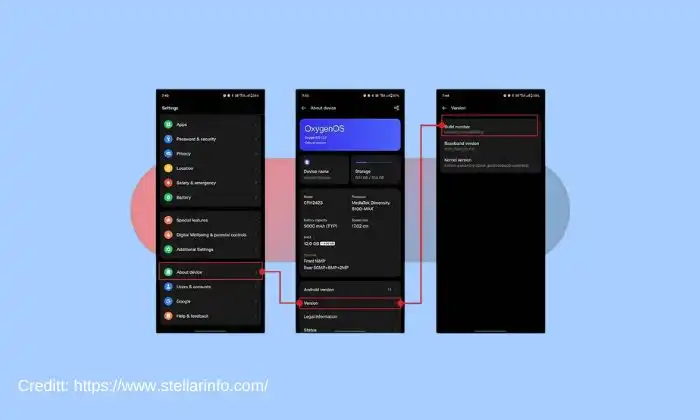
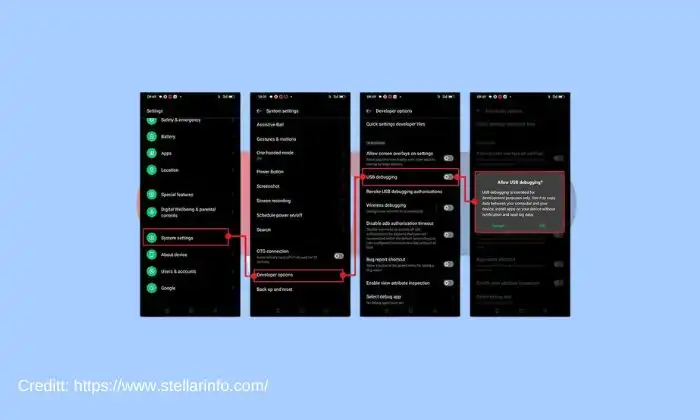
To start off, you’ll need to enable Developer Options on your smartphone. Go to settings -> About phone -> tap on build number 7 times -> return to Settings -> System -> Advanced -> Developer options -> Finally enable USB debugging and OEM Unlocking.
Step 3: Unlock the bootloader
There is often an element of confusion regarding this step but to put it into perspective, you’ll need to unlock the bootloader on your device before you can install LineageOS 21 on OnePlus 11. Remember, unlocking the bootloader on your Android smartphone will mean wiping off all the data on your phone and nullifying the device’s warranty.
Step 4: Download LineageOS 21 on OnePlus 11
- You should now get hold of the LineageOS 21 on OnePlus 11 and Recovery from below –
LineageOS 21 on OnePlus 11 – Download
Gapps for Android 14 – Download
- The ROM and GApps files would be present as a ZIP while the rest of the files would be present in IMG format
- Once you’ve downloaded these files, you should transfer them to the platform-tools folder on your PC
Step 5: Boot your device to Fastboot Mode
- Connect your smartphone to the PC using a USB cable, ensuring that USB Debugging is enabled
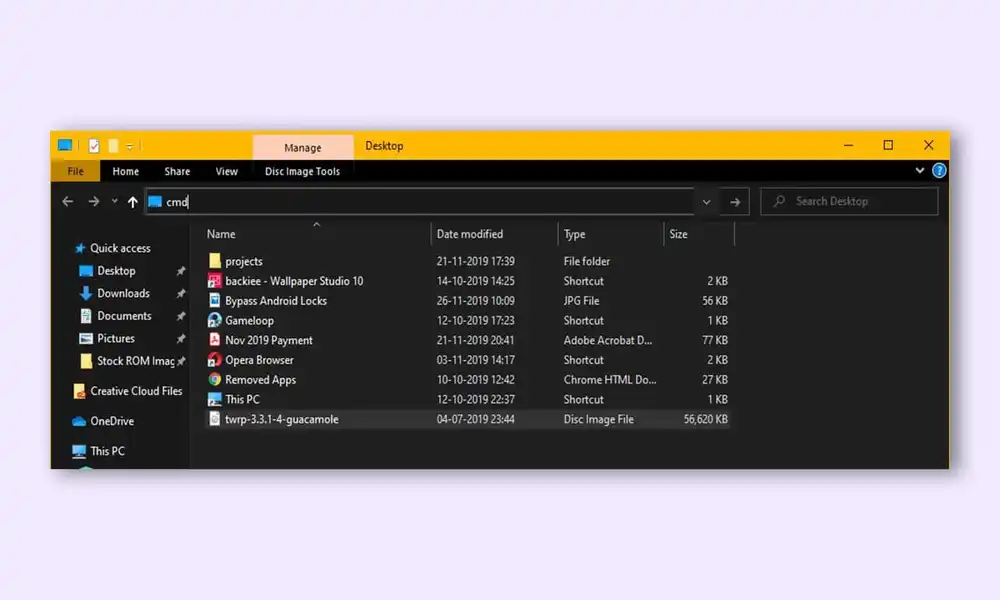
- Then, go to the platform-tools folder and type in CMD in the address bar before pressing Enter to launch the Command Prompt
- Then, type the following command in the CMD window for booting your smartphone to Fastboot Mode –
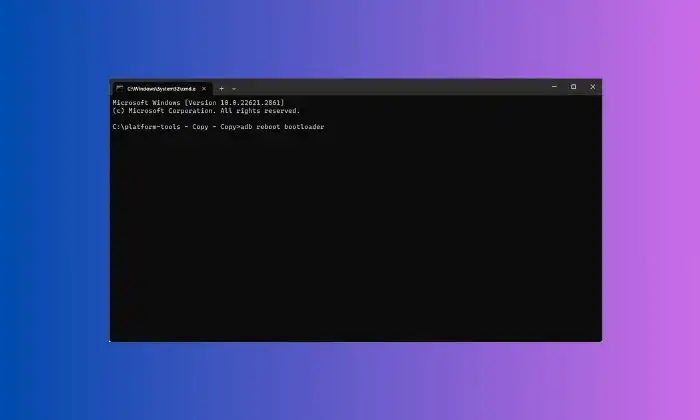
adb reboot bootloader
- Your handset will now boot to Fastboot Mode
- For verifying the fastboot connection, you should type the following command and you’ll get back the device ID –
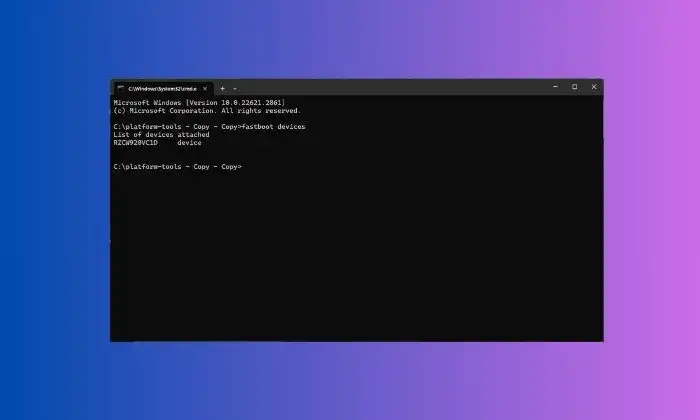
fastboot devices
Step 6: Flash custom recovery of LineageOS 21 on OnePlus 11
- First, you need to flash the IMG files to their respective partitions by giving these commands –
fastboot flash boot boot.img

fastboot flash dtbo dtbo.img

fastboot flash vbmeta vbmeta.img

fastboot flash vendor_boot vendor_boot.img
- After that, flash the LineageOS recovery to your OnePlus 11 –
fastboot flash recovery recovery.img
- Use the following command to boot your smartphone to LineageOS Recovery –
fastboot reboot recovery
Step 7: Factory reset your device
- From Custom Recovery, you need to go to Factory Reset
- After that, choose Format Data/Factory Reset -> Format Data
- Your smartphone will undergo a reset
- Once it is done, you should get the “Data Wipe Complete” message
Step 8: Install LineageOS 21 on OnePlus 11
- From LineageOS Recovery, you should go to Apply Update -> Apply from ADB
- Then, go to the platform-tools folder before typing in CMD in the address bar and hitting Enter
- Once the Command Prompt is launched, you should type the following command to flash the ROM file using Sideload –
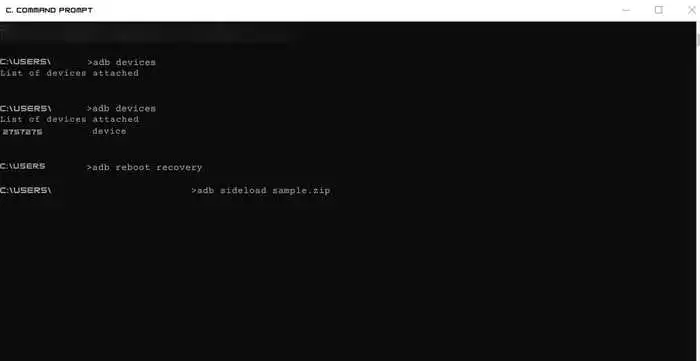
adb sideload rom.zip
- The process will start and once done, you’ll get the Total xfer:1.00x message
- If you wish to install Gapps and then tap on “YES” in the prompt that appears
- If you don’t wish to flash Gapps, you should select No -> Reboot System Now and your device will be booted to LineageOS
Step 9: Install Android 14 Gapps Package
- Download the appropriate GApps package for your Android version from a provider like OpenGApps.org or you can download it from above given link. (Select the variant like pico, nano, etc. based on needed Google apps)
- Boot your phone into recovery mode, usually by holding Power + Volume Down/Up.
- If you want to install the ROM first, then wipe data/factory reset from recovery.
- Select “Install” or “Apply Update” and navigate to the GApps zip file to install it.
- After installing, wipe cache and reboot system. This will boot your phone into the ROM with GApps working.
- If you get any signature verification errors, select “Yes” to ignore and install GApps anyway.
- Optionally, root your phone and use Magisk to hide GApps and pass SafetyNet if needed.
We hope this guide helped you install Android 14-based LineageOS 21 on OnePlus 11. If you have any questions or suggestions, feel free to mention them in the comments section.
